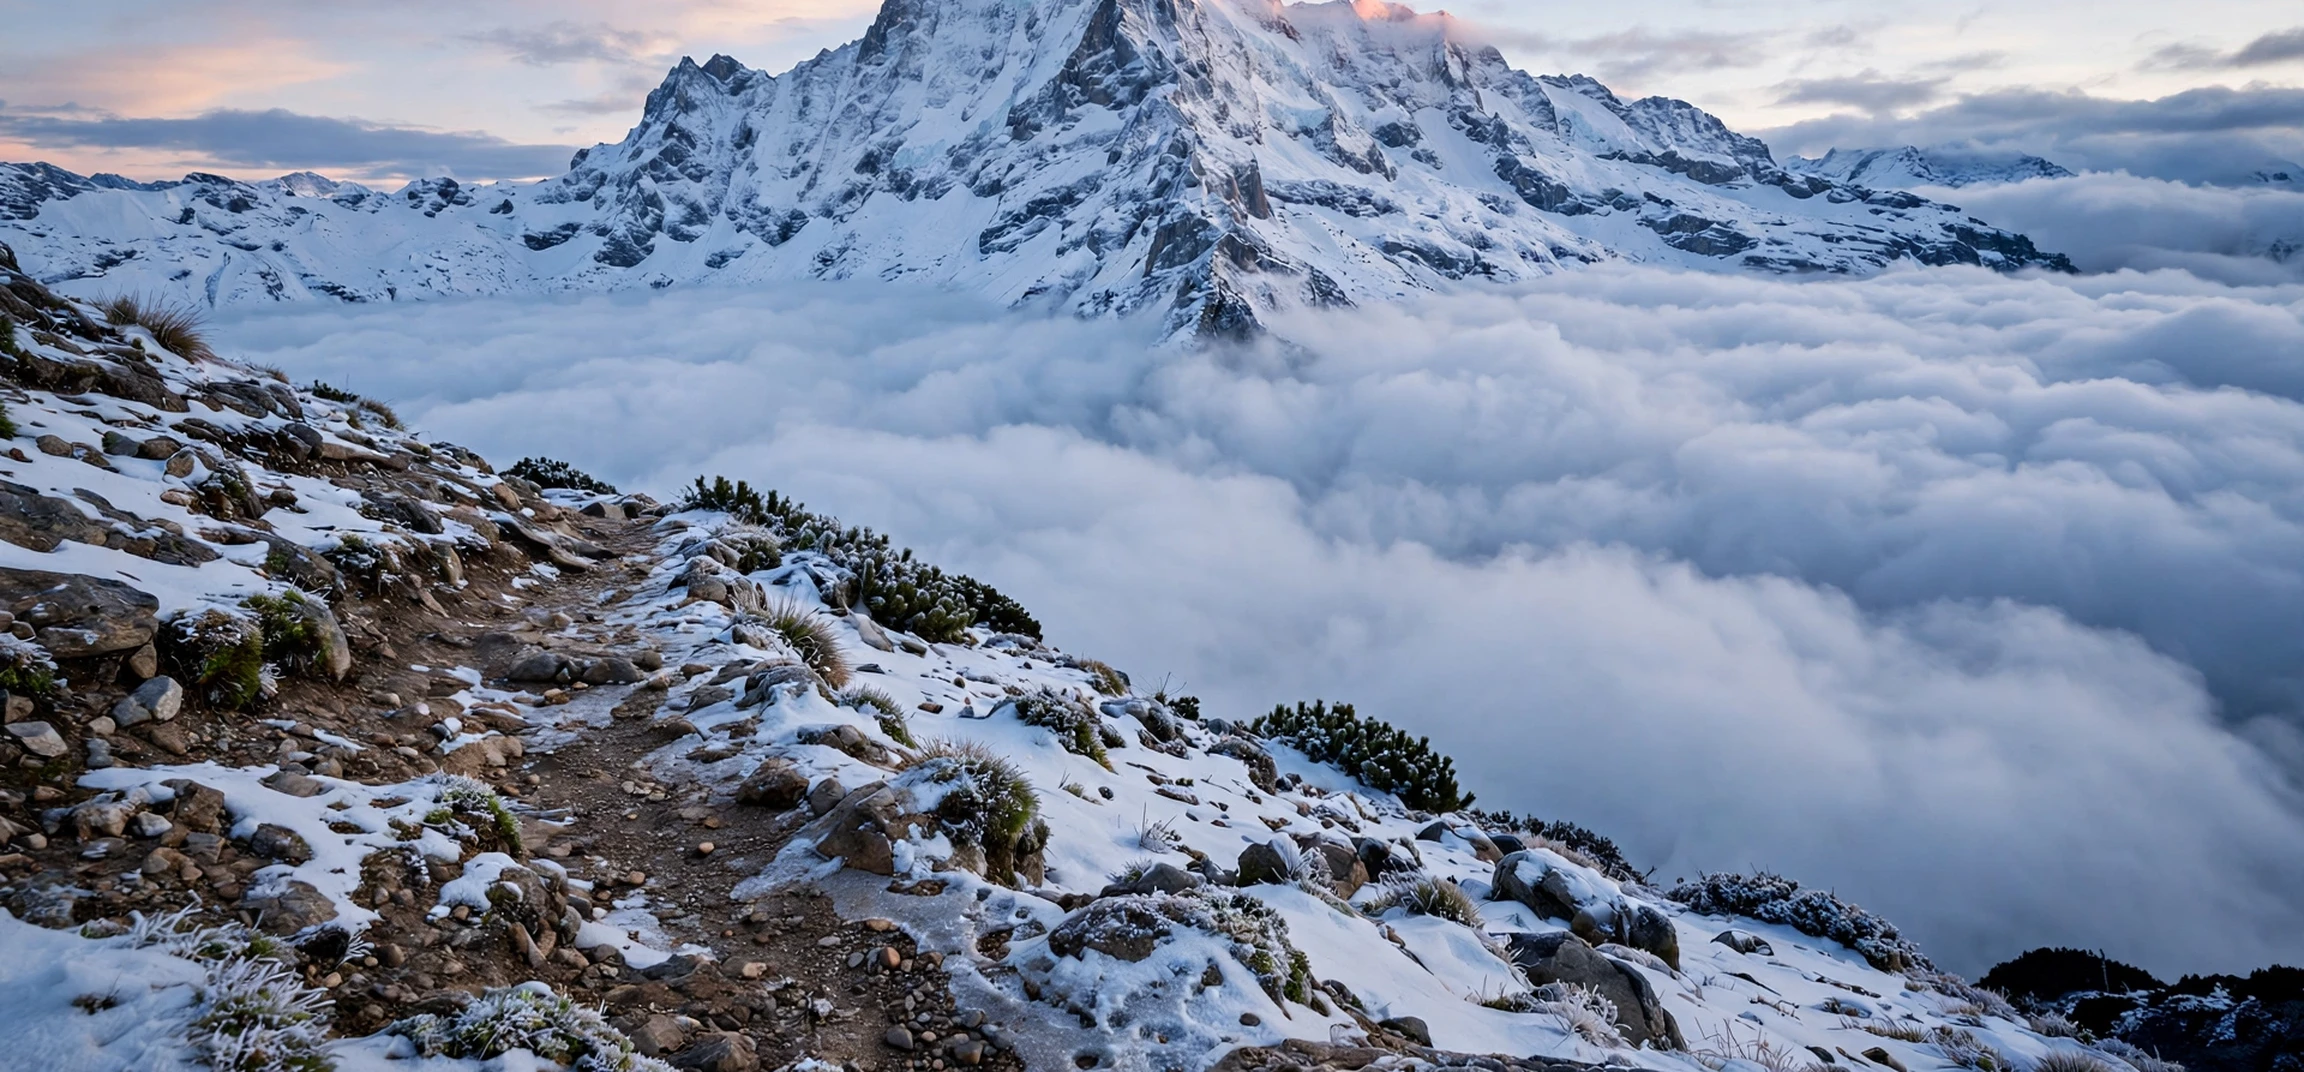
If you searched for a mt rainier climbing guide, you are probably trying to understand what a climb of this Washington volcano really involves before you commit time, training and money to it. Mount Rainier is a glaciated peak that rises to 14,410 feet above sea level, and it is far more demanding than an ordinary mountain hike. This guide explains the routes, the skills, the fitness, the permits and the safety planning involved, in general terms only. Conditions, permit rules, route status and closures change from season to season, so always check the official park sources for current information before you travel or make a booking.
Mount Rainier dominates the skyline of the Pacific Northwest. On a clear day it can be seen from Seattle and Tacoma, and its snow-covered cone looks deceptively gentle from a distance. Up close, the mountain is a different proposition. Climbers face glaciers split by crevasses, steep snow slopes, rockfall, rapidly changing weather and the physical strain of altitude. Every year, many climbers reach the summit, and many others turn back. Turning back is not failure. On Rainier, good judgement is the skill that matters most, and a safe return is always a successful outcome.
This article is a planning overview, not a substitute for professional instruction, a guide service briefing, or the park’s own guidance. If you are new to mountaineering, the safest route to the summit is usually with an authorised guide service, after a programme of training and preparation. If you are an experienced climber, you will still need to plan around Rainier’s specific hazards, its permit system and its weather patterns. Either way, start early, train honestly and build in flexibility for bad weather.
What a “mt rainier climbing guide” Covers
A useful mt rainier climbing guide covers far more than the route line on a map. It should explain how to choose a route that matches your experience, how to prepare your body, what equipment you need, how permits and camping work, how glacier travel is organised, and how to recognise when conditions mean you should not climb. It should also be honest about risk. Rainier is a serious mountaineering objective, and no guidebook, article or video can remove that risk. What good preparation can do is reduce avoidable mistakes and help you make better decisions on the mountain.
Most climbers approach Rainier through one of two main climbing areas. The southern side, reached from Paradise, is the most popular and is home to the classic Disappointment Cleaver route. The northern and eastern sides offer routes such as Emmons Glacier, which is longer and often quieter. Each side has its own access roads, ranger stations, camp locations and seasonal patterns. Road access to Paradise and Sunrise is seasonal, and snow can linger well into summer at higher elevations, so check access before you set out.
When you read any climbing guide, pay attention to the date and the season it describes. A route that is straightforward in a good August week can be a different climb in June, when snow bridges are weaker or the route is still being established, or in September, when crevasses are more open and rockfall increases. Glaciers move, snow conditions shift daily, and the park’s climbing rangers update route information through the season. Treat every guide as background reading, and the current ranger information as the final word.
Choosing a Route That Matches Your Experience
The Disappointment Cleaver route from Paradise is the standard first Rainier route for many climbers. It typically takes two to three days, with a climb to a high camp such as Camp Muir, a night of rest and acclimatisation, and then a summit push that begins in the early hours of the morning. The route crosses the Muir Snowfield, then climbs steep snow and a rocky ridge before joining the upper glacier. It is technically straightforward in good conditions, but it still requires glacier travel skills, crevasse rescue knowledge and fitness for a very long summit day.
The Emmons Glacier route, approached from the White River side, is the other classic route. It is longer, with more glacier travel, and it suits climbers who want a quieter experience or who have already climbed the southern side. Other routes on the mountain, including Liberty Ridge, the Kautz Glacier and the Tahoma Glacier, are significantly more technical and committing. They are not beginner routes, and they demand advanced climbing, steep ice skills and experience with exposed, avalanche-prone terrain. If a route name sounds impressive but you cannot explain its hazards and escape options, it is not the right route for you yet.
Route choice also depends on your party. A guided climb removes much of the route-finding and decision-making burden, but you still need the fitness and the basic skills your guide service asks for. An independent party needs a full skill set: glacier travel, self-arrest, crevasse rescue, navigation in poor visibility, and campcraft on snow. Be honest about the weakest member of your team, not the strongest. The mountain does not care about ambition, and a team moves at the pace of its slowest member.
Fitness and Training for a “mt rainier climbing guide” Plan
Any serious mt rainier climbing guide will stress fitness, and for good reason. A summit day on Rainier can involve more than 4,000 feet of climbing on top of the previous day’s approach, carrying a pack, in boots and crampons, often in wind and cold. Training should start months ahead, not weeks. Build a base of steady cardiovascular exercise, such as walking uphill with a weighted pack, running, cycling or stair climbing, several times a week. Add leg strength work for the long uphill and downhill sections, and core work for balance on uneven snow.
Practice with the actual equipment you will use. Walk in your mountaineering boots before the trip, not for the first time on the Muir Snowfield. Learn to move efficiently in crampons on moderate snow if you have safe access to instruction. If you live somewhere flat, use stairs, treadmills on an incline and loaded pack walks to simulate the effort. Altitude is the factor you cannot fully train for at sea level, so plan your itinerary with time to acclimatise, drink regularly, and recognise the symptoms of altitude sickness in yourself and your partners.
Rest matters as much as training. Arrive at the mountain rested, not exhausted from travel or a last-minute training push. A common mistake is to train hard right up to departure and start the climb fatigued. Taper in the final week, eat well, sleep properly and sort your equipment early. Small comforts, such as well-fitted boots, a pack that sits properly and food you actually enjoy eating at altitude, make a real difference on a long summit day.
Skills and Equipment You Will Need
Glacier travel is the core skill for Rainier. Climbers travel roped together so that if one person falls into a crevasse, the others can arrest the fall and organise a rescue. That sounds simple, but it requires practice: rope management, spacing, communication, self-arrest with an ice axe, and a rehearsed crevasse rescue system. A mountaineering course that includes a glacier skills weekend is the standard preparation for independent climbers, and many guided climbers also benefit from a basic skills course before their trip.
Navigation is the second essential skill. Whiteout conditions can arrive quickly on Rainier, and the upper mountain offers few landmarks in fog or falling snow. Carry a map and compass and know how to use them, alongside any electronic device. Batteries fail in the cold, screens become hard to read in bright snow glare, and a device is no substitute for knowing your route, your bearings and your turnaround points. Agree those turnaround points with your team before you leave camp, when everyone is thinking clearly.
Equipment lists vary by route and guide service, but the essentials are consistent: mountaineering boots, crampons, an ice axe, a climbing harness, a helmet, a rope as part of a team kit, layered clothing for wind and cold, gloves and spares, sunglasses or glacier glasses, sunscreen, a head torch, food and water systems that work in freezing conditions, and a shelter and sleeping system rated for snow camping. Your guide service or course provider will give you a detailed list. Follow it, and test everything before the trip. For more on fitting one key safety item, see our climbing harness fitting guide.
Permits, Camps and the Climbing Season
Climbing Mount Rainier requires a climbing permit, and overnight stays on the mountain involve camp reservations or registrations depending on the area and the season. The details, fees and booking windows change, so check the official park sources for the current system before you plan. Do not assume that last year’s rules still apply, and do not assume that a permit guarantees a summit. Permits manage numbers and safety on the mountain; they do not control the weather.
The main climbing season generally runs from late spring through early autumn, with the busiest period in July and August. Early season climbs can mean better snow coverage but more unsettled weather and route-finding challenges. Late season climbs can mean more stable weather but more open crevasses and looser rock on ridges. Guided services operate within set seasons, and independent climbers should research which window suits their route and experience. Build spare days into your trip so that a single storm does not end your whole attempt.
Camping on Rainier means snow camping at high camp: melting snow for water, cooking in a tent vestibule or sheltered spot, managing waste according to park rules, and sleeping at altitude. It is a skill in itself. If you have never slept on snow, a guided trip or a mountaineering course will teach you far more in a weekend than reading alone. Respect camp rules, keep camps clean, and remember that high camps are shared spaces where noise and light discipline matter for climbers leaving in the middle of the night.
Weather, Hazards and When to Turn Back
Rainier creates its own weather. Moist Pacific air is forced upwards by the mountain, cools, and drops rain or snow, often while nearby lowland areas stay dry. Summit temperatures can be far below freezing even in summer, and wind speeds on exposed ridges can be severe. Check the forecast from the park and mountain weather services, understand that forecasts for a 14,000-foot peak carry uncertainty, and be ready for conditions to be worse than predicted. A summit attempt in a rising storm is how avoidable incidents happen.
The main hazards are crevasses, avalanches, rockfall, icefall, altitude sickness and sudden weather changes. Crevasses can be hidden by thin snow bridges, which is why roped travel matters even on apparently easy glacier sections. Avalanche risk varies with snowpack and temperature, and it must be assessed for the specific slope and day, not guessed from a general season. Rockfall is a particular concern on warm afternoons on routes that pass beneath cliffs, which is one reason summit climbs start so early. Learn to recognise these hazards, and listen to rangers and guides who know the current state of the route.
Agree your turnaround time before you start, and honour it. Common turnaround reasons include deteriorating weather, a team member struggling with altitude or exhaustion, slow progress that would mean descending in darkness, or route conditions that look different from the briefing. Turning back is a mark of experience, not weakness. The mountain will still be there, and a decision to retreat keeps the option of returning another season open.
Guided or Independent: Which Is Right for You
For most first-time Rainier climbers, a guided climb is the sensible choice. Authorised guide services provide experienced guides, group equipment, route knowledge, and decision-making under pressure. They also set fitness and experience requirements, and they will tell you honestly if you need more preparation. A guided climb is not a guarantee of reaching the summit, and guides turn their teams around when conditions demand it, but it removes many of the judgement calls that catch out inexperienced parties.
Independent climbing suits teams with proven glacier experience, rescue practice and a history of climbing together. If your team has not practised crevasse rescue together, has not navigated in a whiteout, or has not climbed a comparable glaciated peak, you are not yet ready to climb Rainier independently, whatever your general hiking fitness. Build that experience on smaller glaciated peaks or on a skills course first. Rainier is a wonderful goal to work towards, and the preparation itself is part of the enjoyment.
Whichever route you choose, talk to the park’s climbing rangers. They can advise on current route conditions, permit requirements and seasonal hazards, and they would much rather answer questions beforehand than respond to an incident. Treat ranger advice as essential reading, not optional extra. If you are planning a wider outdoor trip, you may also enjoy our guide to towns near mountain areas for ideas on basing yourself for a trip.
A Practical Planning Checklist
Start with the official park information: current conditions, permit requirements, road status and any closures. Next, choose your route and decide between a guided climb and an independent attempt, based on honest self-assessment. Then build your training plan, book your skills course if needed, and sort your equipment early enough to practise with it. Arrange travel and accommodation with spare days for weather, and confirm your guide booking or permit well ahead of the season.
| Planning step | What to do | Why it matters |
|---|---|---|
| Check official sources | Read current park conditions, permits and closures | Rules and routes change every season |
| Choose a route | Match the route to your proven experience | Overreaching is a leading cause of retreats |
| Train for months | Loaded uphill walks, leg strength, boot practice | Summit day is long and physically demanding |
| Learn glacier skills | Course covering rope travel and crevasse rescue | Essential for safe independent climbing |
| Build in spare days | Allow extra days for storms and rest | Weather is the most common reason for delay |
| Agree turnaround rules | Set time and condition limits before you start | Clear rules make hard decisions easier |
Finally, prepare for the possibility that you will not summit. That is a normal part of mountaineering, and it should not feel like a wasted trip. The approach, the high camp, the glacier travel and the views are memorable in their own right, and climbers who return for a second attempt with experience of the mountain behind them often climb more confidently. Keep a record of what worked and what did not, and use it for your next plan.
Frequently Asked Questions
Do I need previous mountaineering experience to climb Mount Rainier?
For a guided climb on a standard route, you generally need strong fitness and a willingness to learn, and your guide service will set specific requirements. For an independent climb, you need proven glacier travel, crevasse rescue and navigation skills. If you are unsure, a mountaineering course is the best first step.
When is the best time to climb Mount Rainier?
The main season is generally late spring through early autumn, with July and August the busiest months. The best window depends on your route, the snowpack and current conditions, so check official park information for the season you are planning.
Is a permit required?
Yes, climbing Mount Rainier requires a climbing permit, and overnight camping has its own registration or reservation system. Check the official park sources for current fees, booking windows and rules before you travel.
How fit do I need to be?
Very fit by ordinary walking standards. Expect long days with a pack at altitude, in boots and crampons, often in cold and wind. Train for several months with loaded uphill walks and leg strength work, and arrive rested.
What happens if the weather turns bad?
You wait, or you turn back. Guides and rangers will advise, and your turnaround rules should already cover this. No summit is worth climbing into a storm for, and spare days in your itinerary make waiting a realistic option.
Conclusion
Mount Rainier rewards preparation, patience and respect. A good mt rainier climbing guide is only the starting point: the real work is training, learning glacier skills, choosing a route that fits your experience, and planning around permits, seasons and weather. Check the official park sources for current conditions before every stage of your plan, build in spare days, agree your turnaround rules in advance, and remember that a safe return is always a successful climb. Done that way, whether you summit or turn back, you will come home with a deeper understanding of the mountain and a solid foundation for your next attempt.