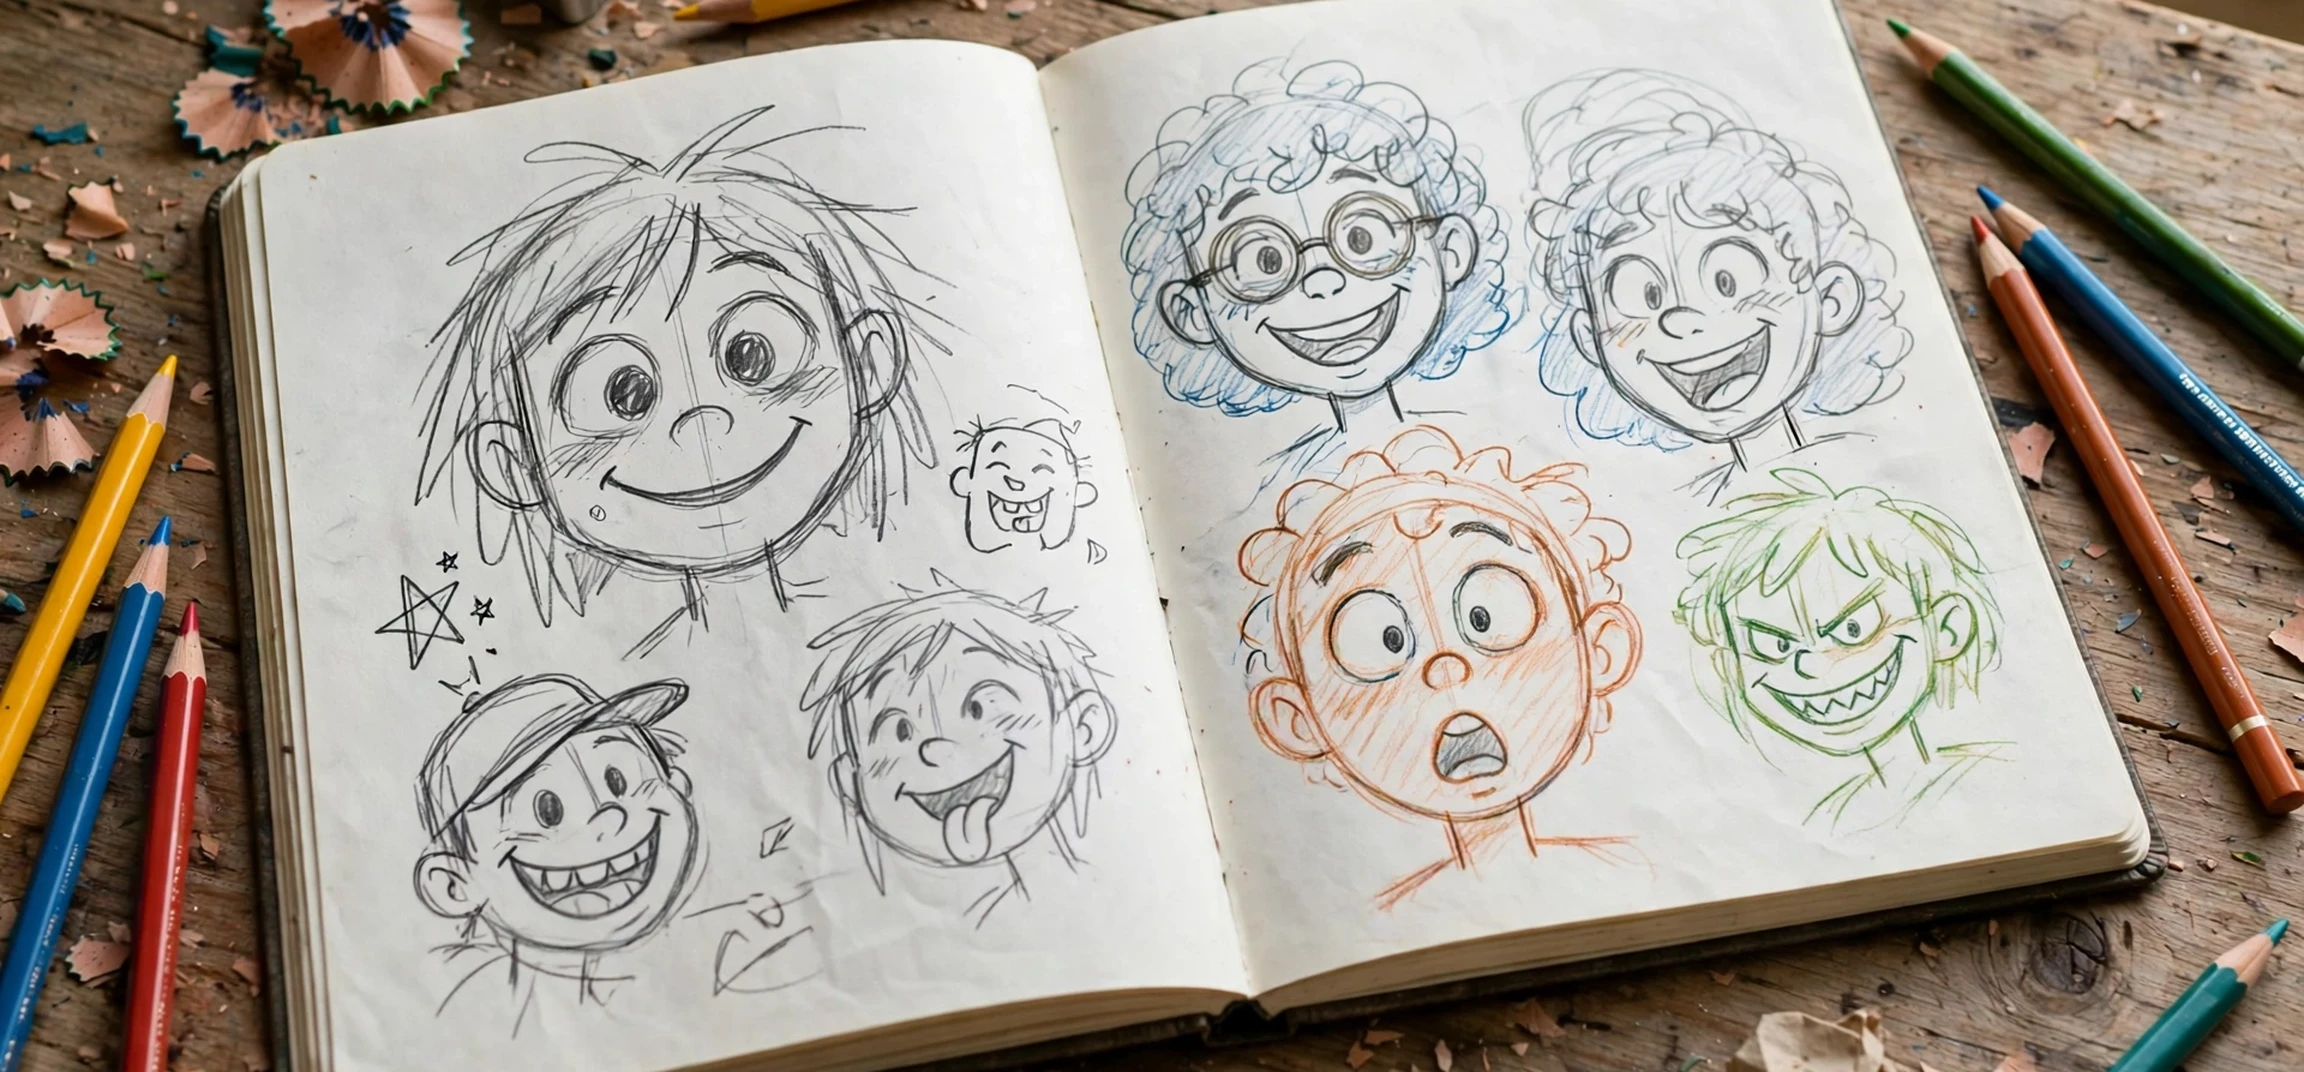
If you have ever wondered how people turn a normal photo into a fun cartoon portrait for a profile picture or a birthday card, you are asking how to “make a toon of yourself”. A “toon” in this sense is simply a cartoon version of a person: simplified shapes, bold outlines, bright colours, and exaggerated features, made from a photo of yourself. The good news is that you do not need drawing skills to get a good result. Modern apps and online tools can convert your own photo into a cartoon in a few minutes, and with a few choices about style, lighting, and editing, you can make the result look intentional rather than random. This guide walks through the process step by step, using only your own photos and keeping your privacy in mind throughout.
Before you start, choose the right photo. The tools work best with a clear, well-lit, front-facing photo where your face is fully visible, your eyes are open, and nothing is covering your features. A photo taken in soft daylight near a window usually beats a dark indoor selfie or a photo taken from far away. Avoid group photos for your first try, since most tools will either pick one face or produce a confusing result, and always use a photo of yourself, not a photo of someone else, unless that person has clearly agreed. Your own photo, your own cartoon, is the simple rule that keeps this fun and respectful.
How to “make a toon of yourself” From a Photo
The basic process is the same in almost every tool, even though the buttons have different names. First, you open the app or website and choose the cartoon, avatar, or photo-to-cartoon feature. Second, you upload your own photo or take a new one inside the app. Third, you pick a style, such as a comic-book look, an animated-film look, a sketch look, or a flat illustration look. Fourth, the tool generates one or more cartoon versions. Fifth, you adjust the result if the tool allows it, changing details such as background, colours, or line strength, and then you save or export the image in the size you need.
That five-step pattern is worth remembering, because it helps you compare tools fairly. If one app gives a poor result, try the same photo in another app before blaming the photo. Different tools use different styles, and a photo that looks flat in one style can look charming in another. Save your favourite versions as you go, rather than overwriting them, so you can compare them side by side at the end. Most tools let you generate several versions from one photo, and the third or fourth version is often better than the first.
Expect imperfection, especially around hands, glasses, hair edges, and backgrounds. Cartoon tools simplify details, and they sometimes invent a stray lock of hair, smooth out a smile, or change the shape of glasses. If a detail matters to you, such as a favourite hairstyle or a pair of glasses, look for a tool that lets you edit the result, or try a photo where that detail is clearer. Small imperfections are part of the cartoon look, and they usually matter less once the image is used at profile-picture size.
Best Apps and Tools to “make a toon of yourself”
There are three broad kinds of tools, and each suits a different need. Dedicated cartoon apps focus on one job: turning a photo into a cartoon portrait. They are usually the fastest route to a good result, with ready-made styles and simple controls. General photo editors with cartoon or illustration filters give you more control over the final image, including cropping, colour adjustments, and text, which is useful if you want to make a poster or a card rather than just a portrait. Avatar makers take a different approach: instead of converting a photo, they let you build a cartoon character by choosing face shape, hairstyle, eyes, and clothes, which gives a cleaner, more stylised result but looks less like a specific photo.
When choosing a tool, check four things before you upload anything. First, does it work on your device, as an app or in a web browser? Second, is the cartoon feature free, or does it need a subscription or a one-time payment to save the full-size image? Third, what does it do with your photo: does it process the image on your device, or upload it to a server, and does it say how long the photo is kept? Fourth, can you export the result at a good size without a watermark, or does the free version add one? Those four questions will save you time and protect your privacy, and they matter more than a long list of extra filters you may never use.
Free tools are fine for trying the idea out, and paid tools are worth considering only if you want higher resolution, more styles, or no watermark for a specific use such as printing. Be wary of tools that ask for more permissions than they need, such as access to your whole photo library or your contacts, when all they need is one photo you choose. On a phone, you can usually share a single photo with an app rather than granting full library access. On a website, check that the connection is secure and read the privacy note before uploading.
Comparing the Main Tool Types
| Tool type | Best for | Watch out for |
|---|---|---|
| Dedicated cartoon app | Quick, good-looking photo-to-cartoon portraits | Subscriptions, watermarks, photo upload policies |
| Photo editor with cartoon filters | Posters, cards, and images you want to edit further | More steps, and filters that can look over-processed |
| Avatar maker | Clean, stylised characters built from choices | Result may look less like your actual photo |
| Drawing app with tracing | Hand-made feel and full creative control | Takes longer and needs more patience |
Step-by-Step Walkthrough: Photo to Cartoon
Start by taking or choosing your photo. Stand near a window in daylight, face the camera, and keep the background simple. A plain wall works better than a busy room, because the tool can then focus on your face. Hold the phone steady, keep your head straight, and take a few shots so you have options. If you wear glasses, take one version with them and one without, since some tools handle glasses better than others, and you can choose the better result later.
Next, open your chosen tool and upload the photo. Pick a style that matches your purpose: a soft animated-film style suits a profile picture, a bold comic style suits a poster or a fun invitation, and a sketch style suits a more artistic result. Generate two or three versions in the same style, because small differences in the input can change the output noticeably. Compare them at the size you will actually use them: a version that looks rough at full size can look perfect as a small profile picture, and the reverse is also true.
Then refine the result. Crop the image so your face is well placed, with a little space above your head and room for your shoulders if you want a portrait feel. Adjust brightness and contrast gently if the cartoon looks washed out or too dark, and try a plain or softly blurred background if the original background distracts from your face. If the tool offers it, adjust the line strength or colour saturation one step at a time, checking the result after each change. Save the finished version as a new file, keeping the original photo untouched, and export at the highest quality the tool allows.
Where to Use Your Cartoon Portrait
A cartoon of yourself works well as a social media profile picture, a messaging avatar, a birthday card illustration, or a fun image on a personal blog or presentation slide. For a profile picture, a square crop with your face centred usually works best. For a card or poster, leave space around the portrait for text. For printing, check that the exported image is large enough: a small, low-resolution cartoon will look blurry on paper even if it looks sharp on a phone screen. If you plan to print, choose a tool that exports at a higher resolution, or keep the printed size small.
Privacy and Safety Tips for Your Cartoon
Cartoon portraits feel playful, but they are still images of you, so a few privacy habits are worth keeping. Use only your own photos, and get clear agreement before using a photo of anyone else. Read the privacy note of any tool you use, and prefer tools that delete uploads quickly or process images on your device. Avoid uploading photos that show sensitive details in the background, such as documents, screens, or house numbers, and crop the photo before uploading if needed. Remember that a cartoon can still be recognisable, so think about where you share it just as you would with a normal photo of yourself.
Also avoid uses that could mislead other people. A cartoon of yourself is fine for fun, art, and personal expression, but it should not be used to pretend to be someone else, to create a false identity, or to deceive anyone about who you are. The same rule applies to editing: light retouching for a cartoon look is normal, but presenting a heavily altered cartoon as a real photograph of a real event would be misleading. Keeping the cartoon clearly a cartoon, and keeping your identity honest, avoids those problems entirely.
Frequently Asked Questions
Can I make a cartoon of myself for free?
Yes, many apps and websites offer free cartoon features, though the free version may limit resolution, add a watermark, or offer fewer styles. Try a free version first, and only pay if you need a specific style, a larger export, or a watermark-free result for printing.
What makes a good photo for cartoon conversion?
A clear, front-facing, well-lit photo with your face fully visible and a simple background gives the best results. Soft daylight near a window is ideal. Avoid dark, blurry, distant, or heavily filtered photos for your first attempt.
Why does my cartoon not look like me?
Cartoon tools simplify and exaggerate, so some difference is normal. Try a different style, a clearer photo, or a tool that allows editing of features. Avatar makers, which build a character from choices rather than from a photo, will naturally look less like a specific photograph.
Is it safe to share my cartoon online?
A cartoon is still recognisable as you, so share it with the same care as a normal photo. Prefer tools with clear privacy policies, avoid sensitive background details, and share only in places where you are comfortable being recognised.
Conclusion
Learning to make a toon of yourself is mostly about choosing a good photo of yourself, picking a tool that suits your purpose, and trying a few styles before settling on a favourite. Dedicated cartoon apps are the fastest route, photo editors give you more control for cards and posters, and avatar makers give a cleaner stylised character when a photo likeness matters less. Keep your privacy in mind, use only your own photos, and enjoy the result for what it is: a playful, simplified portrait that is clearly you, in cartoon form. For related creative reading, see our guides to cartoon photography ideas, reverse image searching, and a face guide for character design.