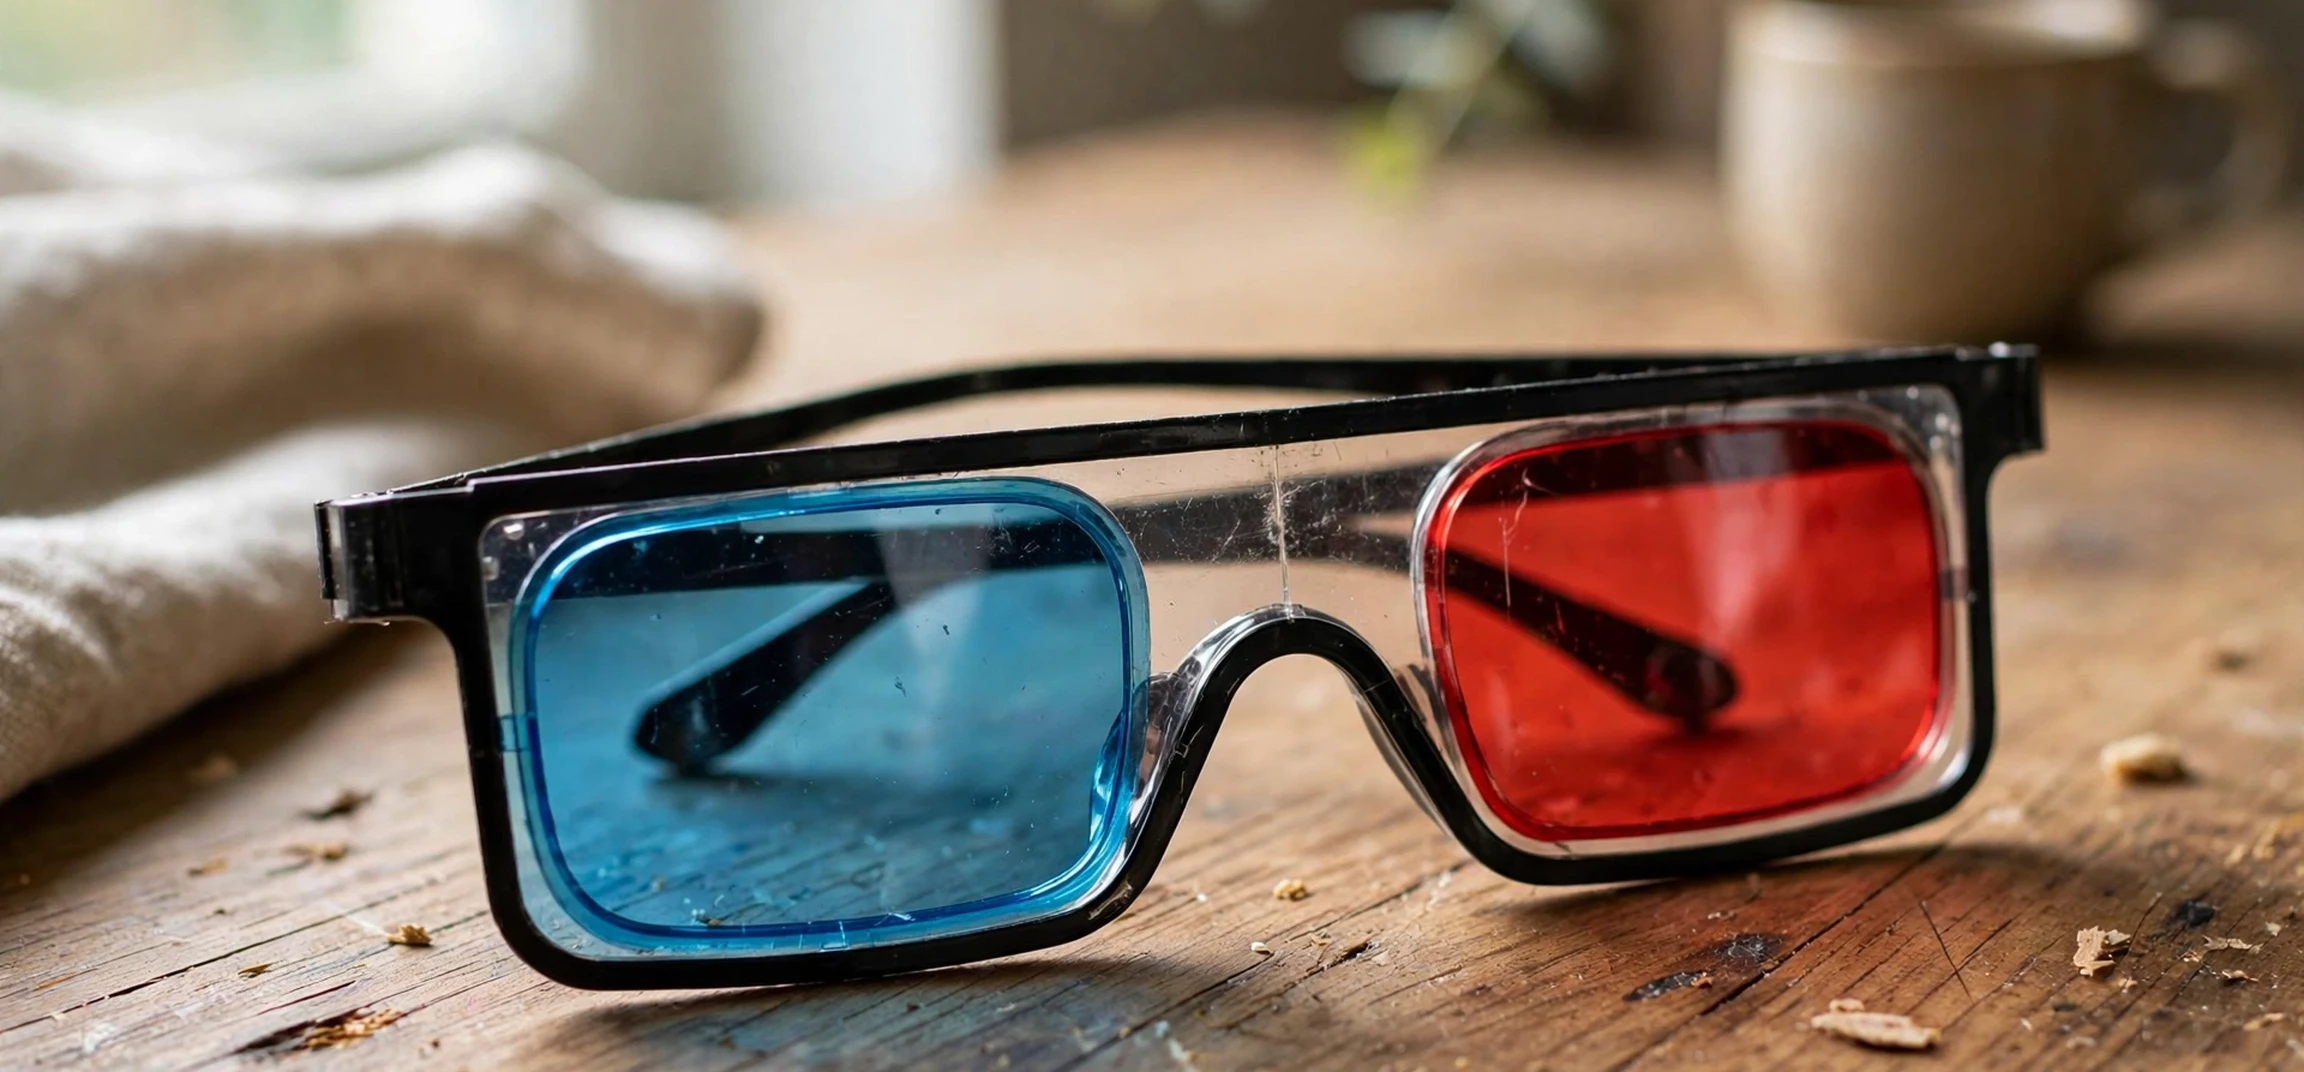
red and blue 3d images are one of the oldest and most recognisable ways to create a sense of depth on a flat screen or printed page. Using two slightly different views of the same scene, one tinted red and one tinted blue, they trick the brain into seeing a single image with depth, as if objects are floating in front of or receding behind the surface. All you need to view them is a pair of simple glasses with one red lens and one blue lens, and suddenly a flat picture gains a surprising feeling of space. This guide explains how red and blue 3d images work, how to view them comfortably, how to find and create your own, and how to get the best results without eye strain.
The technique behind red and blue 3d images is called anaglyph imaging, and it has been used for well over a century in books, comics, films, and educational materials. Its charm lies in its simplicity: no special screen, no expensive headset, and no software subscription is required to enjoy the effect. At the same time, the technique has limits, and understanding those limits helps you enjoy it more. Colours look different through tinted lenses, fine detail can be harder to see, and some people find long viewing sessions tiring. This guide covers both the fun and the practical side, so you can enjoy the effect at its best.
How red and blue 3d images Work
The basic idea behind red and blue 3d images is straightforward. Human depth perception comes largely from the fact that our two eyes see the world from slightly different positions. The brain combines those two views and interprets the small differences between them as depth. An anaglyph image recreates that process by combining two views of a scene into one picture: the view for the left eye is tinted in one colour, and the view for the right eye is tinted in the other.
When you wear glasses with matching coloured lenses, each eye sees mainly its own view. The red lens blocks the blue-tinted view, and the blue lens blocks the red-tinted view, so each eye receives a slightly different image, just as it would in real life. Your brain merges the two images and perceives depth. Objects that are offset by a larger amount between the two views appear closer or further away, which is why a well-made anaglyph can make a foreground object seem to pop out of the page while the background recedes.
The amount of offset matters a great deal. A small offset gives a gentle sense of depth that is comfortable for most viewers, while a large offset gives a dramatic effect that can quickly become tiring. Good anaglyph creators choose the offset carefully, keeping the main subject comfortable to look at and using stronger depth only for emphasis. That balance is the difference between an image that delights and one that gives you a headache.
Viewing red and blue 3d images Comfortably
To view red and blue 3d images, you need glasses with one red lens and one blue, or cyan, lens. The red lens normally goes over the left eye and the blue or cyan lens over the right eye, although some images are made the other way round. If the depth looks reversed, with near objects appearing far away, try swapping the glasses around. That simple flip often fixes the problem instantly, because the image was encoded for the opposite lens arrangement.
Comfort matters as much as the glasses themselves. View anaglyph images in a well-lit room, at a normal reading or screen distance, and take breaks if your eyes feel tired. The tinted lenses reduce brightness and change colours, so your eyes work a little harder than usual. Children and anyone prone to headaches or eye strain should keep sessions short, and anyone with a vision condition in one eye may not perceive the depth effect at all, which is completely normal. If viewing ever causes discomfort, stop and rest rather than pushing through.
Screen settings also help. A bright, sharp display with accurate colours gives a cleaner effect than a dim or heavily filtered screen. Turn off strong night-mode colour filters while viewing, because they shift the red and blue balance and can weaken or distort the effect. On a printed page, good lighting and a flat, unwrinkled surface make the same difference. Small adjustments like these often turn a disappointing first attempt into a clear, enjoyable depth effect.
Colours and Why Red and Blue Are Used
Red and blue, more precisely red and cyan, are used because they sit far apart in the colour spectrum, which makes it easier for each lens to filter out the opposite view. Cyan is a blue-green shade that works particularly well with a red lens, because the two colours complement each other and leave relatively little overlap. That separation is what allows each eye to receive a clean, separate view. Other colour pairs are possible, but red and cyan remain the most common because they are cheap to produce and work on ordinary screens and print.
The trade-off is colour accuracy. Because each eye sees the scene through a tinted lens, the combined image never looks like a normal full-colour photograph. Reds may appear muted, blues may shift, and subtle colour detail can be lost. That is why anaglyph is best suited to subjects where depth and shape matter more than exact colour, such as landscapes, architecture, diagrams, and dramatic scenes. For subjects where true colour is essential, other three-dimensional methods that preserve colour may be a better choice.
If you are curious about colour itself, our guide to the names of different blue colours is a useful companion, and our explanation of analogous colours shows how colours that sit near each other on the colour wheel work together. Understanding those relationships makes it easier to see why the red and cyan pairing is so effective for depth, and why it changes the colours you perceive.
Finding Good red and blue 3d images
Good red and blue 3d images are not hard to find once you know what to look for. Educational collections, science museums, and astronomy archives often publish anaglyph views of landscapes, planets, and historical scenes, because depth helps viewers understand shape and terrain. Photography communities also share anaglyph work, and many creators label their images clearly so you know which glasses you need. When searching, include the word anaglyph alongside your subject, since that term identifies the red and blue technique specifically.
Judge quality before you settle in to view. A good anaglyph has sharp detail, a comfortable depth range, and a clear main subject. If the image looks doubled even with glasses on, if the colours bleed heavily, or if the depth feels painful to look at, the offset is probably too strong or the image was converted poorly from another format. Move on to another example rather than straining your eyes. The best creators publish images that feel natural within a few seconds of putting the glasses on.
You can also learn a lot by comparing the same scene in two dimensions and in anaglyph form. A reverse image search can help you trace an anaglyph back to its original source, and our guide to backwards photo search explains how to run that kind of check. Tracing a source is useful when you want to credit a creator properly or to find more work in the same series.
Creating Your Own red and blue 3d images
Creating your own anaglyph is a satisfying project, and it teaches you a great deal about how depth perception works. The simplest method uses two photographs of the same scene taken from slightly different positions, a few centimetres apart, mimicking the distance between your eyes. Keep the camera level, move it sideways rather than rotating it, and keep the main subject in the same part of the frame in both shots. Even a small sideways shift is enough to create a convincing effect.
Once you have your two photographs, image editing software can combine them into an anaglyph. The usual approach is to take the red channel from one photograph and the green and blue channels from the other, then merge them into a single image. Many free and paid editors offer an anaglyph or stereo mode that does this automatically, and some let you adjust the alignment and offset afterwards. Start with a small offset, preview the result with glasses on, and increase it gradually until the depth feels natural.
A few practical tips make a big difference. Choose scenes with clear foreground and background layers, such as a path leading into a landscape or objects on a table with a wall behind them. Avoid scenes with fast movement between the two shots, because movement breaks the alignment and creates ghosting. Avoid very close subjects at first, since strong depth at close range is harder to view comfortably. With a little practice, you will develop an eye for scenes that translate well into anaglyph form.
| Step | What to do | Tip for best results |
|---|---|---|
| 1. Take two photos | Photograph the same scene twice, shifted sideways slightly. | Keep the camera level and the subject centred. |
| 2. Combine channels | Merge the red channel of one photo with the other channels of the second. | Use an anaglyph mode if your editor offers one. |
| 3. Align and adjust | Align the main subject and set a small depth offset. | Preview with glasses and increase depth gradually. |
| 4. Check comfort | View the result for a minute with glasses on. | If it strains your eyes, reduce the offset. |
Common Problems With red and blue 3d images
The most common problem is reversed depth, where objects that should appear near look far away. This usually means the glasses are the wrong way round for that particular image. Swap the glasses and the depth should correct itself. If it does not, the image itself may have been encoded in reverse, in which case swapping the two source views in an editor will fix it.
Ghosting is another frequent issue. Ghosting looks like a faint double image that will not resolve, and it usually comes from poor colour separation, a misaligned pair of photographs, or a display that does not reproduce red and cyan cleanly. Reducing the offset, realigning the images, or viewing on a different screen often helps. Excessive eye strain, meanwhile, is almost always a sign that the depth is too strong or the viewing session is too long. Shorter sessions and gentler depth solve most cases.
Frequently Asked Questions
Do I need special glasses for anaglyph images?
Yes, you need glasses with one red lens and one blue or cyan lens. Ordinary sunglasses or clear glasses will not produce the effect, because the coloured lenses are what separate the two views for your left and right eyes.
Why do colours look strange through the glasses?
Each lens filters out part of the colour spectrum, so the combined image cannot show true full colour. That colour shift is a normal trade-off of the anaglyph technique, and it is why the method suits shape and depth subjects best.
Can I make anaglyph images with a phone camera?
Yes. Take two photographs of a still scene from slightly different sideways positions, then combine them in an editor with an anaglyph mode. Still scenes work best, because movement between shots breaks the alignment.
Are anaglyph images safe for children?
Short, supervised sessions are generally fine, but children should take frequent breaks, and anyone who feels eye strain or discomfort should stop viewing. If a child cannot perceive the depth effect, that is normal and not a cause for concern.
Red and Blue 3D Images: Practice Makes the Effect Clearer
Your first experience of red and blue 3d images may feel unusual, because your brain is learning to combine two tinted views into one scene with depth. With a little practice, red and blue 3d images become much easier to enjoy, and the depth effect often feels stronger on a second viewing than on the first. When you view red and blue 3d images regularly, you also learn which subjects suit the technique best, and you begin to recognise well-made red and blue 3d images at a glance, by their sharp detail and comfortable depth.
Practice also helps when you create red and blue 3d images yourself. Your first attempts may show ghosting or reversed depth, but each attempt teaches you something about alignment and offset. Keep your early red and blue 3d images, compare them side by side, and note what improved between attempts. Over time, your red and blue 3d images will show steadier depth, cleaner edges, and subjects that genuinely benefit from the third dimension, rather than depth added for its own sake.
Red and Blue 3D Images: Final Tips
To get the most from red and blue 3d images, keep your glasses handy, choose images with gentle depth, and view red and blue 3d images in good light. Share your favourite red and blue 3d images with friends who have glasses, and compare red and blue 3d images from different creators to learn what good depth looks like. With those habits, red and blue 3d images will remain a simple, enjoyable way to see flat pictures in a whole new dimension.
Conclusion
red and blue 3d images remain a delightful way to experience depth without special equipment. A pair of inexpensive glasses, a well-made image, and a few minutes of comfortable viewing are all it takes to turn a flat picture into a scene with real space. Understanding how the technique works, choosing images with gentle depth, and creating your own with care will help you enjoy the effect at its best.
Start with a good example, view it in good light, and take breaks when your eyes need them. Then, when you are ready, try photographing your own scene and turning it into an anaglyph. You will never look at a flat photograph in quite the same way again, and you will have a new appreciation for the clever, century-old trick that makes two flat views feel like a window into another world.