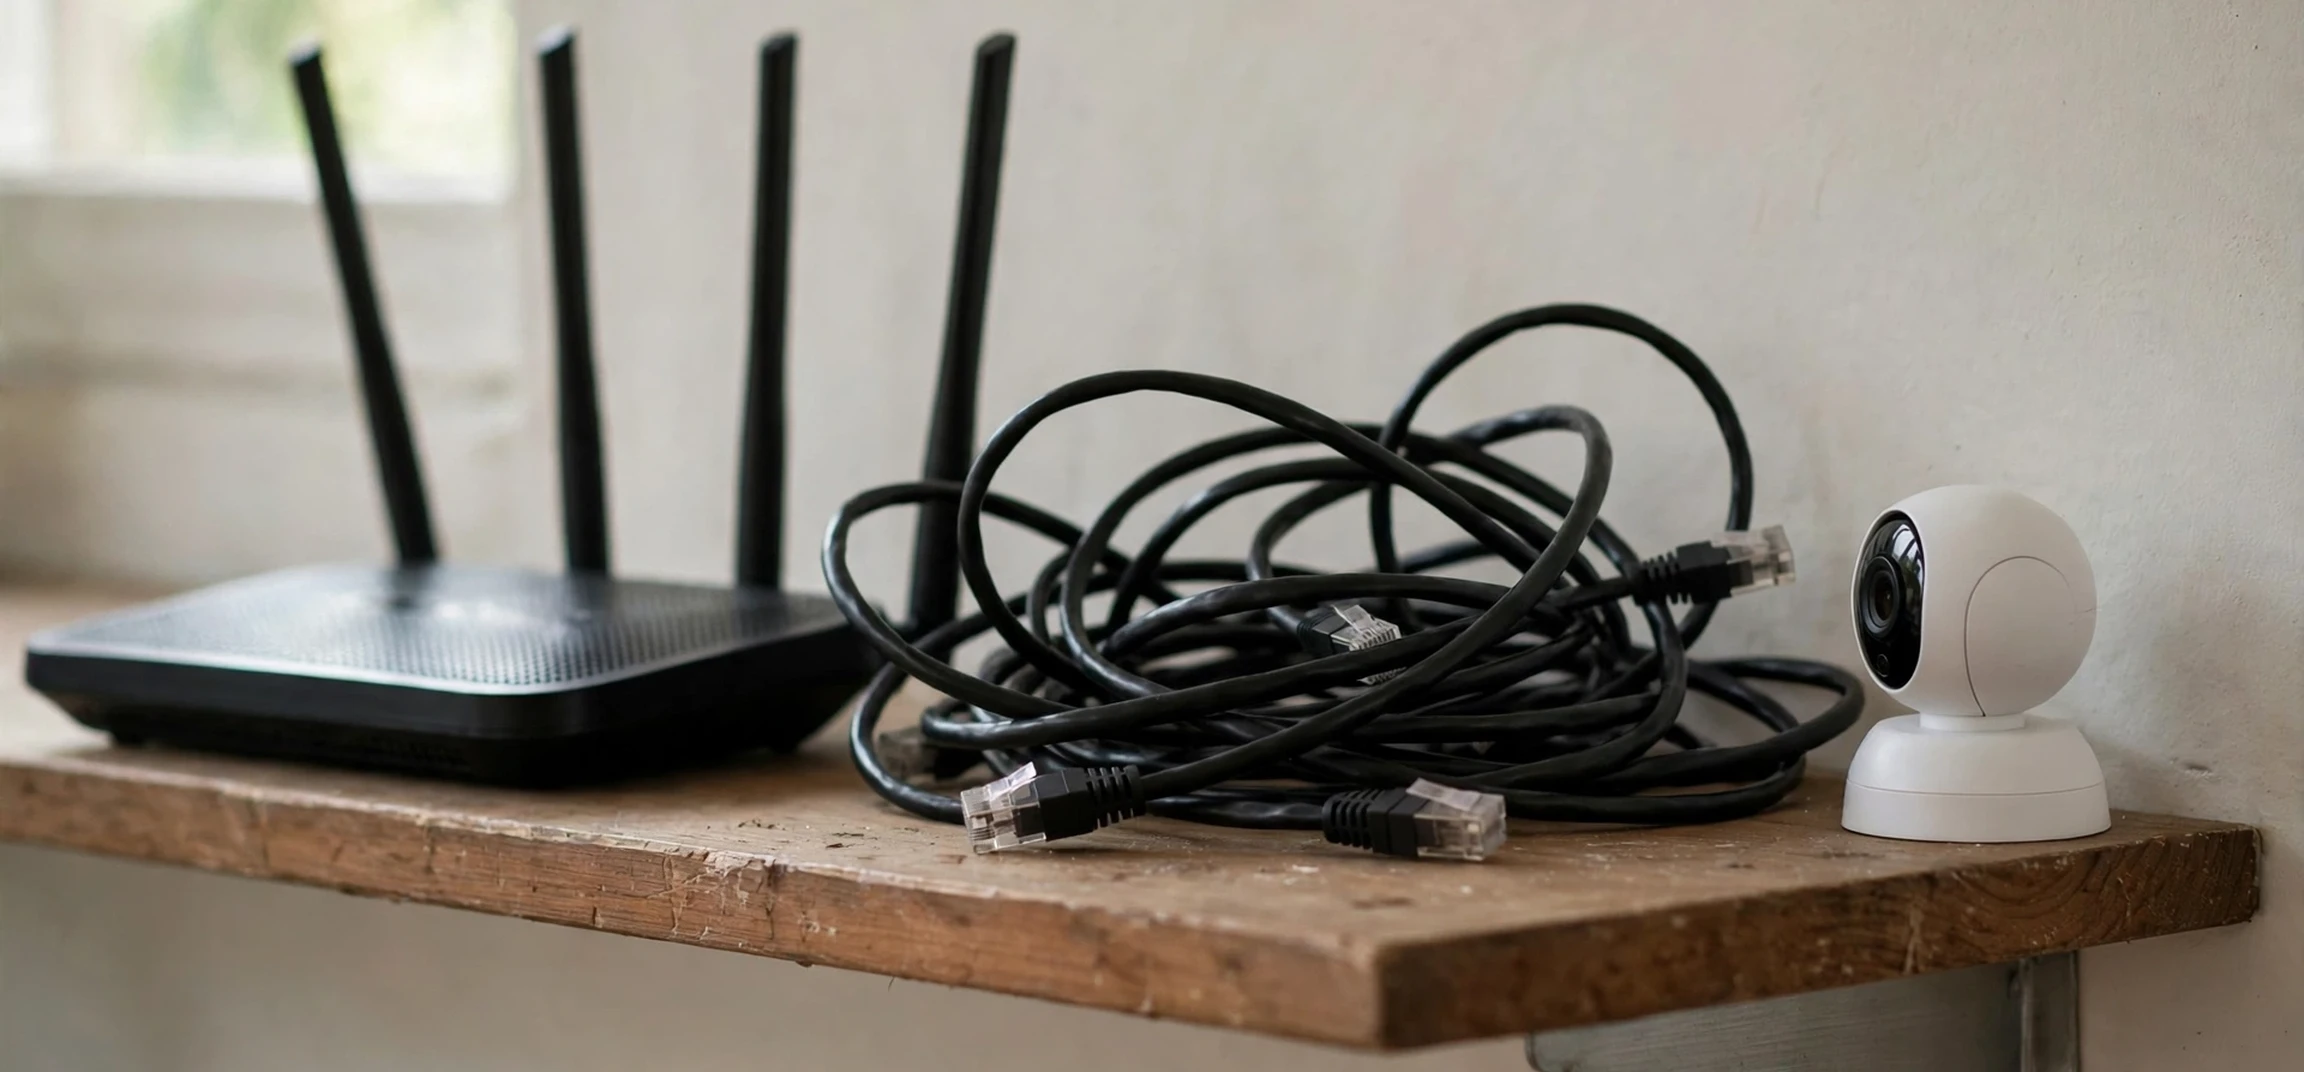
If you have just unboxed a new Axis network camera for your own home or business, and you are trying to get it onto your own network for the first time, you have probably searched for axis cameras default ip. This guide covers own-device setup only. It explains what a default address means, how to find the address of a camera you own on a network you control, how to log in safely for the first time, and how to fix the common problems that stop a new camera from appearing. It does not cover accessing anyone else’s camera, network, or device, and you should only follow these steps for equipment you own, or equipment you are authorised to administer.
When you search for axis cameras default ip, you are really asking about an IP address, which is a number that identifies a device on a network, much like a house number identifies a house on a street. When your camera and your computer are on the same local network, they use these numbers to find each other. In the context of axis cameras default ip, a default IP address is the address a manufacturer assigns at the factory, so that a first-time user has a known starting point before the camera is configured for a particular network. Once you configure the camera, you can usually change that address, assign a fixed address that suits your network, or let your router assign one automatically.
For axis cameras default ip, the exact starting point depends on your model and on how your network is set up, so you should always check the documentation for your specific model first. Many Axis cameras, when no DHCP server is available to assign an address automatically, fall back to a factory address in the 192.168.0 range, commonly cited as 192.168.0.90 for a range of models. Other Axis cameras on a network with DHCP will instead receive an address from your router, which may be completely different. That difference is the source of most first-time confusion: the address printed in a general guide may not match the address your own router gave your camera five minutes ago.
Finding axis cameras default ip on Your Own Network
The most reliable way to find axis cameras default ip information for your own camera is to use the manufacturer’s own discovery approach, rather than guessing addresses. Axis provides a free discovery tool, AXIS IP Utility, for Windows, and a similar device manager approach for other systems, which lists Axis devices on your local network and shows their addresses, models, and status. Running that tool on a computer connected to the same network as your camera is the intended first step, because it shows you what your network actually assigned, instead of what a general article assumed.
Before you run any discovery tool, check the physical basics. Connect the camera to your router or switch with a known-good Ethernet cable, or connect it to power and to your wireless network following the model’s setup guide if it is a wireless model. Wait a minute or two for the camera to start up fully, watching for its status light to settle into its normal pattern as described in the manual. A camera that is still booting, that has no power, or that is connected to a different network segment will not appear in a discovery scan, and no amount of address guessing will fix that physical problem.
Your router’s admin page is a second useful check when resolving axis cameras default ip for your own network. Most home and small-business routers list connected devices, often with a name, a hardware address, and an assigned IP address. If you see an Axis device in that list, you have found the address your router assigned, and you can use that address in your browser to reach the camera’s setup page. Only use your own router’s admin page, with your own login, on a network you control. Do not attempt to view or change devices on a network you do not own or administer.
What the Factory Address Means
In axis cameras default ip terms, a factory address is a starting point, not a permanent identity. Think of it as the address a device uses before it has been introduced to your network properly. If your network has no DHCP service, the camera behind axis cameras default ip may sit at its factory address until you configure it. If your network does have DHCP, the camera will normally take the address your router offers instead. In both cases, the correct next step is the same: confirm the actual address through the discovery tool or your own router, then open that address in a browser on the same network to complete setup.
Logging In to axis cameras default ip for the First Time
When you open axis cameras default ip in a browser for the first time, or more precisely the actual address your camera is using, you should reach the camera’s own web interface, hosted by the camera itself on your local network. The first login usually asks you to create a strong administrator password, because modern Axis firmware does not ship with a single universal password that everyone knows. Choose a long, unique password that you store safely, and do not reuse a password from another service. This first password is one of the most important security steps in the whole setup, because it controls who can view and change your camera.
After that first login to your axis cameras default ip address, take a few minutes to complete the basic security settings before you worry about image quality or recording. Change any default account details as prompted, enable secure connection options where your model offers them, and check for a firmware update from the manufacturer’s official support pages for your exact model. Firmware updates often fix bugs and security issues, and installing them early saves trouble later. Keep a private note of the camera’s address, its model, and its location in your own home or business, so that future maintenance is straightforward.
Next, after confirming axis cameras default ip, set the network configuration to suit your own setup. Many users prefer a fixed address for a camera, so that the address does not change after a router restart and break a recording link or an app connection. If you choose a fixed address, pick one inside your own network range that your router is not already using, and record it. If you prefer automatic assignment, make sure your router can reserve an address for the camera, which gives you the stability of a fixed address without manual configuration. Either approach works, provided you document what you chose.
Fixing Common Setup Problems on Your Own Camera
The most common problem when working with axis cameras default ip is that the camera does not appear in discovery at all. Work through the physical layer first: power, cable, switch port, and status light. Try a different Ethernet cable and a different port on your router or switch, and confirm that other devices on the same cable and port can connect. If you are using Power over Ethernet, confirm that your switch or injector actually supplies power at the level your camera model requires. A camera with insufficient power may light up briefly and then fail to start fully, which looks like a network problem but is really a power problem.
The second common problem with axis cameras default ip is an address mismatch. Your computer and your camera must be on the same local network to reach each other directly. If your computer is on a guest wireless network while your camera is on the main wired network, or if you are connected through a virtual private network that routes traffic elsewhere, the browser may fail to reach the camera even though both devices are working. Temporarily connecting your computer to the same network segment as the camera, following your network’s normal rules, usually resolves this. If your computer’s own network settings were changed manually in the past, returning them to automatic assignment for this test can also help.
The third common problem with axis cameras default ip is a browser or security warning. When you open a local device address, your browser may warn that the connection is not private, because the camera uses a self-signed certificate for its local web page. That warning is normal for a device on your own local network that you are accessing directly, and it does not mean the camera is faulty. Read the warning, confirm that the address matches the camera you own, and proceed only on your own network. If you are ever unsure whether an address belongs to your camera, stop and re-check with the discovery tool or your router, rather than entering credentials into an unfamiliar page.
| Symptom on your own camera | Likely cause | First safe check |
|---|---|---|
| Camera not found by discovery tool | No power, faulty cable, or different network segment | Check power, cable, port, and status light |
| Browser cannot reach the address | Computer and camera on different networks | Put both on the same local network you control |
| Factory address does not respond | Router already assigned a different address via DHCP | Use the discovery tool or your own router device list |
| Login page appears but password fails | Password already set, or wrong account | Use your recorded first-time password, or reset per the model manual |
| Camera works, then disappears after restart | Address changed after router restart | Reserve an address in your router, or set a fixed address |
Securing Your Own Axis Camera After Setup
Once your own camera is working after axis cameras default ip setup, good security habits keep it working safely. Keep firmware updated, use a strong unique administrator password, and disable any remote access features you do not actually need. If you do need remote viewing, use the manufacturer’s recommended secure method for your model, rather than opening ports or sharing credentials informally. Review who has access to the camera, remove old accounts you no longer use, and check recording settings so that you are only recording areas you own or are authorised to monitor, in line with local laws and workplace or household rules.
Placement also matters for privacy after axis cameras default ip setup. A camera that watches your own front door, shop floor, or warehouse aisle is a different matter from a camera pointed at a neighbour’s property or a shared space where people expect privacy. Position your own cameras to cover only the areas you need, tell household members or staff where cameras are, and follow any local rules about signage or notification. Responsible placement protects both the people being recorded and the owner, because it prevents disputes that no amount of technical setup can fix afterwards.
For broader network basics that help with any home setup, Dooekpo guides such as another name for a network and internet and TV service providers in your area explain network vocabulary and provider choices, while how to remove your name from the internet covers privacy habits that pair well with camera security.
Frequently Asked Questions
What is the default address for an Axis camera?
There is no single address that fits every Axis model and every network. Many models fall back to a factory address in the 192.168.0 range, commonly 192.168.0.90, when no DHCP server is present, but a camera on a network with DHCP will normally take an address from your router instead. Use the discovery tool or your own router list to confirm the actual address.
Why can I not find my own Axis camera?
Check power, cable, and network segment first. The camera and your computer must be on the same local network you control, and the camera must have finished starting up. A different cable, a different router port, and a fresh discovery scan resolve most first-time cases.
What is the default password for an Axis camera?
Modern Axis firmware does not rely on a single universal password. You normally create an administrator password on first login. If that password is lost, follow the reset procedure in your exact model’s manual, which restores the camera to its factory state for your own device.
Should I change the camera address after setup?
You can, and many owners do, either by setting a fixed address inside their own network range or by reserving an address in their router. Either way, record the new address, because a camera whose address keeps changing will break recording links and app connections.
Conclusion
Finding axis cameras default ip is less about memorising one number and more about confirming the address your own camera actually uses on your own network. Check your model’s documentation for axis cameras default ip, use the manufacturer’s discovery tool, confirm the address in your own router’s device list, and complete the first login with a strong unique password. Fix physical problems before guessing addresses, keep firmware updated, and position your camera responsibly. Follow those steps, and your own Axis camera will move from a new box on the table to a reliable, secure part of your home or business network.