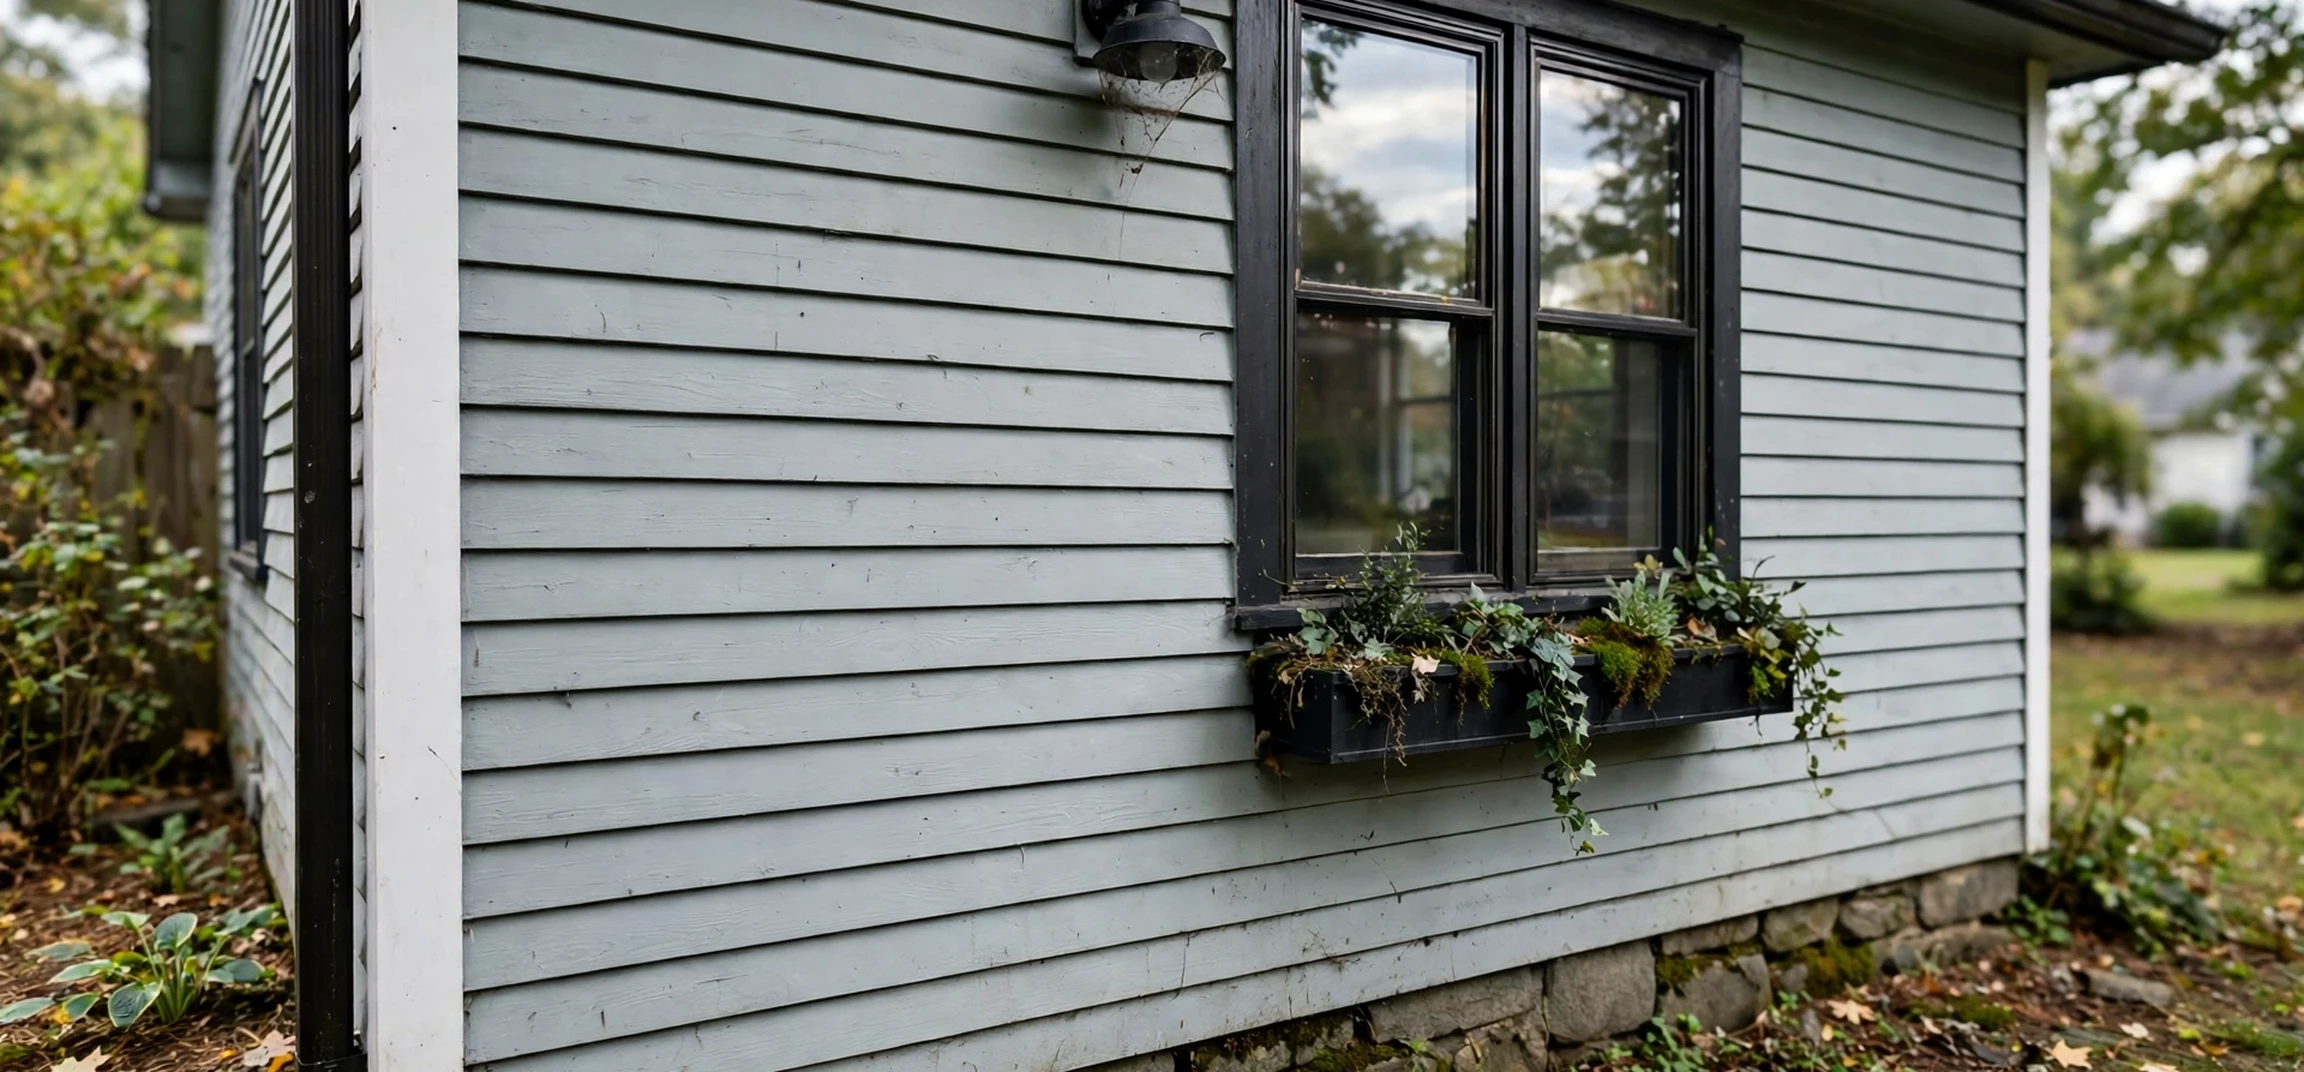
Learning hardie board siding installation starts with understanding what fiber cement siding is, how it behaves on a house, and why careful planning matters more than speed. Fiber cement boards are made from a mixture of cement, sand, and cellulose fibers, which gives them a dense, durable feel and a look that can resemble wood without the same upkeep. This guide walks through the general process in plain language, from planning and safety to cutting, fastening, sealing, and long-term care. It is written for homeowners who want to understand the work before they begin, and it is not a substitute for the product instructions that come with the boards you buy or for local building rules in your area.
Before any board goes up, it helps to think of siding as a system rather than a single layer. The wall behind the siding, the weather barrier, the flashing, and the trim all work together to keep water out and air moving in the right places. A neat-looking installation that traps water behind the boards can cause problems later, while a careful installation that respects gaps, overlaps, and drainage will usually look better and last longer. Take time at the planning stage, measure twice, and keep notes about the products and fasteners you plan to use.
What Is Hardie Board Siding and How It Works
Hardie board siding installation begins with boards that are heavier and stiffer than vinyl or wood siding. That weight affects handling, cutting, and fastening, so planning for help and for the right tools is part of the job. The boards are commonly available in lap profiles, where each board overlaps the one below it, and in panels or shingles that create different looks. Lap siding is the most familiar style on many homes, and it creates shadow lines that give a house depth and texture.
Fiber cement resists many of the problems that affect wood, such as insect damage and rot, when it is installed and maintained correctly. It does not mean the material is indestructible. Edges need sealing, cuts need care, and the surface needs a finish that protects it from weather. Paint and caulk are part of the system, not just decoration. When the finish wears down, the boards are more exposed to moisture, so repainting on a sensible schedule is part of owning this kind of siding.
Lap Boards, Panels, and Trim Choices
Choosing a profile changes both the look of the house and the details of the work. Lap boards are installed row by row from the bottom up, with each row overlapping the row below. Panels are larger sheets that are often used with battens or trim strips to create a vertical pattern. Trim boards frame windows, doors, and corners, and they help cover joints and edges in a tidy way. The trim also plays a practical role, because it directs water away from openings and gives caulk joints a clean surface to seal.
Color and texture also matter. Some boards come prefinished, while others are primed and painted after installation. Prefinished boards can save painting time, but touch-ups still matter at cut ends and fastener locations. Primed boards give you more color freedom, but they need a full paint system applied after the work is done. Either way, read the finish instructions carefully and allow proper drying time between coats.
Planning Your Hardie Board Siding Installation
Good planning for hardie board siding installation starts with measuring every wall, noting window and door openings, and sketching where each row will fall. Measure wall height and length, count corners, and note places where siding meets roofs, decks, or other materials. This sketch helps you estimate how many boards you need and where offcuts can be reused. Ordering a little extra for cuts and mistakes is normal, and it is better than running short halfway up a wall.
Check the condition of the wall before you start. Remove old siding carefully if that is part of your project, and look for damaged sheathing, soft spots, or signs of water trouble. Fixing wall problems before new siding goes on is far easier than fixing them afterward. If you find structural damage, mold, or wiring and plumbing that need attention, pause and get qualified help for that part of the work. Siding covers a wall, but it does not repair what is underneath it.
Weather Barrier, Flashing, and Drainage
A weather-resistant barrier is typically installed over the sheathing before siding, and its job is to shed water that gets behind the boards. Seams should overlap in a shingle-like way so water drains downward, not into the wall. Flashing is used at windows, doors, roof intersections, and other transitions, and it should also direct water outward. These details are easy to rush, but they are among the most important parts of the whole project.
Leave the gaps the product instructions call for at butt joints, trim, and openings. Fiber cement expands and contracts slightly with temperature and moisture, and tight joints can buckle or crack paint over time. Small, consistent gaps filled with the right sealant allow movement while keeping water out. Keep the bottom edge of the siding clear of soil, mulch, and standing water, following the clearance guidance for your product and your local code.
Tools, Materials, and Safety Basics
Common tools for this kind of work include a measuring tape, a level, a chalk line, a square, a saw rated for fiber cement, a drill or nail gun suited to the fasteners, and safety gear. Cutting fiber cement creates dust, so a dust-reducing saw setup, eye protection, hearing protection, and a well-fitting dust mask or respirator are important. Work outdoors or in a ventilated area when cutting, and clean up dust promptly rather than letting it spread around the work area.
Because the boards are heavy, plan how you will carry and stage them. Store boards flat, dry, and off the ground, and keep them protected from rain until they are installed. On ladders and scaffolding, keep three points of contact where possible, never overreach, and move the ladder instead of leaning out. If the work is high, steep, or near power lines, that is a strong reason to reconsider doing it yourself and to seek experienced help for those sections.
Fasteners, Cutting, and Handling
Fasteners for fiber cement are usually corrosion-resistant nails or screws, chosen to suit the product and the wall framing. Fastener length, spacing, and placement all affect how well the boards stay put and how they handle wind and movement. Drive fasteners straight and to the right depth: fasteners driven too deep can crack the board, while fasteners left proud can interfere with the next row and look untidy. Follow the spacing pattern in the product guide rather than guessing.
Cut boards with a blade made for fiber cement and score or support the board so it does not snap unexpectedly. Cut ends should be sealed or primed as the product guide directs, because exposed cut edges absorb moisture more readily than factory edges. Label offcuts by length so you can reuse them for shorter runs above windows or at wall ends, which reduces waste and keeps the layout tidy.
Step-by-Step Hardie Board Siding Installation Overview
A typical lap installation starts with a level starter strip or line near the bottom of the wall, set at the correct height above grade and other surfaces. The first row is installed level, because every row above it follows from that line. If the first row is out of level, the error becomes more visible as you go up the wall, and window and door trim may not line up neatly. Check level often, not just at the start.
Each following row overlaps the row below by the exposure amount specified for the product. Keep butt joints staggered so joints do not line up vertically from row to row, and place joints over framing where the guide calls for it. At corners, use corner boards or trim to give a finished edge, and keep joints away from the very edge of a corner where they are harder to seal. Around windows and doors, measure carefully and leave room for flashing and caulk joints.
Working Around Windows, Doors, and Corners
Openings are where careful work shows. Measure the opening, transfer the shape to the board, and cut in small steps, checking the fit before fastening. It is often easier to cut a board slightly long and trim it than to cut it short and waste a piece. Leave the recommended gap between the siding and the trim, then seal that joint with a compatible sealant after the boards are in place and the surfaces are clean and dry.
Corners deserve the same patience. Inside corners may use a trim piece or a caulked joint, while outside corners usually use corner boards that cover both wall ends. Keep fasteners away from the very edge of a board to reduce splitting, and check that corner boards are plumb so the whole wall reads straight. A small level check at each corner can prevent a lean that becomes obvious from the street.
Sealing, Caulking, and Painting
Once boards are fastened, sealing is the next step. Apply sealant at butt joints, trim joints, and around openings where the product guide calls for it, and tool the sealant smooth so it bonds to both sides of the joint. Do not seal joints that are meant to stay open for drainage, such as the bottom edge of lap rows or vented details. Sealing the wrong joint can trap water, so follow the guide for which joints to seal and which to leave open.
Painting protects the surface and completes the look. If the boards are primed, apply the primer and paint system the manufacturer recommends, and paint cut ends and touch-up spots as you go. Two coats usually give better coverage and durability than one heavy coat, and painting in mild, dry weather helps the finish cure properly. Avoid painting in very hot sun, high wind, or when rain is expected before the paint can dry.
Final Checks Before You Call the Job Done
Walk around the house slowly and look for loose boards, proud fasteners, missed caulk joints, and paint touch-ups. Check that vents are not blocked, that gutters and downspouts still direct water away from the wall, and that the bottom clearance above soil and hard surfaces is maintained. Clean up offcuts, fasteners, and dust, and keep a few spare boards and a record of the paint color for future repairs.
If you notice a board that is cracked, a joint that will not stay sealed, or a section that feels loose, address it before it becomes a larger repair. Small fixes early are usually simple, while water damage discovered years later can involve sheathing and framing work. A short inspection once or twice a year, especially after storms, is a sensible habit for any siding, and fiber cement is no exception.
Maintenance and Common Mistakes to Avoid
Routine care for fiber cement siding is straightforward. Wash the surface gently with water and a soft brush when dirt builds up, and avoid harsh pressure washing that can force water behind boards or damage paint. Keep plants, soil, and mulch away from the bottom edge, keep gutters clear, and repaint when the finish shows wear, chalking, or peeling. Recaulk joints when sealant cracks or pulls away, and touch up cut ends after any repair.
Common mistakes include skipping the weather barrier, driving fasteners incorrectly, sealing drainage joints, installing boards too close to the ground, and painting over dirty or damp surfaces. Another common mistake is starting without a level first row, which throws off the whole wall. Taking time at each stage, checking the product guide, and fixing small errors as you find them will usually produce a better result than rushing to finish.
| Stage | Key task | Watch out for |
|---|---|---|
| Planning | Measure walls and openings, sketch row layout | Forgetting trim, corners, and clearance heights |
| Preparation | Repair sheathing, add weather barrier and flashing | Trapped water behind boards |
| Cutting | Use a fiber cement blade, seal cut ends | Dust exposure and unsealed edges |
| Fastening | Correct nails, spacing, and depth | Overdriven or proud fasteners |
| Finishing | Caulk proper joints, paint as directed | Sealing drainage gaps shut |
| Care | Inspect yearly, wash gently, repaint on schedule | Soil or mulch touching the boards |
Frequently Asked Questions About Hardie Board Siding Installation
Can a homeowner install fiber cement siding alone?
Some experienced do-it-yourself homeowners do this work, but the boards are heavy, cutting creates dust, and much of the work happens on ladders. Having a helper, the right tools, and a clear understanding of the product guide makes the job safer and easier. For high walls, complex trim, or structural repairs, experienced help is a sensible choice.
Does fiber cement siding need painting?
Primed boards need a paint finish, and prefinished boards still need touch-ups at cuts and fasteners. Paint is part of the weather protection system, so it should be maintained over time. Follow the finish guidance for your product and repaint when the coating shows wear.
How long does fiber cement siding last?
Lifespan depends on installation quality, climate, finish maintenance, and exposure to moisture. Boards installed with proper flashing, gaps, and paint care tend to perform far better than boards installed quickly with skipped details. Regular inspection and prompt small repairs are the best way to protect the investment.
Conclusion: Hardie Board Siding Installation Done With Care
A successful hardie board siding installation is less about speed and more about sequence: plan the layout, prepare the wall, protect it with a weather barrier and flashing, cut and fasten with care, seal the right joints, and finish with paint. Each step supports the next, and skipping one usually shows up later as a leak, a cracked joint, or peeling paint. If you take the time to follow the product guide and your local rules, you can achieve a tidy, durable result that suits the house.
For readers who want to keep learning about home upkeep, related guides on this site cover house cleaning guides, homeowners insurance by address, and property preservation. Start with a careful plan, work safely, and inspect the finished wall before moving on.