Learning how to crop picture files is one of the most useful photo skills you can pick up, because cropping changes a photograph more dramatically than almost any other single edit. A good crop removes distractions, straightens a wonky horizon, draws the eye to the real subject, and reshapes a photo for the frame or screen where it will be seen. The good news is that you do not need expensive software or professional training. Every phone, tablet, and computer now includes a cropping tool, and the basic technique is the same on all of them: choose the part of the picture you want to keep, discard the rest, and save the result.
If you searched for “how to crop picture”, you probably have a specific photo in mind: a holiday snap with too much empty sky, a portrait with a stranger wandering into the edge, a product photo that needs to fit a square frame, or a screenshot that includes more screen than you meant to capture. This guide walks through the process step by step, covers the tools on the devices most people actually use, explains aspect ratios and resolution in plain language, and flags the common mistakes that turn a good photo into a blurry one. By the end, you will be able to crop confidently on any device.
How to Crop Picture Files: The Basic Method
Whatever tool you use, cropping follows the same four steps. First, open the picture in an editor and select the crop tool, which is usually shown as an icon of overlapping right angles or a square with extended corners. Second, drag the corners or edges of the frame that appears until it encloses exactly the part of the picture you want to keep. Third, adjust the position of the frame by dragging inside it, so the subject sits where you want it within the new composition. Fourth, confirm the crop and save, ideally as a new copy so the original remains untouched.
Saving a copy deserves emphasis. Cropping is destructive in most basic editors, meaning the discarded pixels are gone once you save over the original. If you later change your mind, or need a different shape for another purpose, you will wish you had kept the full photo. The safest habit is to duplicate the image before cropping, or to use an editor that keeps edits non-destructive, so you can undo the crop at any time. On a phone, duplicating takes only a few seconds, and it is the single best insurance against regret.
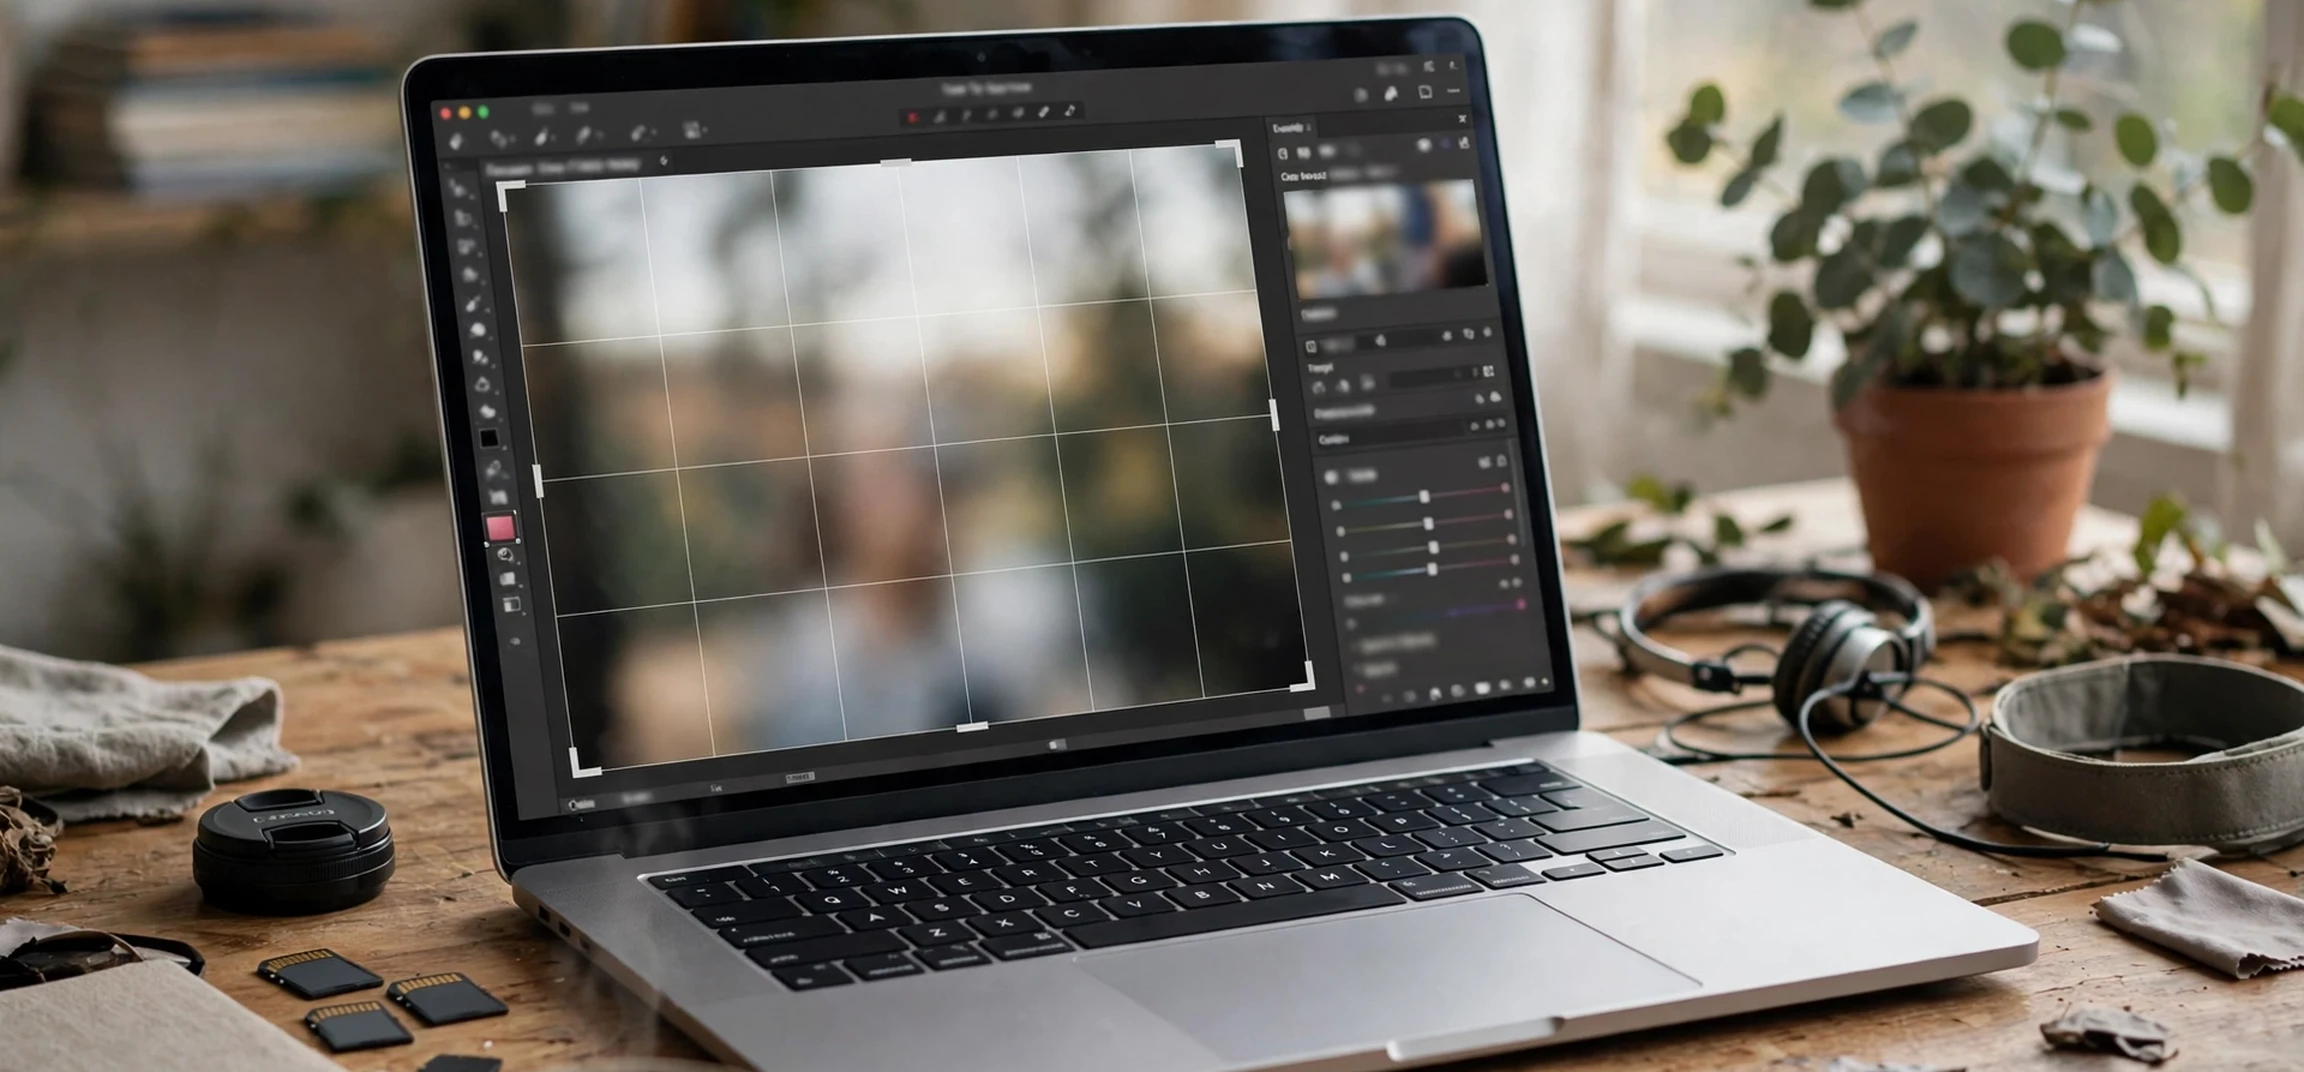
While you adjust the frame, most editors show a grid of thirds: two horizontal and two vertical lines dividing the frame into nine equal parts. This is the rule of thirds, a composition guideline that suggests placing important subjects along those lines or at their intersections rather than dead centre. It is not a law, and centred compositions work beautifully for portraits and symmetrical subjects, but the grid is a genuinely helpful guide when you are unsure where to place your subject. If your editor hides the grid, look in its settings or crop options to switch it on.
How to Crop Picture Files on iPhone and Android
On an iPhone, open the photo in the Photos app, tap Edit, and then tap the crop icon at the bottom of the screen. Drag the corners of the frame to set your crop, drag inside the frame to reposition it, and use the straighten slider or the aspect-ratio button if you want a specific shape. When you are happy, tap Done. If you change your mind later, open the photo again, tap Edit, and choose Revert, which restores the original. That built-in safety net is one of the best features of the iPhone editor, and it means you can experiment freely.
On an Android phone, the exact steps vary slightly by manufacturer, but the pattern is the same. Open the photo in Google Photos or your phone’s gallery app, tap Edit, and choose the crop tool. Drag the corners to set the frame, and look for the aspect-ratio options, which usually include freeform, square, and common shapes such as 16:9 and 4:3. Google Photos also keeps your edits reversible: you can return to the edited photo and revert to the original if a crop does not work out. If your gallery app lacks a feature you need, a free editor from your app store will almost certainly provide it, but check its permissions and reviews before installing anything.
Phones are ideal for quick crops, but their small screens make fine adjustments fiddly. If a crop needs precision, such as straightening a building or aligning a horizon exactly, pinch to zoom in on the photo while the crop frame is active, so you can see the edges clearly. Also, be aware that cropping aggressively on a phone photo reduces its resolution quickly, since phone images, while large, are not infinite. A crop that keeps at least half the original width will usually still look sharp on a screen, while a tiny crop enlarged to fill a screen will start to look soft.
How to Crop Picture Files on a Computer
On a Windows computer, open the picture in the Photos app, click Edit, and choose the crop tool. Drag the corners to set your frame, use the aspect-ratio menu for standard shapes, and click to confirm. On a Mac, open the picture in Preview or Photos, choose the crop tool, and drag to select the area you want to keep, then confirm. Preview has a particularly simple approach: just drag a selection rectangle over the part you want, then choose the crop command, and everything outside the selection disappears.
Computers have two advantages over phones for cropping. The first is screen size, which makes it much easier to judge composition and spot small distractions at the edges of the frame. The second is precision: a mouse or trackpad allows finer adjustments than a fingertip, and many desktop editors let you type exact pixel dimensions if you need a specific size. If you crop photos regularly, for a blog, a shop, or social media, doing the work on a computer will save time and produce more consistent results.
Whatever computer tool you use, keep the same safety habit as on a phone: work on a copy. Save the cropped version with a slightly different filename, such as adding “cropped” to the end, so the original stays intact in your library. This matters most when a photo serves several purposes. A wide original can be cropped square for one platform, tall for another, and left wide for print, but only if the original survives the first crop.
Choosing an Aspect Ratio
Aspect ratio is simply the shape of the picture, expressed as width compared with height. A 16:9 image is wide, like a television screen. A 4:3 image is closer to the shape of an older television or a traditional photograph. A 1:1 image is a perfect square. A 9:16 image is tall, like a phone screen held upright. The right ratio depends entirely on where the picture will be seen, and most editors offer these shapes as presets so you do not have to calculate anything.
As a rough guide, use 16:9 for video thumbnails and wide banners, 4:3 or 3:2 for general photography and printing, 1:1 for profile pictures and grid-style feeds, and 9:16 or 4:5 for portrait-oriented social posts. If you are unsure, crop freeform to the composition that looks best, and let the platform do any final adjustment. A well-composed freeform crop will survive a platform’s automatic trimming better than a poorly composed crop forced into the wrong shape.
| Aspect ratio | Shape | Common uses |
|---|---|---|
| 16:9 | Wide | Video thumbnails, banners, presentations |
| 4:3 | Nearly square, slightly wide | General photos, slideshows, printing |
| 1:1 | Square | Profile pictures, grid feeds, product tiles |
| 4:5 | Tall | Portrait social posts, posters |
| 9:16 | Very tall | Phone wallpapers, vertical video stills |
Cropping Without Losing Quality
The most important technical idea in cropping is resolution. A digital photo is made of pixels, and cropping throws pixels away. If you start with a large photo and crop modestly, plenty of pixels remain and the result looks sharp. If you crop a small area out of an already small photo and then display it large, the remaining pixels are stretched, and the image looks soft or blocky. The rule is simple: the smaller the crop, relative to the original, the lower the final quality.
Before cropping, check the size of your original. On a phone, the details or info screen will show the pixel dimensions. A photo that is 4000 pixels wide can survive a substantial crop and still be sharp on any screen. A photo that is only 800 pixels wide, such as one downloaded from a message or a social feed, has very little room for cropping before quality suffers. In that case, crop gently, and accept a smaller final image rather than enlarging it afterwards.
There are a few practical tricks for protecting quality. Crop in small steps, checking the result at full size before going further. Avoid cropping and then enlarging in the same edit, since enlargement cannot restore detail that cropping removed. If you need both a crop and a resize, do the crop first and export at the highest quality setting your editor offers. And if a photo is precious but low resolution, consider whether a gentler edit, such as straightening or a slight trim of the edges, achieves the goal without sacrificing sharpness.
Composition Tips for Better Crops
Good cropping is mostly good composition. Start by identifying the subject: the one thing the photo is about. Then remove everything that competes with it. That stray bin, that half-person at the edge, that bright sign in the corner — if it does not serve the subject, crop it out. This single habit improves more photos than any filter or effect. A large part of learning how to crop picture files well is training yourself to check the edges of the frame as carefully as the centre. Next, give the subject room to breathe in the direction it faces or moves towards. A person looking to the right feels cramped if they are pressed against the right edge, but relaxed if there is space ahead of them.
Watch the edges of your frame as carefully as the centre. It is easy to focus on the subject and miss a distracting object creeping in at the border, or to accidentally cut through a joint, such as cropping at someone’s ankles or wrists, which looks awkward. A slightly wider crop that keeps hands and feet intact usually looks more natural than a tight crop that amputates them. Similarly, check the horizon: a tilted horizon is one of the most noticeable flaws in a landscape photo, and most crop tools include a straighten control that fixes it in seconds.
For related photo techniques, see our guide to how to blur pictures on iPhone, which covers a common companion edit. If you work with images online, our guide to backwards image searching explains how to find the source of a picture, and our article on picture in picture with subtitles covers a useful viewing feature for video.
Common Cropping Mistakes
The most common mistake is cropping too tightly. Beginners often zoom in on the subject until it fills the frame, only to discover the result feels claustrophobic and loses all sense of place. A photo of a child on a beach is better with some sand and sea visible, because the setting is part of the memory. Leave a little context unless you have a specific reason to remove it. The second mistake is the opposite: cropping so timidly that the distraction remains. If you are cropping to remove something, remove it completely. A half-removed object at the edge is more distracting than the original.
A third mistake is forgetting the final destination. A square crop made for a profile picture will lose the top and bottom of a tall photo, and a wide crop made for a banner will lose the sides of a portrait. A final point on how to crop picture files for sharing is to export at the highest quality setting available, since a good crop deserves a clean export. Always crop for the shape you actually need, and if one photo must serve several shapes, start from the original each time rather than cropping a crop. A fifth mistake is saving over the original, which we have already covered but which bears repeating, because it is the one mistake that cannot be undone in editors without a revert option.
Frequently Asked Questions
Can I undo a crop?
In most modern phone editors, yes, by choosing the revert option on the edited photo. On a computer, it depends on the app. The safest approach in any editor is to work on a copy and keep the original untouched.
Does cropping reduce quality?
Cropping removes pixels, so an aggressive crop from a small original will look softer when displayed large. Modest crops from large originals have no visible effect on quality, especially when viewed on a screen.
What is the best aspect ratio?
There is no single best ratio. It depends on where the image will appear. Square suits profile pictures and grids, wide suits banners and video, and tall suits phone screens. Whatever shape you choose, the basic how to crop picture workflow stays the same: frame, check, and save a copy.
Can I crop a screenshot?
Yes, and screenshots are among the most commonly cropped images. Open the screenshot in your usual photo editor, select the crop tool, and frame the relevant part of the screen, removing notifications, toolbars, and other clutter.
Conclusion
Cropping a picture is a small skill with an outsized effect. Open the photo, choose the crop tool, frame the part that matters, check the edges, and save a copy. Do that with attention to composition and a little respect for resolution, and your photos will look cleaner, sharper, and more intentional, whether they are holiday snaps, product shots, or profile pictures. The tools are already on the device in your hand, and the technique takes only a few minutes to learn. The rest is practice, and every photo you crop makes the next one easier to judge.