If you searched for ‘how to make a cartoon of myself’, you probably have a favourite photo in mind and want to turn it into a stylised portrait using software installed on your own computer. Desktop software gives you that control: your photo stays on your machine, you can work offline, and you can adjust every line, colour and shadow until the result looks like you rather than a generic filter. This guide explains how to make a cartoon of myself with desktop photo editors, from choosing the right programme to preparing your photo, tracing the main features, colouring the portrait, and exporting a version you can actually use. You do not need to be a professional illustrator, but you will get a better result if you work in stages and keep checking your work against the original photo.
A cartoon portrait is not simply a photo with a filter thrown over it. A good one simplifies: it keeps the shapes that make a face recognisable, such as the outline of the jaw, the distance between the eyes, the shape of the eyebrows, and a distinctive hairstyle, while it drops the fine detail that would make the picture look noisy. Desktop editors are well suited to this job because they let you work in layers. You can keep the photo on one layer, draw clean outlines on a layer above it, and fill in flat colours on a layer below the outlines. If a colour looks wrong, you change only that layer. If an eye looks out of place, you move only that shape. That layered way of working is the single biggest advantage of desktop software over a one-tap phone filter. It is also why desktop software rewards anyone learning how to make a cartoon of myself properly, rather than accepting the first automatic result.
How to Make a Cartoon of Myself With Desktop Software
Start by picking an editor that matches your experience. If you are new to image editing, a free, general-purpose editor with layers, brushes and selection tools is a sensible first choice. If you already edit photos, the editor you know best is usually the best choice, because you will spend your time drawing instead of learning menus. Paid professional editors offer finer brush control and better handling of large files, but they are not required for a pleasing cartoon portrait. What matters most is that the programme supports layers, lets you zoom in closely, and can export a common image format at a good size. Check those three points before you begin, and you will avoid the frustration of finishing a portrait you cannot save properly. This short check is a useful first step in learning how to make a cartoon of myself without wasted effort.
Before you open any tool, choose your source photo with care. A clear, well-lit, front-facing photo at a reasonably large size will always beat a small, dark or heavily cropped one. The face should fill a good part of the frame, both eyes should be visible, and the lighting should fall fairly evenly across the face so that shadows do not hide one side. Avoid photos taken at an extreme angle, photos with sunglasses, and photos where another person overlaps your face. If your best photo is slightly dull, you can brighten it a little in the editor first, but you cannot invent detail that was never captured. A strong starting photo does more for the final cartoon than any clever brush setting. Anyone asking how to make a cartoon of myself well should therefore spend more time choosing the photo than choosing the brush.
Preparing Your Photo for a Cartoon Portrait
Open the photo in your editor and save a working copy under a new name, so the original stays untouched. Increase the canvas size slightly if you plan to add a background, and set the resolution high enough for your intended use: a portrait meant for a screen can be smaller, while one meant for print needs more pixels. Next, create a new transparent layer above the photo and reduce the opacity of the photo layer a little, so your drawn lines stand out against it. This simple setup keeps your drawing visible while the photo remains available as a guide underneath.
Study the photo for a minute before you draw anything. Notice the overall shape of the head: is it round, oval, long, or square at the jaw? Notice the hairline, the thickness of the eyebrows, whether the nose is straight or curved, and the shape of the mouth when relaxed. These are the features people recognise. Write them down if it helps, or sketch a few rough shapes on a spare layer. Cartooning rewards observation more than speed, and that habit is at the heart of learning how to make a cartoon of myself that still looks like me. The artists who produce the most recognisable portraits are usually the ones who spent longest looking before they started drawing.
Choosing a Style Before You Draw
Decide on a style early, because it shapes every later decision. A simple flat style uses bold outlines and blocks of colour with almost no shading, which suits profile pictures and icons. A softer, shaded style uses gentle gradients and a little highlight on the hair and cheeks, which suits a larger portrait or a printed gift. A comic style uses thicker outlines, exaggerated expressions and stronger contrast. None of these is better than the others, but mixing them halfway through usually looks messy. Pick one, and keep a small test patch on the side of the canvas where you can try a colour or a line weight before committing it to the portrait.
Drawing Clean Outlines on a Desktop Editor
Outlines carry the whole portrait, so give them time. Using a hard round brush on your transparent layer, trace the outer shape of the head and hair first, then the ears, eyebrows, eyes, nose and mouth. Work at a high zoom level for small features and zoom out regularly to check the overall balance. Short, confident strokes usually look cleaner than one long, wobbly line, so do not be afraid to undo and redraw a curve. Keep the line weight consistent across the face, with slightly thicker lines for the outer head shape and hair, and slightly thinner lines for inner details such as eyelashes or the line of the mouth.
Eyes deserve special attention, because viewers look at them first. Draw the eye shape, the iris and the pupil, and leave a small white highlight in each eye so the portrait looks alive. Keep both eyes at the same height and roughly the same size unless the photo genuinely shows otherwise. Eyebrows are equally important for expression: a small change in their angle can turn a neutral face into a cheerful or thoughtful one. Compare each feature with the photo as you go, and flip the canvas horizontally from time to time. Flipping reveals lopsided shapes that your eyes stop noticing after staring at the same image for a while.
Common Outline Mistakes to Avoid
The most common mistake is drawing what you think a face should look like instead of what the photo shows. If the photo shows one eyebrow slightly higher than the other, keeping that difference will make the portrait more recognisable, not less. Another frequent mistake is making the eyes too large simply because cartoon eyes are often large; a modest enlargement suits a portrait of a real person better than a dramatic one. A third mistake is tracing every strand of hair. Hair reads better as a few large shapes with a handful of inner lines suggesting flow and parting. Finally, resist the urge to outline every wrinkle or skin mark. Choose one or two characteristic marks and leave the rest out, or the portrait will look older and busier than the person in the photo.
Colouring and Shading Your Cartoon Portrait
Once the outlines are finished, hide or delete the photo layer and check that the drawing still reads clearly on its own. Then create a new layer below the outline layer for flat colours. Fill the skin with a single tone sampled from the photo, but softened slightly so it does not look patchy. Fill the hair, eyes, lips and clothing on the same layer, or on separate layers if you want to adjust them independently. Flat colour first, shading second: this order keeps the portrait tidy and makes it easy to change a colour later without disturbing the outlines.
Shading adds depth, but a little goes a long way. Add a soft shadow layer set to a low opacity, and paint gentle shadows under the chin, on one side of the nose, and beneath the hairline. Add a highlight layer for the hair and the cheekbones, using a lighter tone of the same colour rather than pure white. Keep the light source consistent: if the light comes from the left in your photo, all shadows should fall to the right. Inconsistent shading is one of the quickest ways to make a cartoon look flat or confusing. Step back, or view the portrait at a small size, to judge whether the shading helps or distracts. If you cannot decide, the simpler version is usually the stronger one. That restraint is a good rule whenever you practise how to make a cartoon of myself in a shaded style.
Backgrounds deserve a decision rather than an afterthought. A plain, solid colour makes the portrait pop and works well for profile pictures. A simple scene, such as a soft gradient or a few shapes suggesting a room, suits a larger print. Avoid a busy photographic background behind a cartoon face, because the two styles clash and the face loses focus. If you do want a scene, draw it in the same flat style as the portrait, using the same palette, so the whole image feels like one picture rather than a cartoon pasted onto a photo.
Exporting and Checking Your Finished Cartoon
When the portrait looks right, export it at a generous size and check it in three places: at full size on your computer, at thumbnail size as it would appear in a profile circle, and, if you plan to print it, as a test print on ordinary paper. A portrait that looks fine at full size can lose its eyes at thumbnail size, in which case you may need to thicken the outlines slightly or simplify the background. Save a copy of the layered working file as well as the exported image, so you can change the background, adjust a colour, or produce a new size later without redrawing everything. Keeping that working file is one of the most practical lessons in how to make a cartoon of myself for repeated use.
It is worth comparing your finished portrait with the original photo one last time. Ask whether a friend would recognise the person without being told. If the answer is uncertain, the likeness usually needs one feature strengthened rather than a complete redraw: perhaps the hairstyle needs its characteristic shape, the eyebrows need their natural angle, or the jaw needs its true width. Small, targeted fixes like these are the advantage of layered desktop work. You can return to a single layer, adjust one shape, and export again in minutes.
| Stage | What to do | Tip for a better result |
|---|---|---|
| Choose software | Pick a layered editor you can use comfortably | Layers matter more than price |
| Prepare the photo | Use a clear, front-facing, well-lit image | Keep the original file untouched |
| Draw outlines | Trace head, hair, eyes, nose and mouth | Flip the canvas to spot uneven shapes |
| Colour and shade | Flat colours first, then gentle shading | Keep one consistent light source |
| Export | Save layered file and exported image | Check at thumbnail size too |
Desktop editing also makes it easier to reuse your portrait later. The same layered file can become a square profile picture, a wider banner, or a print, simply by changing the canvas and background. If you later want to try a different style, you can hide the colour layers and keep the outlines, or keep the colours and redraw only the hair. That flexibility is hard to match with a single-use filter, and it is why many people who start with a quick app eventually move to a desktop editor for a portrait they plan to keep.
For more ideas about working with pictures on your devices, you might enjoy our guide to blurring pictures on an iPhone, which covers a different kind of photo editing, and our look at cartoon photography for inspiration on playful portrait styles. If you enjoy searching for images as references, our guide to reverse image searching explains how to track down the source of a picture you admire.
Frequently Asked Questions About Desktop Cartoon Portraits
Do I need a drawing tablet?
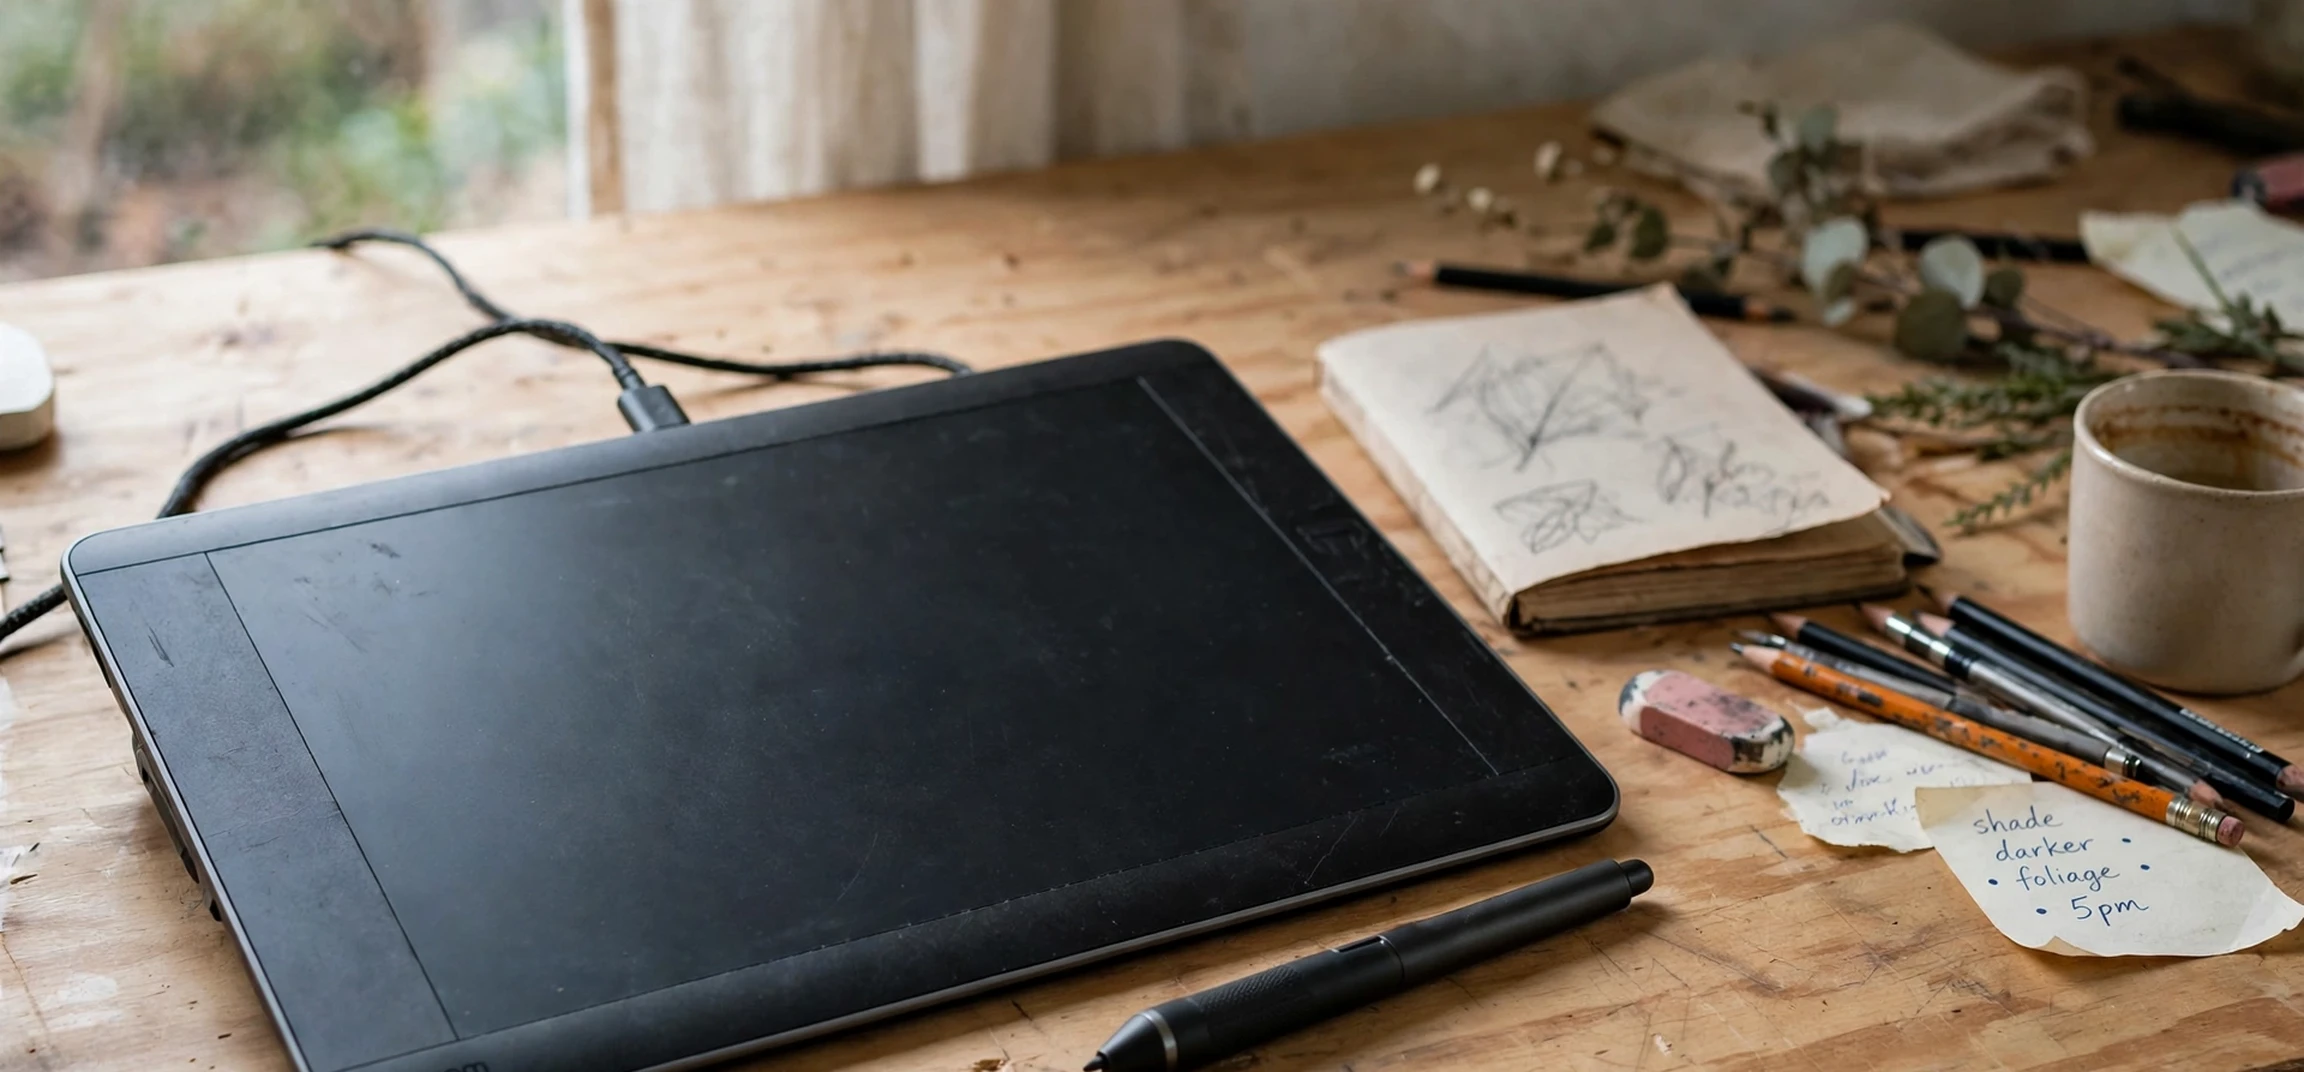
No. A mouse is enough for a flat, bold cartoon style, and many beginners produce excellent results with one. A drawing tablet gives finer control over line pressure and feels more natural for shading, so it is worth considering if you plan to make portraits regularly, but it is not a requirement for your first attempt. Most people learning how to make a cartoon of myself start with a mouse and add a tablet later, if at all.
How long does a desktop cartoon portrait take?
A first portrait often takes one to two hours, including time spent learning the tools. With practice, a simple flat portrait can take under an hour. Rushing usually shows in uneven outlines, so it is better to work in two shorter sessions than to force a finish in one sitting. That unhurried pace suits how to make a cartoon of myself far better than a race against the clock.
Can I use any photo as the starting point?
Technically yes, but you should only use photos you have the right to use: your own photos, or photos where the person pictured has given permission. A clear, well-lit photo of yourself is the safest and usually the most satisfying starting point, and it avoids any question about using someone else’s image.
Conclusion: How to Make a Cartoon of Myself on Desktop
Learning how to make a cartoon of myself on a desktop editor is mostly a matter of working in order: choose a layered programme, start from a clear photo, draw careful outlines, add flat colour and gentle shading, and export at a size that suits your use. The process rewards patience and observation more than expensive software, and the layered file you finish with can be reused for profiles, prints and future experiments. Keep your first portrait simple, compare it honestly with the photo, and let the second attempt be the one where you add shading and detail. That steady approach is how a photo becomes a cartoon that still looks unmistakably like you.