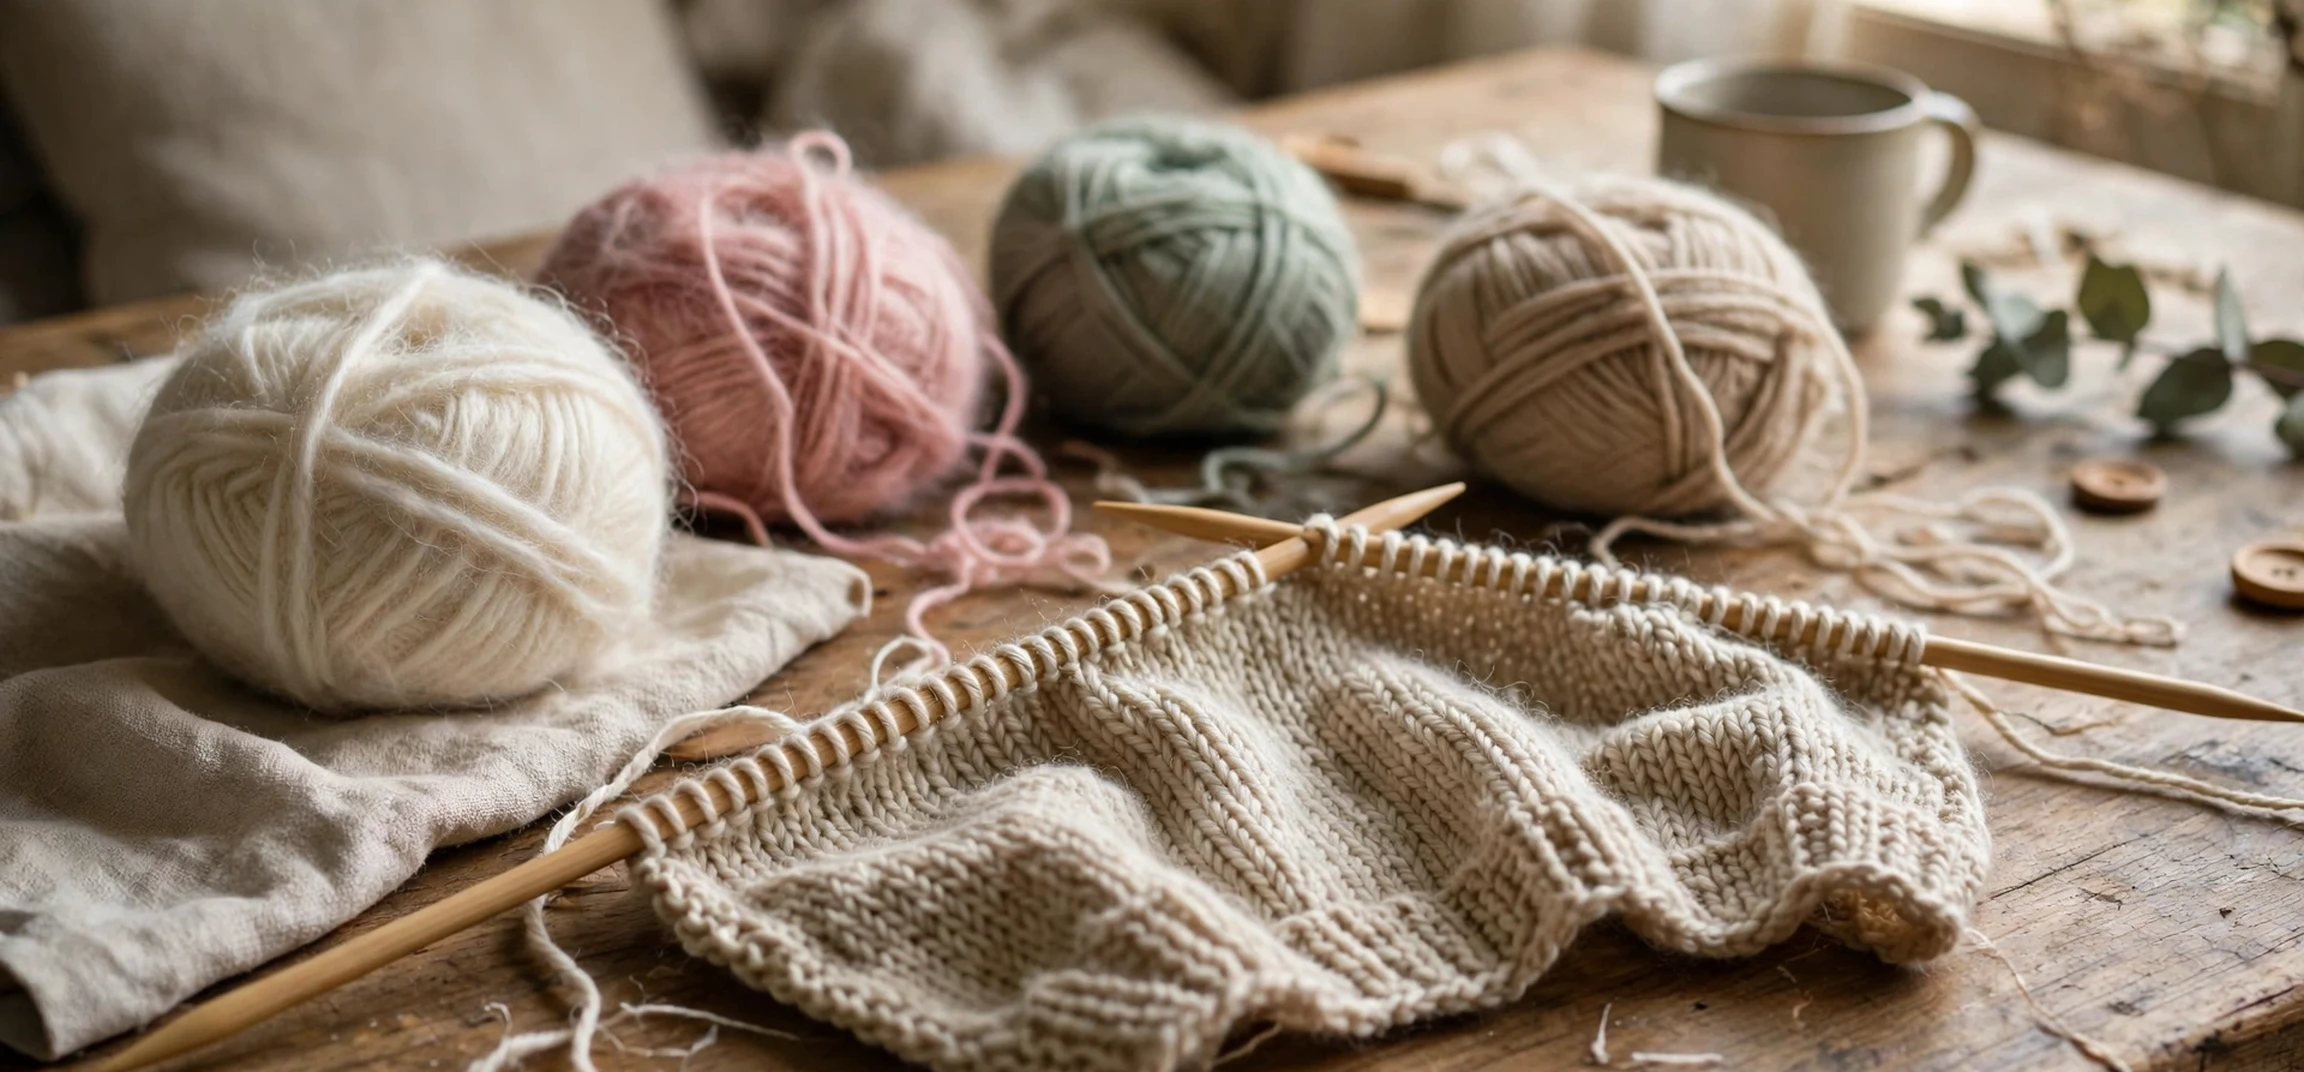
If you have ever admired the smooth, neat surface of a hand-knitted sweater and wondered how that even, V-shaped texture is made, the answer often involves the reverse stockinette stitch. The reverse stockinette stitch is the textured, purl side of stockinette fabric, used on purpose as the visible face of a project. It looks soft, slightly bumpy, and wonderfully handmade, and it gives garments, scarves, hats, and home items a cosy, relaxed character that smooth stockinette does not. This guide explains what the reverse stockinette stitch is, how it differs from regular stockinette, how to knit it, and how to use it well in real projects.
Many beginners meet this stitch by accident. They knit a swatch, turn it over, and discover that the back looks just as interesting as the front, only different. That back is reverse stockinette. Instead of hiding it, designers often flip the fabric on purpose, making the purl bumps the star of the show. Once you understand that stockinette has two faces, a smooth knit face and a bumpy purl face, the whole idea becomes simple, and a whole range of patterns opens up.
This guide is written for beginners and returning knitters. It covers the tools you need, the basic technique in plain steps, how to read patterns that call for reverse stockinette, how to fix common problems such as curling and uneven tension, and how to combine this stitch with ribs, cables, colour work, and texture patterns. By the end, you should be able to knit a neat swatch, recognise the stitch in finished garments, and choose projects where it shines.
What Is the Reverse Stockinette Stitch?
The reverse stockinette stitch is stockinette fabric worked so that the purl side faces outward. In ordinary stockinette, knitters work knit stitches on the right side and purl stitches on the wrong side, producing a smooth surface of V shapes. In reverse stockinette, the roles are swapped: purl stitches are worked on the right side and knit stitches on the wrong side, so the bumpy purl texture becomes the public face of the fabric. The fabric itself is the same structure, only viewed from the other side.
That simple flip changes the look completely. The smooth Vs disappear, replaced by rows of small horizontal bumps that catch the light in a softer, more matte way. The texture feels slightly thicker and more cushioned, and it has a relaxed, rustic quality that suits casual sweaters, cosy hats, chunky scarves, baby blankets, and cushion covers. It also makes an excellent background for cables and raised motifs, because the bumpy surface makes smooth, raised stitches stand out clearly.
Pattern writers describe this stitch in several ways. Some say “reverse stockinette stitch” in full, some shorten it to “reverse stocking stitch” or “rev St st,” and some simply say “work in reverse stockinette.” All of these mean the same thing: keep the purl side facing you as the right side of the work. If a pattern also uses regular stockinette in the same piece, it will usually say which sections are which, so read the pattern notes before you begin.
Reverse Stockinette Stitch Versus Regular Stockinette
The difference between the two fabrics is purely a matter of which side faces out, but the visual and practical effects are real. Regular stockinette is smooth, sleek, and slightly shiny, with clear vertical columns of Vs. It is the classic look for polished sweaters and fine garments. Reverse stockinette is textured, matte, and softer looking, with horizontal bumps that break up the surface. It is often chosen for casual, chunky, or vintage-style pieces.
Both fabrics share the same behaviour in other respects. Both tend to curl at the edges, both have a clear right and wrong side, and both stretch more widthways than lengthways in many yarns. The skills you learn for one transfer directly to the other, because the stitches themselves are identical. You are simply choosing which face to show the world.
How to Knit the Reverse Stockinette Stitch
Knitting the reverse stockinette stitch is straightforward once you can knit and purl confidently. Worked flat, in rows, you purl across the right-side rows and knit across the wrong-side rows. Worked in the round, where you never turn the work, you purl every round, because the outside of the tube is always the right side. That second point surprises beginners, so it is worth remembering: in the round, reverse stockinette means purling continuously, while regular stockinette in the round means knitting continuously.
Start with a practice swatch. Cast on an even, comfortable number of stitches, perhaps twenty to thirty, using a smooth, light-coloured yarn in a medium weight so you can see every stitch clearly. Work a few rows of garter stitch or ribbing at the bottom if you want a border that lies flat, then begin the reverse stockinette stitch section. On the first right-side row, purl every stitch. Turn the work, and on the wrong-side row, knit every stitch. Repeat those two rows. After ten or so rows, you will see the bumpy texture forming on the side facing you during purl rows.
Keep your tension even and relaxed. Purl stitches can feel slower than knit stitches at first, and many knitters purl slightly more loosely or tightly than they knit. That difference can make the fabric look uneven, with alternating loose and tight rows. The fix is practice and awareness: check your swatch after several rows, compare the rows, and adjust your hand position or yarn hold until the rows look consistent. A swatch is not wasted time; it is how you learn the rhythm of a new stitch before committing to a full garment.
Step-by-Step: Reverse Stockinette Stitch Worked Flat
First, cast on your stitches and work any border the pattern requires. Second, on a right-side row, purl every stitch across the row. Third, turn your work. Fourth, on a wrong-side row, knit every stitch across the row. Fifth, turn again and repeat the purl row. Continue alternating purl and knit rows until the section reaches the length given in your pattern. If you lose track of which row you are on, look at the side facing you: if you are about to purl and the bumpy side is facing you, you are on a right-side row, which is correct for reverse stockinette.
For knitting in the round, join your stitches carefully without twisting, place a stitch marker at the start of the round, and purl every stitch of every round. The bumpy side will face outward automatically. Check after a few rounds that the bumps are on the outside and the smooth Vs are on the inside, and you will know you are on track.
Reading Patterns That Use Reverse Stockinette
Patterns may write this stitch as “Rev St st,” “reverse St st,” or “reverse stockinette stitch,” and they may define it in the abbreviations section. Some patterns mark the right side with a note such as “RS” for right side and “WS” for wrong side. Others tell you to work a set number of rows in reverse stockinette before switching to another pattern. Always read the abbreviations and the notes at the start of a pattern, because designers sometimes use the term slightly differently, for example when a garment is worked inside out and turned at the end.
If a pattern combines reverse stockinette with other textures, it will usually give row-by-row instructions or a chart. Charts read from right to left on right-side rows and left to right on wrong-side rows, and the chart key explains each symbol. Take a moment to understand the chart before you start, and keep a row counter or a pencil handy so you can tick off rows as you complete them.
Best Projects for the Reverse Stockinette Stitch
The reverse stockinette stitch suits projects where texture and cosiness matter more than sleek smoothness. Chunky scarves and cowls show off the bumps beautifully, especially in soft, slightly fuzzy yarns. Hats with a folded brim look relaxed and handmade in reverse stockinette, and the texture hides small tension wobbles that would show on a smooth fabric. Baby blankets and throws benefit too, because the bumpy surface is soft, stretchy, and forgiving.
Garments are another strong choice. A casual sweater with a reverse stockinette stitch body and smooth stockinette or ribbed trims has a pleasing contrast that looks intentional rather than accidental. Cardigans, pullovers, and vests all work well, particularly in medium to chunky yarns where the texture can be seen clearly. For finer yarns, reverse stockinette stitch still works, but the texture is subtler, so it suits elegant, understated pieces rather than bold, rustic ones.
Home items also shine in this stitch. Cushion covers, basket liners, table runners, and mug cosies all gain warmth and character from the purl texture. Because reverse stockinette is simple to work, it is a good choice for larger home projects where a complicated pattern would become tiring. You can also combine it with stripes: alternating colours in reverse stockinette creates soft, blended bands rather than sharp lines, which suits relaxed, homely designs.
| Project type | Why reverse stockinette works | Yarn tip |
|---|---|---|
| Scarves and cowls | Soft, cosy texture that drapes well | Medium or chunky soft yarn |
| Hats | Hides small tension differences | Stretchy yarn with good recovery |
| Casual sweaters | Relaxed look with clear texture | Medium weight, matte finish |
| Blankets and throws | Simple stitch for large pieces | Easy-care, washable yarn |
| Cushion covers | Textured surface adds interest | Sturdy yarn that holds shape |
| Cable backgrounds | Bumps make cables stand out | Smooth yarn for clear definition |
Common Problems and How to Fix Them
Curling is the most common complaint with the reverse stockinette stitch, just as it is with regular stockinette. The edges roll toward the smooth side, which means a reverse stockinette stitch piece tends to curl toward the back. The usual fixes are the same: add a border in garter stitch, seed stitch, or ribbing; block the finished piece by washing and reshaping it gently and letting it dry flat; or choose a pattern that already includes a border. Blocking helps a great deal, but it rarely removes curling completely from a piece with no border at all, so plan the border from the start if a flat edge matters.
Uneven rows are another common issue, usually caused by a difference between knit and purl tension. If your purl rows look looser than your knit rows, try holding the yarn slightly differently, or practise on a swatch until the rows even out. Some knitters find that a different purl method, such as a continental or combination style, evens their tension, but there is no need to change your whole technique for one project. Small, consistent adjustments and a relaxed grip usually do the job.
Twisted stitches, dropped stitches, and accidental yarn overs can also appear, especially when you are learning to purl quickly. If a stitch looks crossed or twisted, compare it with its neighbours and correct it before you move on. If you drop a stitch, stop and pick it back up with a crochet hook or your needle tip before it unravels further. Keeping a small repair hook in your knitting bag saves many projects from frustration.
Combining Reverse Stockinette With Other Textures
Reverse stockinette is a team player. The reverse stockinette stitch works beautifully as a background for cables, because the smooth cable twists rise clearly above the bumpy field. It pairs well with seed stitch and moss stitch borders, which lie flat and frame the texture neatly. It also combines with ribbing for cuffs, hems, and necklines, giving a garment structure where it needs it and softness where it counts.
Colour work in reverse stockinette stitch deserves a note. Stranded colour patterns can look softer and less crisp on a purl surface, which suits rustic or vintage designs but may blur fine details. For crisp colour motifs, many knitters prefer the smooth side. For gentle stripes, speckles, and marled effects, reverse stockinette is a lovely choice. Try a small swatch in each colour combination before deciding, because yarn colour and texture interact in surprising ways.
Reverse Stockinette Stitch: Frequently Asked Questions
Is reverse stockinette stitch the same as purl stitch?
Not quite. Purl stitch is a single stitch, while reverse stockinette is a fabric made by working purl stitches on the right side and knit stitches on the wrong side. Every row uses plain knit or purl stitches, but the arrangement is what creates the fabric. Understanding that distinction helps you read patterns and fix mistakes with confidence.
Why does my reverse stockinette curl?
It curls for the same reason regular stockinette curls: the two faces of the fabric pull differently. Adding a flat border, such as garter stitch or ribbing, and blocking the finished piece usually control the curl. For scarves and flat pieces, a generous border on all four sides works best.
Can beginners knit reverse stockinette?
Yes, it is an excellent beginner stitch once you can knit and purl. It uses no special techniques, and it is forgiving of small tension differences. Start with a swatch, practise the two-row repeat, and then move on to a simple scarf or hat.
Does reverse stockinette use more yarn?
It uses roughly the same amount as regular stockinette, because the structure is identical. Yarn use depends far more on the yarn weight, needle size, and project size than on which side faces out. Always buy a little extra yarn for swatching and safety.
Conclusion: Enjoy the Reverse Stockinette Stitch
The reverse stockinette stitch proves that a simple flip can transform a fabric. By showing the purl side to the world, you gain a soft, textured, cosy surface that suits scarves, hats, sweaters, blankets, and home items, and that makes cables and raised motifs stand out. Learn the two-row repeat, practise on a swatch, add a border to control curling, and choose yarns that show the bumps clearly. For more step-by-step guides, see our pages on socks and stockings, how to blur pictures on an iPhone, and a beginner production guide. With those basics in place, your next project can wear its texture proudly.