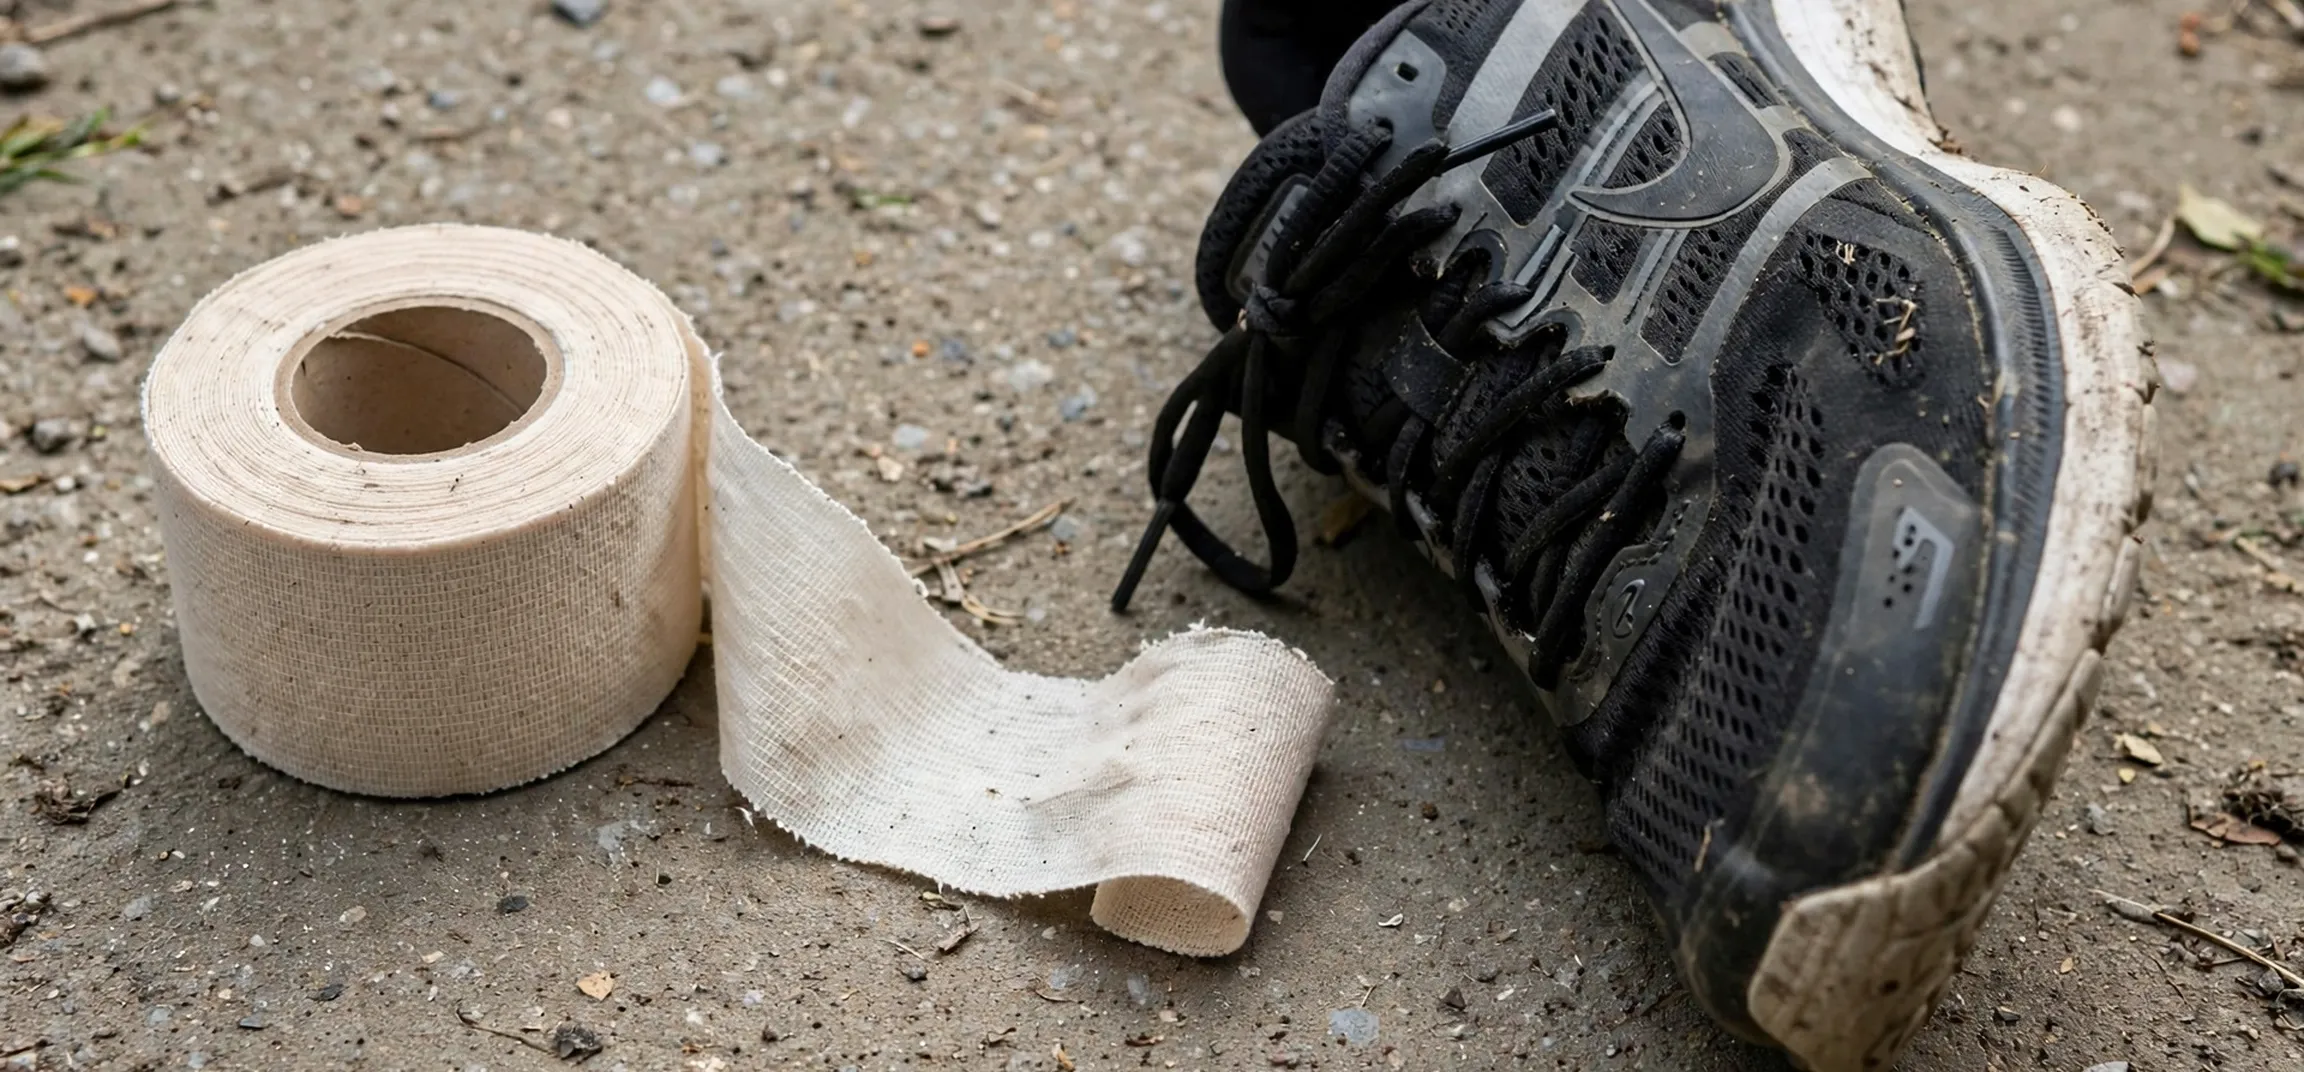
Learning how to properly tape an ankle is a useful first-aid skill for anyone who plays sport, coaches a team, or wants to support a mild ankle sprain while seeking proper advice. Ankle taping does not heal an injury on its own, but a well-applied tape job can limit unwanted movement, give the joint a feeling of stability, and help a person move more confidently in the short term. This guide explains how to properly tape an ankle step by step, what kit you need, how to check that the tape is safe, and the warning signs that mean you should stop and get clinical care instead of carrying on.
Before you begin, it is important to be clear about what ankle taping can and cannot do. Taping is best suited to mild sprains and to ankles that feel unstable but can still bear some weight, and it is often used by athletes as a preventive measure during training or matches. It is not a substitute for assessment after a serious injury. If you cannot put weight on the foot, if there is obvious deformity, severe swelling, numbness, or a change in skin colour, or if the pain is rapidly getting worse, do not try to tape over the problem. Seek urgent clinical care promptly and keep weight off the foot in the meantime. When in doubt, a clinician, physiotherapist, or first aider should assess the ankle first.
This guide is general first-aid education only. It describes a common rigid taping method used for ankle support, but every ankle is different, and tape can irritate skin or restrict circulation if it is applied too tightly. Read the whole guide before you start, gather everything you need, and work in a calm, well-lit place where the person can sit comfortably with the foot supported. If you are taping your own ankle, take extra care, because it is harder to judge tension when you are also the patient. A short practice run on an uninjured ankle is a sensible way to learn how to properly tape an ankle before you need the skill in a hurry.
How to Properly Tape an Ankle: Preparation First
Good preparation makes the whole job easier and more comfortable. Start by making sure the skin is clean and dry, and shave or trim any long hair around the ankle if needed, since hair can pull painfully when tape is removed. If the skin is broken, grazed, or blistered, cover it with a sterile dressing first and do not apply adhesive tape directly over an open wound. People with sensitive skin, diabetes, poor circulation, or a known allergy to adhesives should be especially cautious, and a clinician should advise them before taping.
You will need rigid sports tape, usually 38 millimetres wide, plus a roll of elastic adhesive bandage or underwrap if you prefer a protective base layer. Underwrap, sometimes called pre-wrap, sits between the skin and the rigid tape and makes removal kinder, although some tapers prefer to tape directly onto skin for a firmer hold. You will also need scissors, preferably blunt-tipped bandage scissors, and a small pad or piece of foam to protect the bony prominences on either side of the ankle if they are tender. Lay out your tape strips in advance where you can reach them easily, because once you start, you do not want to be fumbling with a roll while holding the foot in position.
Position matters a great deal when you learn how to properly tape an ankle. The person should sit with the knee bent and the foot held at roughly a right angle to the leg, with the ankle in a neutral position, neither pointed nor flexed hard. This neutral position is the position you want the tape to support, so hold it steadily throughout. If the foot drifts while you tape, the finished job may feel tight in one direction and loose in another. A helper makes this much easier, but if you are working alone, rest the foot on a low stool or a rolled towel so the ankle stays still.
How to Properly Tape an Ankle Step by Step
Begin with two anchor strips. Wrap one strip of rigid tape around the lower leg, just above the ankle bones, and one around the midfoot, across the arch. These anchors give every later strip something firm to attach to, and they should be snug but not tight. You should be able to slip a fingertip under an anchor without forcing it. This check is a small but important part of learning how to properly tape an ankle safely. If the anchors are too tight, everything built on top of them will be too tight as well, so take a moment to check comfort before moving on.
Next, apply stirrup strips. A stirrup starts on the inside of the lower leg anchor, runs down behind the inner ankle bone, passes under the heel and the sole of the foot, and finishes on the outside of the lower leg anchor. Apply two or three stirrups, overlapping each one slightly and pulling with steady, even tension. Stirrups are the workhorses of ankle taping, because they resist the rolling-outward movement that causes most sprains. Keep the foot in its neutral position while you apply them, and smooth each strip down so there are no wrinkles or folds pressing into the skin. Keeping tension even is central to how to properly tape an ankle well, so do not rush this stage.
Now add figure-of-six and heel-lock strips to complete the support. A figure-of-six starts at the front of the ankle, wraps around the back of the heel, and finishes across the top of the foot, forming a loop that cradles the joint. A heel lock is similar but locks more firmly around the heel itself, and many tapers use one or two of each. Finish by closing the job with a final anchor around the lower leg and a covering strip over the midfoot, smoothing everything down so the tape forms one tidy, even layer. The finished job should feel supportive and firm, like a snug boot, but never painful, tingling, or numb. If you are unsure whether you have understood how to properly tape an ankle, a first-aid course or a physiotherapist can demonstrate the technique in person.
Checking Comfort and Circulation After Taping
Once the tape is on, check it properly before anyone stands up. Ask the person to wiggle their toes and describe what they feel. Toes should stay warm and keep their normal colour, and the person should be able to move them freely. Press a toenail gently and watch the colour return within a couple of seconds. If the foot feels cold, looks blue or very pale, tingles, or goes numb, the tape is too tight and must come off at once. Do not try to loosen a single strip and hope for the best; remove the tape and start again with less tension.
Ask the person to stand and take a few careful steps. The ankle should feel supported, with less of the wobbly or giving-way sensation they felt before. Some stiffness is normal, and that is partly the point, but sharp pain is not. If walking produces sharp pain, or if the person cannot bear weight at all, remove the tape and arrange a clinical assessment. Tape that is comfortable at rest but painful on walking is telling you something important, and it should not be ignored. This kind of honest check is part of how to properly tape an ankle responsibly.
Re-check the tape after ten to fifteen minutes, especially if it was applied before sport. Tape can loosen as the body warms up and as the person moves, and it can also feel tighter as swelling changes. A quick check at half time or between activities is good practice. If the tape has bunched, slipped, or started to cut in, replace it rather than patching over it, because layered patches tend to create pressure points.
Common Mistakes When Taping an Ankle
The most common mistake is taping too tightly. Beginners often assume that tighter means more support, but excessive tension restricts circulation and can cause more harm than the original sprain. Another frequent error is taping with the foot in the wrong position, often pointed downwards, which leaves the ankle unsupported exactly where it needs help. A third mistake is leaving wrinkles in the tape, which press into the skin and can cause blisters during activity.
Other mistakes include taping over dirty or damp skin, which makes the tape slip, and taping an ankle that has not been assessed after a significant injury. Tape is also not a long-term solution. If an ankle still needs taping weeks after an injury, or if it keeps giving way, that is a sign to seek a proper assessment and a rehabilitation plan rather than continuing to tape it indefinitely. Strength, balance, and flexibility work, guided by a physiotherapist, usually matter more in the long run than tape alone. Anyone researching how to properly tape an ankle should treat tape as one tool among several, not as a complete treatment.
| Step | What to do | Check before moving on |
|---|---|---|
| Prepare | Clean, dry skin; cover any wounds; gather tape and scissors | Skin intact, foot clean and dry |
| Position | Foot at a right angle, ankle neutral, well supported | Foot stays still in neutral position |
| Anchor | One strip above the ankle, one across the midfoot | Snug, fingertip fits underneath |
| Stirrups | Two or three strips under the heel, inside to outside | Even tension, no wrinkles |
| Heel locks | Figure-of-six and heel-lock strips around the heel | Joint feels cradled, not squeezed |
| Finish and check | Close with anchors, smooth down, test walking | Toes warm, normal colour, no numbness |
Removing Tape and Aftercare
Remove tape carefully at the end of activity or at the end of the day. Do not leave rigid tape on for days at a time. Use blunt-tipped bandage scissors to cut along the front of the ankle, away from the skin, and peel the tape off slowly in the direction of hair growth. If the tape resists, a little warm soapy water or a tape-removal spray can help. After removal, check the skin for redness, blistering, or soreness, and wash and dry the foot properly. Reviewing your technique each time you practise how to properly tape an ankle again after a gap is wise, because tension judgement fades without practice.
Aftercare is where real recovery happens. Rest, elevation, and gentle movement as advised by a clinician all help more than tape alone. Keep an eye on swelling and pain over the next day or two. If swelling does not settle, if bruising spreads, if pain worsens, or if the ankle still feels unstable after a few days, arrange a clinical review. Repeated sprains deserve attention too, because they can point to ligament weakness or a balance problem that rehabilitation can improve. For general context on muscle and soft-tissue discomfort, see our guide to muscle knots and soft-tissue soreness and our explainer on what phantom pain means, which helps separate ordinary soreness from symptoms that need review.
When to Seek Clinical Care
Seek clinical care promptly if you cannot bear weight, if the ankle looks deformed, if there is severe swelling or bruising, if the foot is numb, cold, or discoloured, or if pain is severe or worsening. Also seek advice if the injury followed a high-impact fall or collision, if the person has diabetes or circulation problems, or if the ankle has been sprained several times before. Children, older adults, and anyone on blood-thinning medication should also be assessed sooner rather than later.
Remember that this guide explains how to properly tape an ankle for mild support and first aid, and it does not replace professional assessment. A clinician can check for fractures, ligament damage, and other injuries that tape cannot fix, and can advise on rehabilitation, bracing, and a safe return to sport. If anything about the injury worries you, getting it checked is always the right call.
Frequently Asked Questions
How long can ankle tape stay on?
Rigid ankle tape is best worn for a single session of activity or for one day at most, then removed so the skin can breathe and circulation can be checked. Leaving tape on for days increases the risk of skin irritation, blistering, and hidden swelling.
Can I tape my own ankle?
Yes, but it is harder to judge tension and foot position on yourself, so work slowly, sit with the foot well supported, and check toe colour and feeling carefully. If you cannot get a comfortable, even result, ask someone else to help or use a brace instead.
How often should I practise ankle taping?
Practising occasionally on a healthy ankle is a good idea, because it keeps the steps familiar. Each practice session is a chance to rehearse how to properly tape an ankle with even tension and a neutral foot position, so that you are not learning under pressure. If your practice attempts keep feeling too tight or uneven, ask a first aider or physiotherapist to watch once and correct your technique, since a short demonstration often fixes problems faster than repeated trial and error.
Is taping better than an ankle brace?
Both have their place. Tape gives a custom, close fit and is popular in sport, but it loosens with activity and must be reapplied. A brace is reusable, easier to fit consistently, and often better for everyday support. A clinician or physiotherapist can advise which suits your situation.
Should I tape a swollen ankle?
Mild swelling does not automatically rule out taping, but rapidly increasing swelling, severe swelling, or swelling with deformity or inability to bear weight means you should seek clinical care first. Never tape tightly over a badly swollen ankle.
Conclusion
Knowing how to properly tape an ankle is a practical first-aid skill, and a careful, well-checked tape job can support a mildly injured ankle and build confidence during recovery. The keys are good preparation, a neutral foot position, even tension, and honest checks of circulation and comfort before and during activity. Tape is a short-term support, not a cure, and any serious or worsening injury deserves prompt clinical care. Use this guide as a starting point, practise on a healthy ankle first if you can, and always put safety ahead of finishing a game. If you remember one thing about how to properly tape an ankle, let it be this: firm support, free circulation, and prompt clinical care whenever something looks or feels wrong.