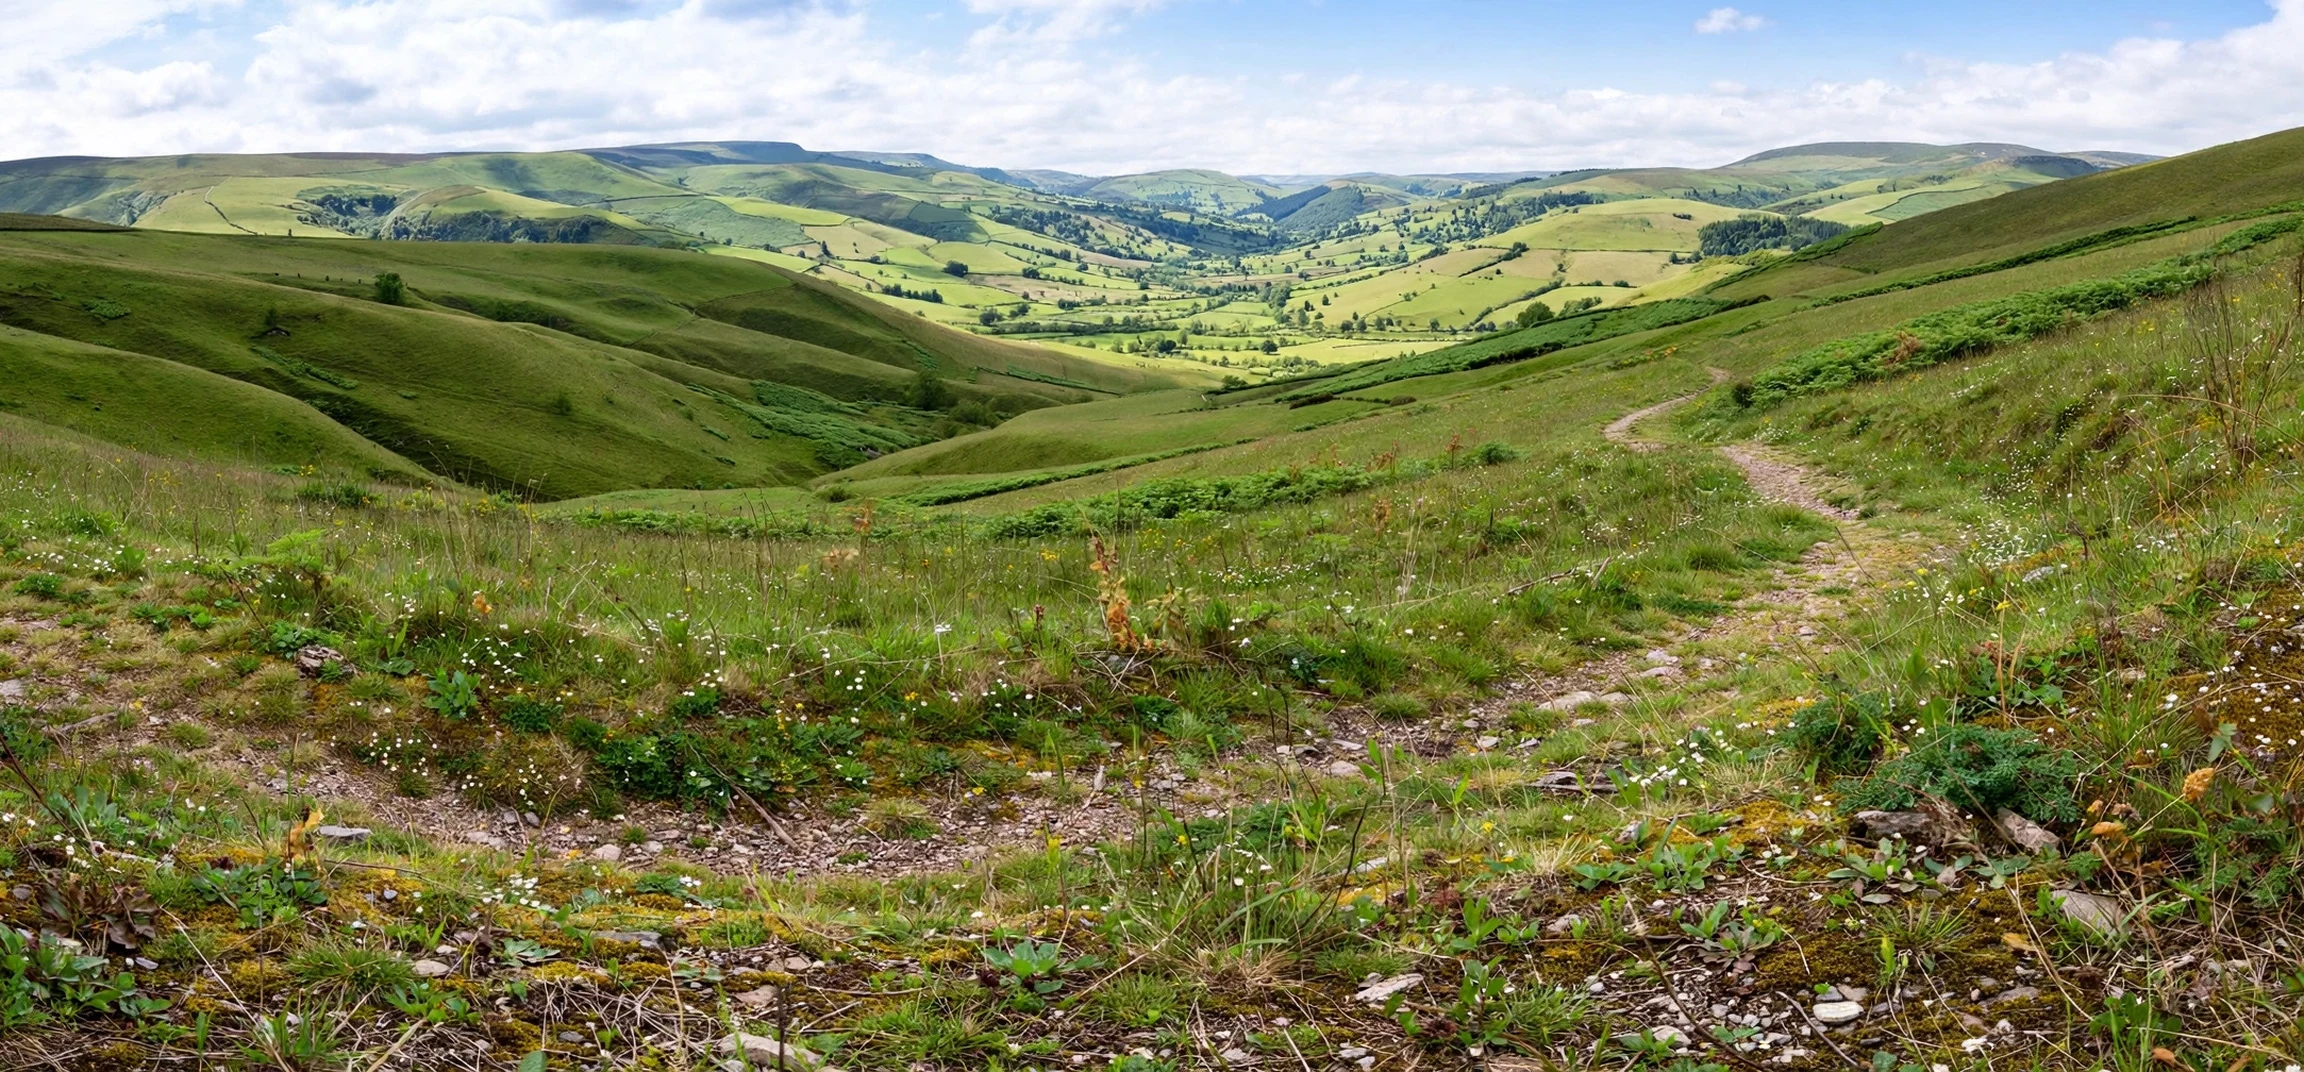
If you have ever stood before a sweeping mountain view or a city skyline and wished a single photograph could hold the whole scene, you have already understood the appeal behind the question what is a panoramic photo. In simple terms, what is a panoramic photo can be answered like this: it is a photograph with a much wider field of view than an ordinary picture, made by capturing a broad scene and presenting it as one long, wide image. Instead of cropping the edges of a landscape to fit a standard frame, a panoramic photo stretches the frame itself, so the eye can travel across the scene from one side to the other in a single image.
Panoramic photographs have existed in various forms for well over a century, but they have become an everyday tool only in the smartphone era. Today, almost every phone includes a panorama mode, and that has turned a once-specialist technique into something anyone can try on a walk, on holiday, or at a family gathering. The results can be striking: a beach that curves away in both directions, a room that is shown in full rather than in slices, or a mountain range that keeps its sense of scale. They can also go wrong in entertaining ways, with bent horizons, stretched people, and ghostly duplicates, and understanding why those things happen is part of learning to make good ones.
This guide explains what a panoramic photo is, how it is made, the different forms it takes, and how to take better ones with a phone or a camera. It also covers viewing and sharing panoramas, common mistakes, and when a panorama is the right choice and when an ordinary photograph would serve the scene better.
What Is a Panoramic Photo? The Definition
At its core, what is a panoramic photo is a question about aspect ratio and field of view. An ordinary photograph from a phone or camera is usually close to a 4:3 or 3:2 rectangle. A panoramic photo is far wider than it is tall, often twice as wide as it is tall or more. Some panoramas are extremely long and thin, like a strip showing a full 360-degree view unwrapped into a single line. Others are only moderately wide, perhaps wide enough to include a group of buildings that would not fit in a standard frame. There is no single official ratio that makes an image a panorama; the defining feature is that it shows a wider angle of view than a single standard exposure from the same position would normally capture.
That wider view can be achieved in two main ways. The first is optical: a specialist panoramic camera, a very wide-angle lens, or a rotating lens that sweeps across the scene during a single exposure. The second, far more common today, is computational: the device takes a series of overlapping photographs as you move it, then stitches them together into one seamless image. Your phone’s panorama mode uses this second method. It guides you with an arrow and a line, captures frames continuously as you pan, and blends them so the joins are invisible when the process works well. The result is a single file that looks like one photograph, even though it was built from many.
The history of the technique helps explain why it still fascinates people. Early panoramic cameras in the nineteenth century used rotating lenses and curved film to record wide scenes that standard cameras could not. They were used for landscapes, city views, and large group portraits, where fitting everyone into one frame was otherwise impossible. The idea never went away; it simply moved from specialist hardware to software. Modern stitching can correct for lens distortion, balance exposure across frames, and align features that shift slightly between shots, which is why a handheld phone can now produce a panorama that once required a tripod and a dedicated camera.
Types of Panoramic Photos: What Is a Panoramic Photo in Practice
Not all panoramas are the same, and knowing the types helps you choose the right one for a scene. The most common is the horizontal panorama, a wide image made by panning left to right or right to left. This is the classic landscape panorama, ideal for coastlines, skylines, mountain ranges, and interiors where the interest runs sideways. Less common but equally useful is the vertical panorama, made by tilting the device upward or downward. A vertical panorama suits tall subjects: a waterfall, a cathedral interior, a skyscraper viewed from the pavement, or a forest canopy. Many phones support vertical panning if you turn the phone and sweep in the right direction, though the on-screen guidance usually assumes a horizontal sweep.
A full 360-degree panorama goes further, capturing the entire surroundings in every direction. When viewed in a special viewer, a 360-degree panorama lets the viewer look around by dragging or moving their device, as if standing in the middle of the scene. When printed or shared as a flat image, a 360-degree panorama appears as a very long strip, sometimes called an equirectangular image, in which the whole surroundings are unwrapped. A related form is the spherical or little-planet image, where the panorama is wrapped into a circle so the scene looks like a tiny world. These playful projections are derived from the same stitched source, simply displayed differently.
There is also a distinction between a single-row panorama and a multi-row panorama. A single-row panorama is one band of images stitched side by side, which is what a phone produces. A multi-row panorama stacks several bands vertically as well, creating an image that is both wider and taller than a standard photograph, with much higher resolution. Photographers use multi-row panoramas for large prints, where the extra detail matters, and for scenes where a single band would crop out important foreground or sky. The technique is the same in principle, just repeated over a grid instead of a line.
Panorama Versus Wide-Angle Photograph
It is easy to confuse a panorama with a wide-angle photograph, but they are different tools. A wide-angle lens captures a broad scene in a single exposure, with a standard aspect ratio, by bending light more strongly at the edges. This can distort straight lines near the frame edges and make nearby subjects look stretched. A panorama, by contrast, captures the scene in slices, each taken with a more normal field of view, and joins them. The result often looks more natural, with less edge distortion, because each slice was captured relatively straight. A panorama can also contain far more pixels than a single wide-angle shot, which matters for large prints. The trade-off is time: a panorama takes seconds to capture, during which anything moving can blur or duplicate, while a wide-angle shot is instant.
How to Take a Good Panoramic Photo
Taking a good panorama starts before you press the shutter. First, choose a scene that benefits from width. A panorama rewards scenes with interest across the whole frame: a coastline with a headland at each end, a street with varied buildings, or a room with features on both sides. A scene with one central subject and empty space on either side will often look weaker as a panorama than as a standard photograph, because the extra width adds little. Look for a strong foreground as well, since a panorama of distant scenery alone can feel flat. A rock, a fence, or a tree at one end of the sweep gives the eye a place to start.
Next, set your exposure and focus with care. Phone panorama modes usually lock exposure based on the first frame, so starting the sweep on a mid-toned part of the scene, rather than the brightest sky or the darkest shadow, gives a more even result. If you are using a camera and stitching manually, locking exposure and focus across all frames prevents visible bands where one frame is brighter than the next. Keep the horizon level and the device steady. Rotating around your own body, rather than stepping sideways, keeps the viewpoint consistent, which is what stitching software expects. Moving the camera in a smooth, steady arc, at a pace the on-screen guide suggests, gives the software the overlap it needs.
Movement in the scene is the biggest source of panorama failures. People walking through the frame may appear twice, once in each overlapping slice, or may be cut in half where two slices join. Cars, waves, and clouds can create similar artefacts. If the scene is busy, wait for a lull, or accept that a panorama may not be the right tool and take a standard photograph instead. If a person must be in the panorama, ask them to stand still until the sweep has passed them, and avoid placing them near a join. The same applies to animals and anything else that moves unpredictably.
For the best results, hold the phone vertically when shooting a horizontal panorama, if your phone allows it. This captures a taller band, giving the final image more height and more room to crop later. Keep your elbows tucked in, pivot from your hips, and follow the guide arrow without rushing. When you reach the end of the scene, stop the capture deliberately rather than letting the phone run on into empty sky or ground, since trailing empty frames waste resolution and can confuse the stitching. After capture, check the result at full size, zooming into the joins to look for duplicated or stretched features before you move on, because a flawed panorama cannot always be fixed afterwards.
Viewing, Editing, and Sharing Panoramic Photos
A panorama is only as good as the way it is viewed. On a phone screen, a long panorama is often shown as a small strip that must be scrolled or zoomed to appreciate, which loses some of its impact. Viewed on a larger screen, or printed wide, the same image comes alive. Some social platforms support interactive panorama viewers that let viewers pan across the image, while others simply display the flat strip. Before sharing, it is worth checking how the platform you use will present the file, and cropping the panorama to remove any ragged edges or uneven borders left by stitching. Most phone editors offer a panorama-aware crop, and a slight straightening of the horizon can improve the result dramatically.
Editing a panorama follows the same principles as editing any photograph, with a few extra cautions. Adjusting exposure and colour across the whole image is safe, but local edits near a stitch join can reveal the seam if applied unevenly. Strong sharpening can also emphasise joins and artefacts. If a panorama has a visible flaw, such as a duplicated person, a clone or healing tool can sometimes repair it, but the repair needs to be done carefully to match the surrounding detail. For serious work, desktop stitching software gives more control than a phone, allowing manual alignment of frames, correction of perspective, and blending of exposures, which is why professional panoramic photographers still often shoot overlapping frames with a camera and stitch them later.
Printing a panorama deserves a thought about aspect ratio and paper size. A very wide panorama printed on standard paper will either be small or heavily cropped, so panoramic prints are usually made on wide-format paper or as a series of panels. Framing a panorama above a sofa or along a hallway suits its shape well, because the wall space is often wider than it is tall. If you plan to print, capture the panorama at the highest resolution your device allows, and avoid heavy compression when saving, since a large print will show any loss of detail.
Common Panoramic Photo Mistakes and How to Avoid Them
The most common mistake is panning too fast, which leaves gaps between frames and produces a broken or jagged stitch. The second is tilting the device during the sweep, which makes the horizon curve or slope. A third is starting or ending the sweep badly, cutting off an important feature or including distracting clutter at the edges. A fourth is ignoring moving subjects, which creates ghost figures. All four are avoidable with a slower, steadier sweep, a level start, a planned end point, and a quick check of the scene for movement before beginning.
Another mistake is using a panorama where a standard photograph would be stronger. A portrait of a person, a close-up of a flower, or a scene with a single dominant subject rarely benefits from extra width. Panoramas work best when the scene itself is wide and the interest is spread across it. Learning to recognise that distinction is part of developing an eye for photography generally, not just for panoramas. When in doubt, take both: a panorama and a standard photograph of the same scene, then compare them later and keep the one that serves the subject better.
| Panorama type | How it is made | Best for |
|---|---|---|
| Horizontal panorama | Panning sideways, stitching frames | Landscapes, skylines, coastlines, interiors |
| Vertical panorama | Tilting up or down, stitching frames | Waterfalls, tall buildings, trees, cathedral interiors |
| 360-degree panorama | Capturing all directions around a point | Interactive viewing, virtual tours, immersive scenes |
| Multi-row panorama | Stitching a grid of frames | Large prints, high-resolution landscapes |
Frequently Asked Questions About Panoramic Photos
How is a panoramic photo different from a normal photo?
A panoramic photo has a much wider field of view and a wider aspect ratio than a normal photo, showing more of the scene from side to side in a single image, usually by stitching several overlapping frames together.
Can I take a panoramic photo with my phone?
Yes. Almost every modern phone includes a panorama mode that guides you as you sweep the device across the scene and stitches the frames automatically into one wide image, which is the most common answer to what is a panoramic photo in everyday use.
Why do people look stretched or duplicated in panoramas?
Because a panorama is captured over several seconds, anything that moves during the sweep can appear in more than one frame or be caught across a join, creating duplicates, stretching, or ghosting.
Can panoramic photos be printed?
Yes, and they suit wide-format printing or multi-panel displays well. That is another practical side of what is a panoramic photo: a wide image needs wide presentation to show its full effect.
Capturing at the highest available resolution gives the best results for large prints.
Conclusion
So, what is a panoramic photo? It is a wide-view photograph that captures more of a scene than a standard frame allows, built by stitching overlapping images into one long, immersive picture. Used well, it preserves the scale of a landscape, the full sweep of a skyline, or the complete interior of a room in a way no single standard shot can match. Used carelessly, it produces bent horizons and ghostly duplicates, but those flaws are easy to avoid with a steady hand, a level sweep, and a scene chosen for its width. If you enjoy experimenting with phone photography, our guide to how to blur pictures on iPhone and our look at a cartoon photographer theme are fun next reads, while our guess the picture game post is a light-hearted way to test your eye. Start with a simple landscape, pan slowly, and let the panorama do what it does best: show the whole scene at once.