VanceAI Cartoonizer is an online tool that turns ordinary photos into cartoon-style images. With a few clicks, a portrait, a pet photo, or a travel picture can become a colourful illustration that looks like it came from an animated show. For creators, small business owners, teachers, and casual users, the appeal is speed. You do not need drawing skills, expensive software, or hours of editing. You upload a photo, choose a cartoon style, and download the result. This guide gives you quick access to VanceAI Cartoonizer in plain language: what it does, how to use it step by step, how to get better results, and how to use cartoon images responsibly.
Quick access does not mean rushing through settings without understanding them. It means knowing exactly where to go, what each option does, and how to avoid common mistakes that waste time. Many people open a cartoonizer tool, upload a photo, and accept the first result even if it looks odd. A better approach takes only a few extra minutes: choose a good source photo, pick the right style for your purpose, preview the result, and adjust if needed. This guide follows that approach so you can get a clean, shareable cartoon image on your first or second try.
Cartoonizer tools are useful for many everyday purposes. Social media users create fun profile pictures. Parents turn family photos into playful prints. Teachers make engaging classroom materials. Small businesses create illustrations for posts, presentations, and product pages without hiring an illustrator for every image. Bloggers and content creators use cartoon versions to add personality to articles. Understanding the tool quickly helps you use it for any of these purposes without getting stuck on technical details.
What VanceAI Cartoonizer Does
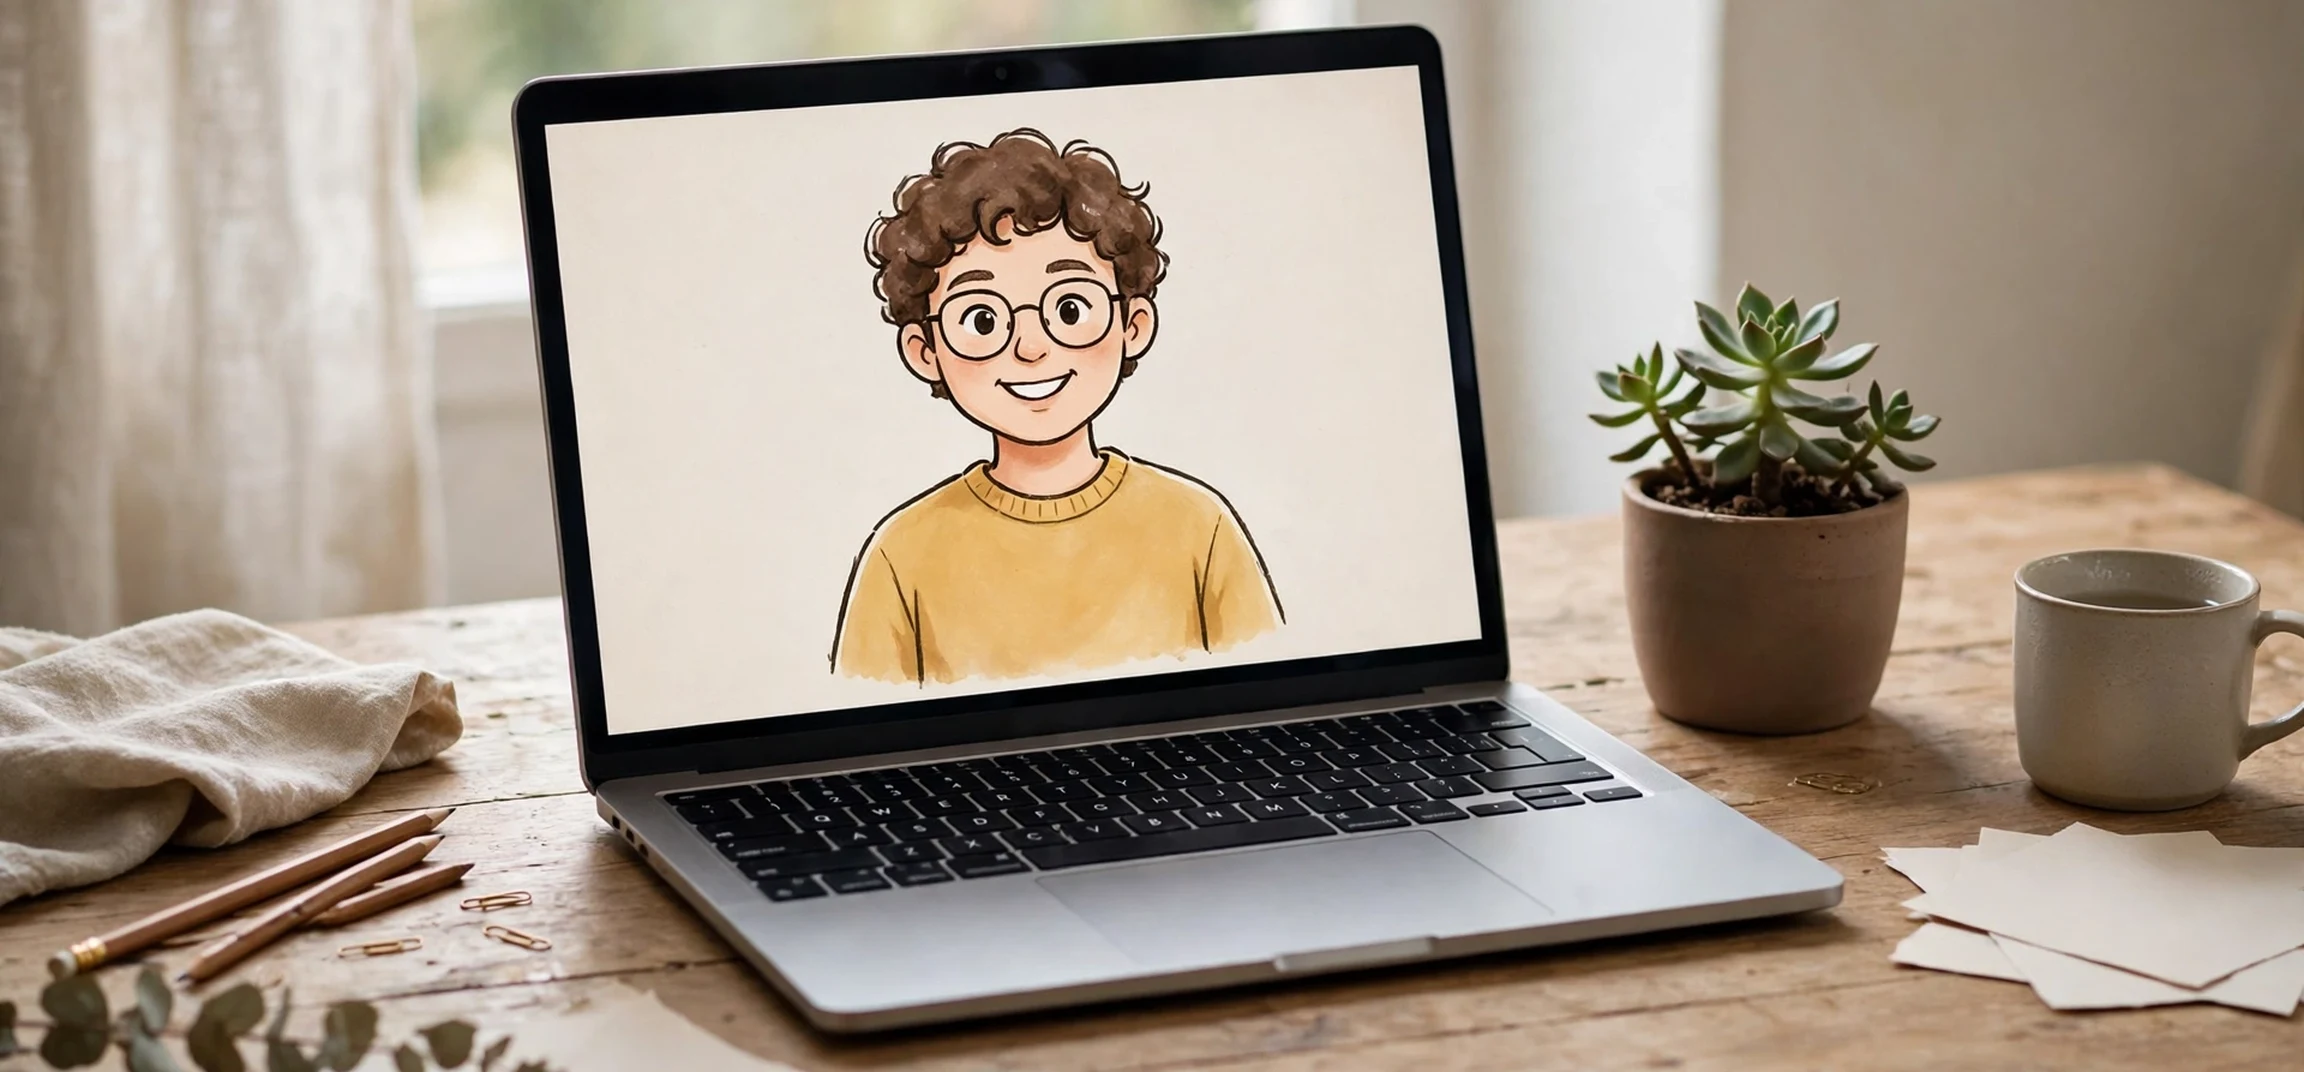
At its core, VanceAI Cartoonizer uses artificial intelligence to reinterpret a photo as a cartoon. It studies edges, colours, facial features, and shapes, then redraws them in a simplified, stylised form. Skin becomes smoother, outlines become clearer, colours become bolder, and background details are simplified. The result is not a photograph with a filter pasted on top. It is a new illustration based on your photo, with varying levels of detail depending on the style you choose.
Different styles suit different photos. A bold, high-contrast cartoon style works well for profile pictures and social media, because it stays readable at small sizes. A softer, anime-inspired style suits portraits and creative projects. A more detailed style preserves facial features and clothing, which matters if you want the cartoon to still look like the person in the photo. Before you start, think about where the image will be used. A thumbnail needs bold shapes. A printed poster can handle more detail. A presentation slide needs a clean background and clear subject.
Who Can Use It
You do not need design experience to use VanceAI Cartoonizer. The web-based tool is designed for beginners, with upload buttons, style previews, and download options that are easy to follow. That accessibility is part of its popularity. Students can use it for projects, creators can use it for content, and professionals can use it for quick mockups or social posts. If you can upload a photo to a website and click a button, you can use the basic features. Advanced users can still benefit, because the tool saves time on first drafts that can later be refined in other editors if needed.
It is important to use the tool with respect for other people. Only cartoonize photos you own or have permission to use. Avoid using someone else’s photo without consent, especially for public posts or commercial use. If you cartoonize a photo of a child, a client, or an employee, get permission first. Responsible use keeps a fun tool enjoyable for everyone and avoids privacy problems later.
Quick Access Step By Step
Getting started is straightforward. First, open the official VanceAI Cartoonizer page in your browser. Use the official site rather than a copycat page, and check that you are on the correct domain before uploading personal photos. Second, look for the upload area. You can usually drag and drop an image or click to browse your device. Choose a clear, well-lit photo in a common format such as JPG or PNG. Avoid very dark, blurry, or heavily cropped images, because the tool has less detail to work with.
Third, choose a cartoon style. Preview the available styles and pick one that matches your goal. If you are unsure, try a general cartoon style first. It is usually the safest choice for portraits and everyday photos. Fourth, start the conversion and wait for processing. This usually takes less than a minute for a single photo, depending on image size and server load. Fifth, preview the result carefully. Check the face, eyes, hair, and background. If the result looks good, download it in the highest quality available to you. If it looks distorted, try a different style or a different source photo rather than accepting a poor result.
Choosing The Best Source Photo
Source photo quality makes the biggest difference to the final cartoon. Choose a photo where the subject is clearly visible and facing the camera, with even lighting and a simple background. For portraits, a head-and-shoulders photo usually works better than a distant full-body shot, because facial details are larger and easier for the tool to interpret. For pets, a front-facing photo with clear eyes and ears gives the best result. For landscapes or objects, choose a photo with strong shapes and good contrast.
Avoid photos with heavy shadows across the face, sunglasses covering the eyes, or multiple overlapping subjects if you want a clean single-subject cartoon. If your photo has a busy background, consider cropping it before upload so the subject fills more of the frame. A simple crop can dramatically improve the result without any technical skill. Save a copy of the original photo before cropping, so you can try again with a different crop if needed.
Getting Better Cartoon Results
If your first result is not quite right, do not give up. Small changes often fix common problems. If the face looks too smooth or loses character, try a more detailed style. If the image looks too busy, try a simpler style or crop the background. If colours look washed out, start with a brighter source photo. If the background distracts from the subject, choose a style that simplifies backgrounds more strongly. Testing two or three styles on the same photo is often faster than trying to fix one poor result.
Resolution also matters. Upload the highest quality version of your photo that the tool accepts, rather than a compressed social media copy. A low-resolution upload can lead to soft edges and lost detail in the cartoon. After download, check the image at the size where it will be used. An image that looks perfect on a phone screen may look soft when printed large. If you need a larger output, check whether the tool offers an enhancement or upscaling option, or use a separate image upscaler before printing.
Editing After Cartoonizing
Many users add a final touch after downloading. You can adjust brightness, contrast, or cropping in any basic photo editor. You can add text for a social post, place the cartoon on a presentation slide, or combine it with other graphics. Keep edits simple. The cartoon style already has strong colours and outlines, so heavy filters can make it look muddy. A clean crop, a slight brightness adjustment, and a suitable background are usually enough. If you plan to use the image commercially, check the tool’s current terms and licence for your plan, because free and paid plans may differ.
Batch use is another time saver. If you need cartoon versions of several photos for a project, process them with the same style to keep a consistent look. Consistency matters for a series of profile pictures, a set of classroom materials, or a brand social feed. Mixing styles randomly can make a project look unfinished. Pick one style, test it on two or three photos, and then apply it to the rest once you are happy with the look.
Practical Uses And Ideas
Cartoon images work well in many places. On social media, a cartoon profile picture stands out in a feed full of photographs and helps people recognise your account quickly. For content creators, a cartoon version of a host or author photo adds personality to a channel banner or article header. For teachers, cartoon illustrations can make worksheets, slides, and certificates more engaging for students without needing original artwork for every lesson. For small businesses, cartoon product or team illustrations can make posts feel friendly and approachable.
Personal projects also benefit. A cartoon family portrait makes a thoughtful gift or a fun wall print. A cartoon pet portrait is popular for phone wallpapers, mugs, and social posts. Travel photos turned into cartoons can make a memorable holiday album or a unique postcard. The key is to match the style to the mood. A playful style suits birthdays and casual posts. A cleaner, more detailed style suits professional profiles and printed gifts. Experiment with one photo in several styles before committing to a full project.
| Use Case | Best Style Approach | Tip |
|---|---|---|
| Profile picture | Bold, high contrast | Use a close, front-facing photo |
| Social post | Bright and playful | Keep the subject large in the frame |
| Print or gift | Detailed and clean | Download at highest quality |
| Presentation slide | Simple background | Crop tightly around the subject |
Troubleshooting Quick Fixes
Most problems have simple fixes. If upload fails, check file size and format, and try a smaller JPG copy. If processing is slow, wait a little longer or try again during off-peak hours, and avoid uploading many large images at once. If the face looks distorted, try a clearer front-facing photo. If the background looks messy, crop the photo before upload. If colours look wrong, check whether your original photo had a strong colour cast from indoor lighting, and try a photo taken in natural light.
If you cannot find the download button, scroll down after processing or check for a preview panel beside the original image. Some tools show original and cartoon side by side, with download controls below the preview. If you are on a phone, try landscape orientation or a desktop browser view, because controls can be hidden on small screens. Saving the result immediately after processing is good practice, so you do not lose it if the page refreshes.
Privacy And Safe Use
Think before uploading sensitive photos. Avoid uploading identity documents, private family photos you do not want stored online, or photos of other people without permission. Read the privacy and data handling information on the official site if you plan to use the tool regularly. Delete uploads from your account where the option exists, and avoid using public or shared devices for personal photos. For a quick comparison with other everyday digital tools, you may also like our plain-language guide to Day Trading Stock Scanners Crystal Clear, and for a lighter entertainment break, see Miami TV Jenny Daily Drop.
Frequently Asked Questions
Do I need to install software to use VanceAI Cartoonizer?
No. It is a web-based tool, so you can use it directly in your browser by uploading a photo, choosing a style, and downloading the result.
What photo works best?
A clear, well-lit, front-facing photo with a simple background works best. Head-and-shoulders portraits and clear pet photos usually give the cleanest cartoon results.
Can I use cartoon images commercially?
That depends on the plan and licence terms at the time of use, and on whether you have permission for the source photo. Check the official terms before commercial use.
Why does my cartoon look different from the photo?
Cartoonizing simplifies detail by design. Smoother skin, bolder outlines, and simplified backgrounds are normal. Trying a more detailed style or a clearer source photo often improves likeness.
Conclusion
VanceAI Cartoonizer quick access is simple once you know the steps: open the official tool, upload a clear photo, choose a style that fits your purpose, preview carefully, and download at the best quality. The difference between an average result and a great one usually comes down to source photo choice and style selection, not technical skill. Use photos you have permission to share, keep styles consistent for projects, and add only light edits after download. With those habits, you can turn everyday photos into colourful cartoon images in minutes, ready for social media, presentations, gifts, and creative projects.