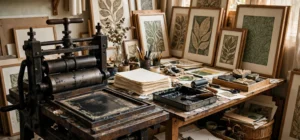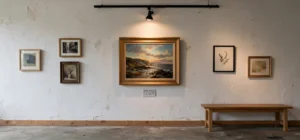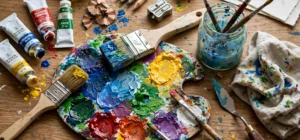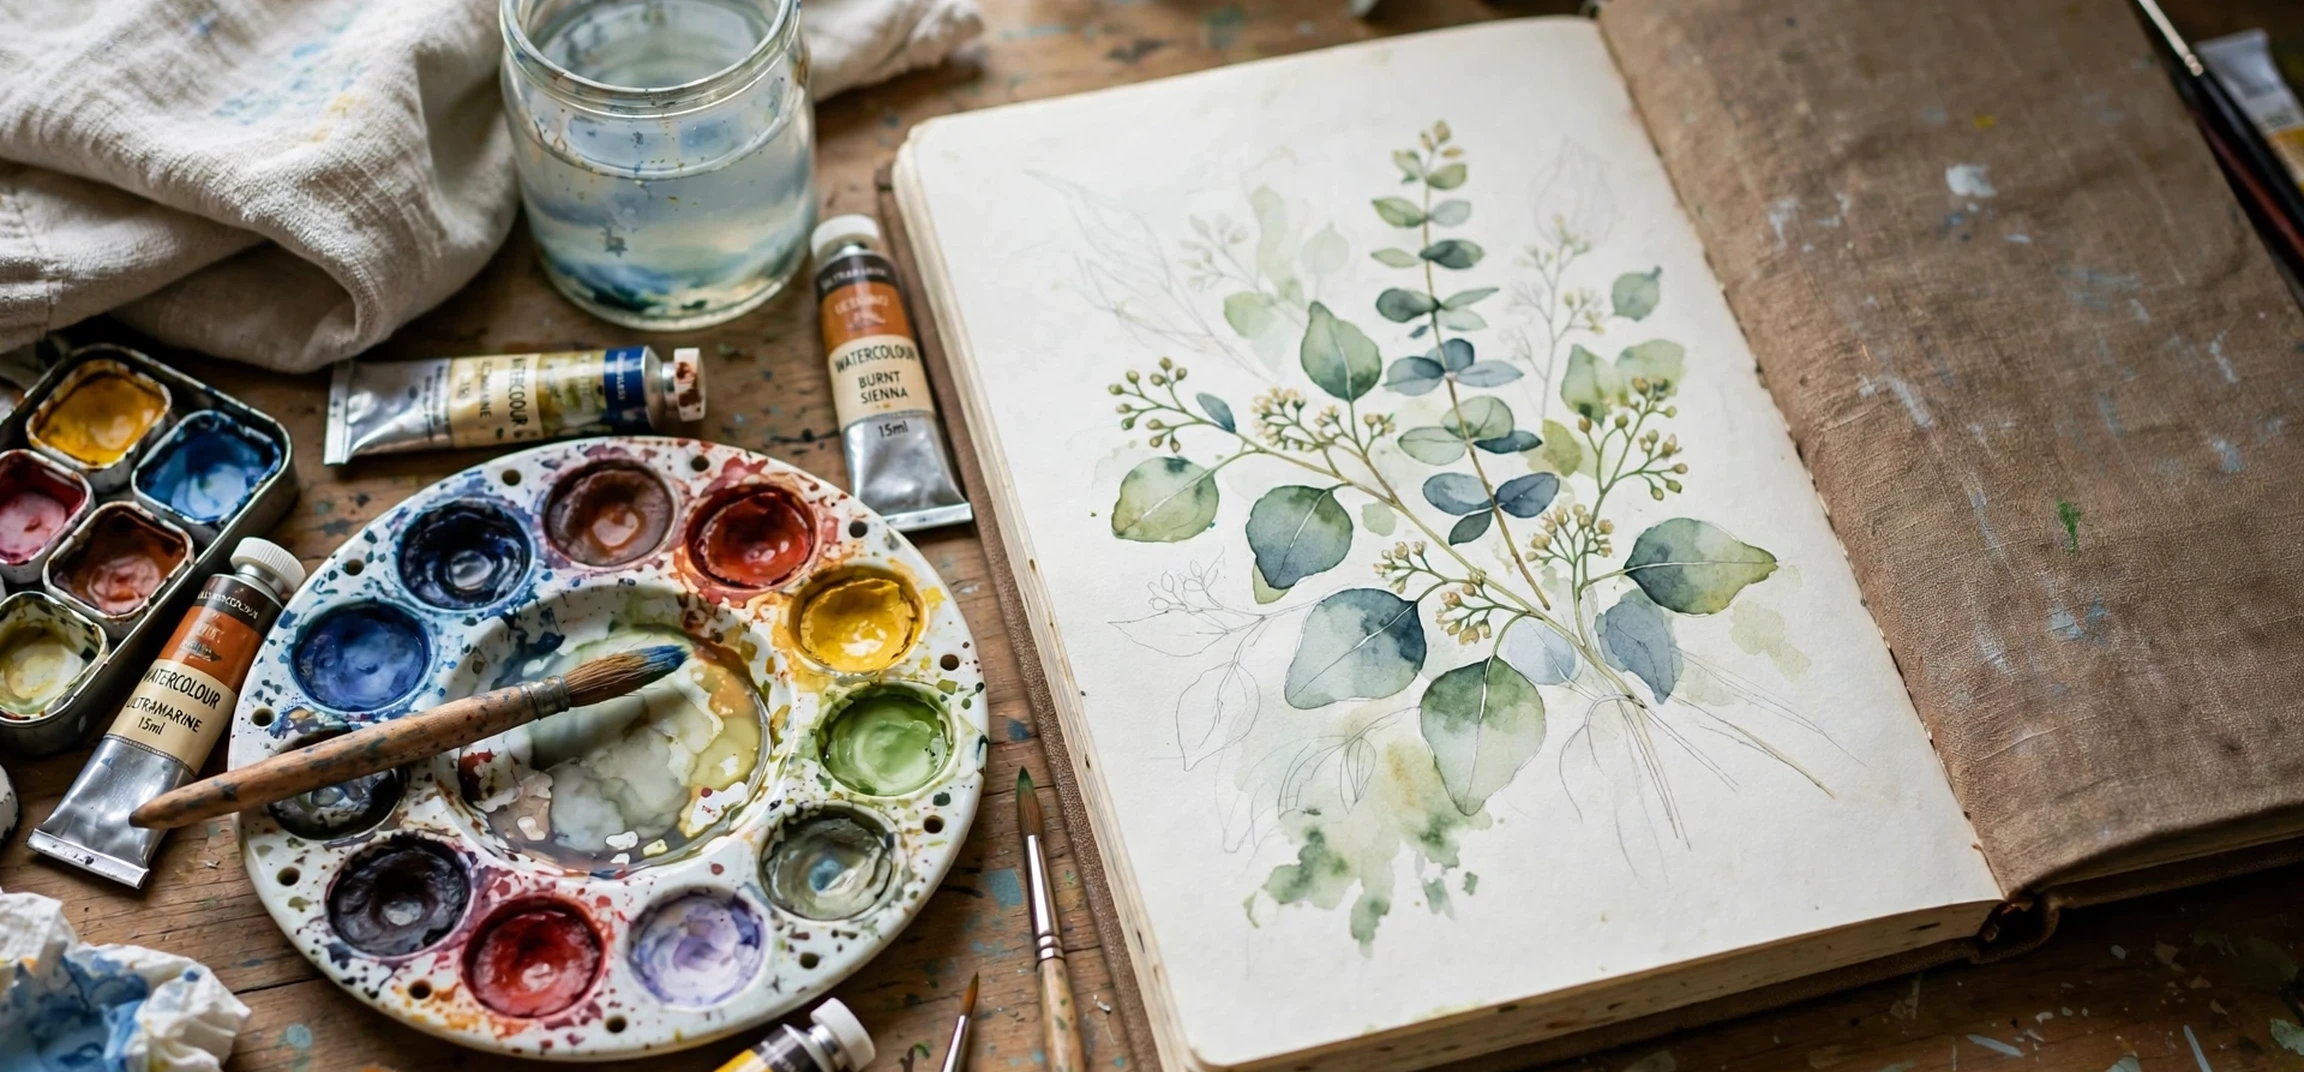
When you define artistic medium for your own practice, you are not simply naming a material on a shop shelf. You are choosing how you will spend your evenings, what your hands will learn to do, how much mess you are willing to live with, and what kind of finished work will feel satisfying to you. A medium is the material and the method together: paint and brush, pencil and paper, clay and kiln, thread and needle, pixels and stylus. For a beginner, the best choice is rarely the most impressive one or the one a favourite artist uses. It is the one you will actually pick up again tomorrow, next week, and next month, because skill grows from repetition, not from a single ambitious purchase. This guide is written for that practical decision. It helps you test a few directions cheaply, notice how you like to work, and build a small, steady practice without filling a cupboard with supplies you never touch.
Many beginners start by buying everything at once. They buy a large set of paints, a dozen brushes, several sketchbooks, and a range of extras, then feel overwhelmed and guilty when the supplies sit unused. A better route is to start small and learn in layers. Choose one main medium for a few weeks, learn its basic behaviour, and keep notes about what frustrates you and what delights you. Frustration is useful information. If you hate waiting for layers to dry, that tells you something. If you love the smell of graphite and the quiet of drawing, that tells you something too. Your medium should fit your life as it is now, including your budget, your space, your available time, and your tolerance for cleanup. Art made in a cramped corner can be just as serious as art made in a large studio, provided the tools suit the corner.
How to define artistic medium by how you like to work
The most reliable way to choose is to pay attention to process, not only to finished pictures. Some people love slow, careful work. They enjoy building an image line by line, correcting small details, and working in silence. Drawing, coloured pencil, and detailed ink work often suit that temperament. Other people love bold, physical movement. They enjoy broad strokes, mixing colour directly on the surface, and seeing a large change quickly. Acrylic paint, charcoal on large paper, and printmaking often suit that energy. Still others love building with their hands in three dimensions. Clay, paper sculpture, textiles, and collage give a tactile result you can turn over and hold.
Ask yourself a few honest questions before you spend money. Do you prefer to work in short bursts or long sessions. Do you like precise control or happy accidents. Do you want work you can carry in a bag, or work that stays on a table at home. Do you enjoy getting messy, or do you want a clean setup you can pack away in five minutes. Do you learn best by watching a shape appear slowly, or by layering colour until something surprises you. There are no right answers, but the answers narrow the field fast. A person who travels often and works in cafes will probably enjoy a sketchbook and pens more than wet clay. A person with a spare table and a love of colour may enjoy acrylics far more than a tiny pencil set.
Pace and patience
Every medium teaches patience in a different way. Watercolour dries fast and punishes hesitation, but it rewards a light touch. Oil paint stays workable for a long time and allows careful blending, but it needs ventilation, longer drying, and more careful cleanup. Digital art allows endless undoing, which is freeing, but it can also make it hard to commit to a decision. None of these traits is a flaw. They are simply the character of the material. Beginners often blame themselves for struggling with a medium that does not match their pace. If a medium keeps fighting you, try a different pace before you decide you lack talent.
Space, budget, and cleanup
Practical limits matter more than inspiration in the first month. Measure your real workspace. A kitchen table that must be cleared for meals calls for tools that pack into a single box. A dedicated desk allows a small easel, a palette, and drying space. Budget matters too. Graphite, ink, and paper are among the lowest-cost starting points. Acrylic paint and student-grade watercolour are also affordable if you buy a limited palette rather than every colour available. Clay and printmaking can cost more once you add firing, inks, rollers, and presses, although air-dry clay and simple relief printing keep costs down. Write down your cleanup limit as well. If washing brushes feels like a chore you will avoid, choose a medium with simple cleanup while you build the habit.
Test projects that help you define artistic medium through small experiments
Instead of reading dozens of reviews, run a two-week test. Pick two or three candidate mediums and give each one three short sessions. Keep the projects identical in spirit so you can compare fairly. For example, draw or paint the same simple subject, such as a mug, a plant, or a view from your window, in each medium. Use the same size of paper or surface where possible, and work for the same length of time. After each session, write a few lines: what felt easy, what felt awkward, what you would change, and whether you wanted to continue after the timer ended. That last question is the most telling. The medium you return to without forcing yourself is usually the right starting point.
Keep the tests deliberately small. A finished small piece teaches more than a large unfinished one. A postcard-size painting, a single page of sketches, a small clay tile, or a short digital study all count as real work. Small work also lowers the fear of wasting expensive materials. You can try bold colour, an unusual composition, or a looser style when the stakes are low. If you finish a test and immediately think about the next version, you have found energy worth following. If you finish and feel only relief that it is over, that medium may still be worth revisiting later, but it is not the best first home for your practice.
Comparing beginner mediums without buying everything
Comparison tables can help, but only if you read them for behaviour rather than prestige. A medium that looks advanced in a gallery may be very forgiving for a beginner, while a medium that looks simple may demand precise control. The table below summarises common starting points in plain terms. Use it to shortlist two options, then test them rather than trusting the table alone.
| Medium | What it feels like | Starting cost | Best for beginners who |
|---|---|---|---|
| Graphite and charcoal | Direct, quiet, easy to correct in early stages | Low | Love line, shading, and portable sketching |
| Ink and pen | Bold, permanent, teaches confident marks | Low | Enjoy drawing, lettering, and illustration |
| Watercolour | Light, transparent, fast drying | Low to medium | Like soft colour and working quickly |
| Acrylic paint | Versatile, opaque, dries fairly fast | Medium | Want bold colour and forgiving layers |
| Coloured pencil | Controlled, layered, very portable | Low to medium | Prefer slow detail and clean hands |
| Air-dry clay | Tactile, three-dimensional, no kiln needed | Low to medium | Enjoy shaping and sculpture by hand |
| Digital drawing | Flexible, undo-friendly, screen-based | Medium to high | Already work on a tablet or computer |
| Collage and mixed media | Playful, layered, uses found materials | Low | Love texture, paper, and experimentation |
Notice how many of these options share skills. Drawing helps painting. Colour mixing helps digital work. Observation helps every medium. Choosing one starting point does not lock you into it forever. Many artists move between mediums over a lifetime, and skills transfer more than beginners expect. The goal of your first choice is momentum, not a lifelong label. If you learn to see shapes, values, and colour relationships in one medium, you carry that seeing into the next one.
Building a starter kit you will actually use
A good starter kit is small, specific, and complete enough that you do not need to shop mid-session. For drawing, that might mean a sketchbook you like, two pencils of different softness, an eraser, and a sharpener. For acrylic painting, it might mean five tubes of paint in a limited palette, three brushes, a palette, a water jar, and a pad of canvas paper. For watercolour, it might mean a small pan set, one round brush, one flat brush, and watercolour paper that can handle wet washes. Resist the urge to buy a huge set. A limited palette forces you to learn mixing, and mixing teaches colour far faster than owning fifty ready-made tubes.
Pay attention to paper and surfaces, because the wrong surface can make a good medium feel terrible. Thin printer paper buckles under watercolour and tears under heavy erasing. Canvas paper or a small canvas board suits acrylic practice better than a stretched canvas you are afraid to spoil. A sketchbook with paper you enjoy touching will invite more drawing than a beautiful book you are afraid to mark. Buy the working grade, not the display grade, for practice. Save special surfaces for pieces you plan to keep or share. Learning to enjoy practice materials is part of learning to enjoy practice itself.
For visual inspiration and for thinking about how images are made, you may enjoy browsing creative guides such as this look at cartoon photography and visual nostalgia, which shows how a playful visual idea can become a finished piece. Design tools also shape how beginners think about layout and composition, as explored in this guide to text runaround in design software. Neither replaces hands-on testing, but seeing how other makers arrange images, text, and space can sharpen your eye before your next session.
Learning in layers instead of chasing perfection
Beginners often try to learn everything at once: drawing, colour, composition, perspective, and finishing. That is a recipe for frustration. Learn in layers instead. In your first weeks, focus on one skill at a time. Spend a week on observation, drawing simple shapes and noticing light and shadow. Spend another week on value, which is the lightness and darkness in an image, using only one colour or only graphite. Then add limited colour, then composition. Each layer makes the next one easier, and each finished small piece proves that progress is happening even when a single session feels messy.
A simple weekly rhythm
A steady rhythm beats an intense burst followed by silence. Three sessions of thirty to forty-five minutes each week will teach you more than one exhausting five-hour session. Start each session with five minutes of warm-up marks: lines, circles, shading patches, or colour swatches. Then work on a small main piece. End by writing two sentences about what worked. This routine builds muscle memory and judgment without demanding a huge block of time. If you miss a session, simply return to the next one. A practice that survives a missed week is stronger than a perfect streak that collapses after one busy period.
Studying other artists without copying their medium
Looking at other artists is useful even when they work in a different medium. Notice how they use contrast, how they guide your eye, how much detail they include, and where they leave space empty. Try to describe a favourite work in words before you try to recreate its feeling in your own medium. That translation step is where personal style begins. You are not copying a technique. You are learning a way of seeing. Over time, you will notice that your taste becomes clearer. You may prefer quiet, minimal images or rich, detailed ones. That taste can guide your next medium choice as much as any supply list.
Common beginner mistakes and how to avoid them
The first common mistake is judging a medium after one bad session. Every medium feels awkward at first. Your hand does not yet know the pressure, the drying time, or the way the tool responds. Give each candidate at least three sessions before you judge it. The second mistake is comparing your early work with a professional portfolio. Professionals have years of layered practice behind a single image. Compare your work with your own work from last month instead. That comparison is honest and encouraging.
The third mistake is hiding practice work. Beginners often throw away anything imperfect, which removes the evidence of progress. Keep a simple practice folder or sketchbook, even for work you dislike. Looking back after a few months often reveals improvement you could not see day by day. The fourth mistake is working only from imagination before learning observation. Imagination matters, but drawing or painting from life, from a photo you took, or from a simple object on your table teaches proportion and light far faster. Use references openly while you learn. They are study tools, not cheating.
When to switch mediums or combine them
Switching is not failure. It is information. If you have given a medium a fair test, built a basic routine, and still dread each session, try a neighbouring medium that keeps one skill you enjoyed. A charcoal lover might enjoy ink wash. A watercolour lover might enjoy gouache, which is more opaque. A digital artist who misses texture might enjoy collage. Combining mediums is also a legitimate path. Many artists work in mixed media, layering drawing over paint, collage under colour, or ink over pencil. The rule for combining is simple: test the combination on scrap first, especially when wet and dry materials meet, so you learn how layers behave before you commit to a larger piece.
Keep a short record of combinations that worked. Note the order of layers, the drying time, and the surface you used. That record becomes your personal reference book. It also prevents the frustrating experience of repeating a mistake because you forgot what caused it. Over time, your notes will show a pattern. You may discover that you always return to drawing, even when you paint, or that you always add texture, even in digital work. That pattern is your emerging preference, and it is more valuable than any quiz result.
Writing and reflection support visual practice too. Keeping short notes about a project, its goal, and its result helps you plan the next session clearly. A general guide to planning creative work, such as this writing guide with four practical tips, may help you turn vague ideas into workable steps, even when your main medium is visual rather than written.
Frequently asked questions about choosing an artistic medium
Should a beginner start with drawing before painting?
Drawing first is helpful for many people, because it teaches observation, proportion, and value without the added complexity of colour mixing. It is not a strict rule, however. If painting excites you far more than drawing, start with painting and learn drawing skills alongside it. Excitement sustains practice, and practice teaches the rest.
How much should I spend on my first supplies?
Spend as little as you need to complete several small projects comfortably. A modest, well-chosen kit beats a large, confusing one. Buy better paper before you buy more colours, because paper affects every mark you make. Upgrade tools gradually as you learn which ones you reach for most often.
Can I use more than one medium at once?
Yes, and many artists do. Start with one main medium so you learn its behaviour clearly, then add a second for specific effects, such as ink lines over watercolour or pastel over a drawing. Test combinations on scrap paper first and note what worked.
What if I choose the wrong medium?
There is no permanent wrong choice at beginner level. Skills transfer, supplies for drawing and painting are often reusable, and a short test period costs little time. Treat each attempt as research. The medium that fits your life now may change as your space, budget, and interests change.
How long does it take to feel comfortable?
Most beginners feel noticeably more comfortable after several weeks of regular short sessions, not after a single weekend. Comfort comes from familiarity with the tool, not from talent alone. Keep sessions small, keep notes, and compare your recent work with your early work to see real progress.
Conclusion
Choosing a medium is choosing a way of working, not just a shopping list. Start by noticing how you like to work, test two or three options in small, comparable projects, and build a modest kit that fits your space, budget, and cleanup limit. Learn in layers, keep a steady rhythm, and keep your practice work so you can see your own growth. If a medium stops fitting your life, switch or combine without guilt. The right starting medium is the one that brings you back to the table willingly, session after session. From that steady return, skill, confidence, and personal style grow naturally, one small finished piece at a time.